672 Loading and Unloading Applications
Loading and unloading an ObjectARX file
Unlike with AutoLISP files, AutoCAD offers a built-in command that allows you to load an ObjectARX or ObjectDBX file. This command is called ARX, which makes sense, considering the type of application files that it can load or unload. There are also two AutoLISP functions that can be used to load and unload an ObjectARX or ObjectDBX file.
Using the ARX command
The ARX command offers a number of different options, but the two most important are Load and Unload. The command prompt for the ARX command looks like this:
Enter an option [?/Load/Unload/Commands/Options]:
The command options for the ARX command are described as follows:
?: Lists all the ObjectARX and ObjectDBX application files that are currently loaded in AutoCAD.
Load: Displays the Select ARX/DBX File dialog box to specify an ObjectARX or ObjectDBX application file to load.
It is possible to load an ObjectARX or ObjectDBX application file through a command macro or a script file by setting the system variable FILEDIA to a value of 0. When FILEDIA is set to 0, the following command prompt is displayed for the ARX command:
Enter ARX/DBX file name to load:
Unload: Allows for unloading an ObjectARX or ObjectDBX application file that is currently loaded and displays the command prompt:
Enter ARX/DBX file name to unload:
Commands: Lists all the commands that are exposed in the loaded ObjectARX application file. ObjectDBX application files usually do not contain user interface elements and commands.
Options: Contains three different sub-options that are used mainly for developing an ObjectARX application. The three options are Group, Classes, and Services. If you want to know more about these options, look up the ARX command in the AutoCAD Online Help system under the Command Reference Guide.
Loading an ObjectARX file using AutoLISP
You can load an ObjectARX or ObjectDBX application file using the AutoLISP function Arxload. Arxload works just like the AutoLISP function Load,

Loading and Unloading Applications 673
which we discussed in the section “Loading an AutoLISP file” earlier in this chapter. The syntax of the Arxload function is explained below:
(arxload ObjectARX/ObjectDBX_filename [Error_message])
ObjectARX/ObjectDBX_filename: The path to the ObjectARX or ObjectDBX file. Normally you would use a backslash (\) between folders in Windows Explorer, but AutoLISP interprets the backslash as something else. So you need to use double backslashes (\\) or a single forward slash (/).
Error_message: This parameter is optional, and the value that is entered
in this parameter is echoed at the command line if the ObjectARX or ObjectDBX file is not loaded.
An example of the Arxload function is
(arxload “C:/Program Files/AutoCAD 2007/geom3d.arx” “geom3d. arx missing”)
If the application file is loaded, the return value of the function is the filename, and, if the application file is not loaded, the error message is returned.
Unloading an ObjectARX file using AutoLISP
You can unload an ObjectARX or ObjectDBX file using the AutoLISP function Arxunload. The syntax of the Arxunload function is this:
(arxunload ObjectARX/ObjectDBX_filename [Error_message])
ObjectARX/ObjectDBX_filename. Enter the filename of the ObjectARX or ObjectDBX file to unload.
Error_message. This parameter is optional, and the value that is entered in this parameter is echoed at the command line if the ObjectARX/ObjectDBX file is not unloaded.
An example of the Arxunload function is
(arxunload “geom3d.arx” “geom3d.arx unable to be unloaded”)
Book X
Chapter 2
UsingPrograms
Custom
If the application file is unloaded, the return value of the function is the filename, and, if the application file is not unloaded, the error message is returned.
674 Automatically Loading Application Files
Loading a .NET file
.NET is the new kid on the block, and the files created using the .NET API can’t be loaded into AutoCAD using the APPLOAD command. It might seem like .NET files were left out of the loop, but you can still load them through the NETLOAD command. By default, this command displays the Choose .NET Assembly dialog box, which allows you to browse for a .NET application file and load it. After it is loaded, the .NET application file can’t be unloaded from AutoCAD unless AutoCAD is restarted.
You can load a .NET application through a command macro or a script file by setting the system variable FILEDIA to a value of 0 before using the
NETLOAD command. When FILEDIA is set to 0 and the NETLOAD command is used, the following command prompt is displayed:
Assembly file name:
As a workaround to not being able to load .NET application files using the Startup Suite, you could create an AutoLISP file that uses the NETLOAD command. An example of loading a .NET application file with AutoLISP is as follows:
(setvar “FILEDIA” 0)
(command “.NETLOAD” “C:/DotNet/Samples/DockingPalette.dll”) (setvar “FILEDIA” 1)
Automatically Loading Application Files
Just being able to load custom programs is a huge step toward increasing your productivity; but having to load application files again and again can be counterproductive. You can have AutoCAD do the work of loading custom programs for you in a couple of different ways. One is by using the Load/ Unload Applications dialog box, and the other is through specially named application files that AutoCAD loads automatically.
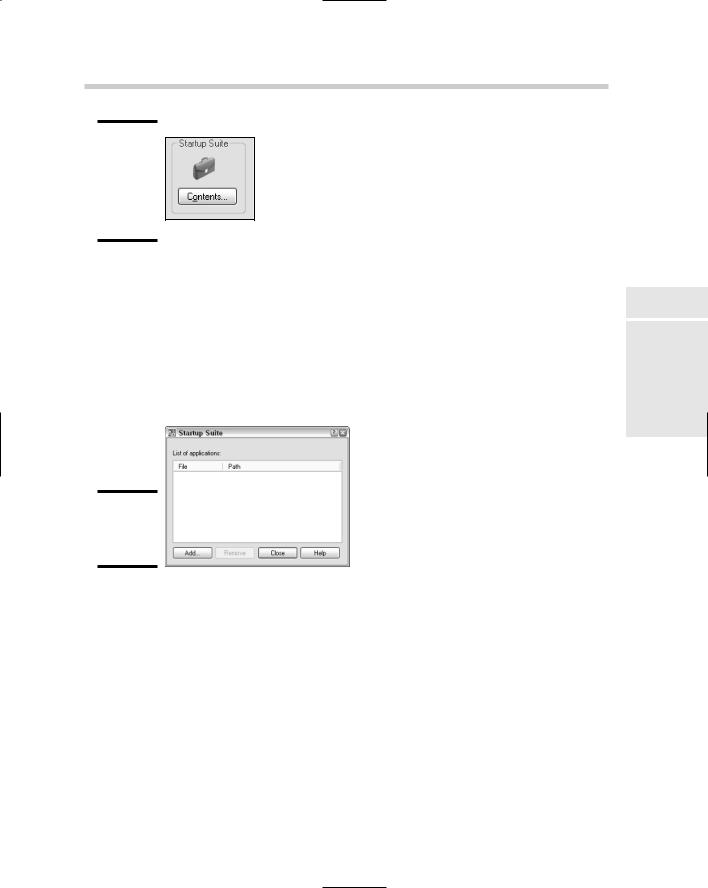
Using the Startup Suite
The Startup Suite (see Figure 2-5) area is located in the lower-right corner of the Load/Unload Applications dialog box. The Startup Suite controls which application files are loaded at the startup of AutoCAD and with each drawing that is opened. The Startup Suite has the same limitations as loading application files through the Load/Unload Applications dialog box. The Startup Suite is limited to AutoLISP (.LSP, .VLX, and .FAS), VBA (.DVB) ObjectARX (.ARX), and ObjectDBX (.DBX) application files, so you can’t directly load a
.NET application file using the Startup Suite.
Automatically Loading Application Files 675
Figure 2-5:
The Startup Suite helps to automatically load application files.
Figure 2-6:
The Startup Suite dialog box.
To add an application file to the Startup Suite, follow these steps:
1.From the Tools menu, choose Load Applications.
AutoCAD launches the Load/Unload Applications dialog box.
2.Click the Contents button in the Startup Suite area located in the lower-right corner of the Load/Unload Applications dialog box.
The Startup Suite dialog box (see Figure 2-6) should now be displayed.
3.Click the Add button in the Startup Suite dialog box.
The Add File to Startup Suite dialog box should now be displayed.
4.Click the Files of Type drop-down list and specify the type of application file to filter the list box by.
The selected option controls the type of application files that are displayed in the list box. The default selection is AutoCAD Apps. The dropdown list box allows you to filter on AutoLISP, VBA, ObjectARX, and ObjectDBX files.
5.Specify the location for the application file using the Look In dropdown list.
Book X
Chapter 2
UsingPrograms
Custom
676 Automatically Loading Application Files
The Look In drop-down list allows you to select a folder or a named location like My Documents to start in.
6.If the application file is located in a folder below the location that you selected in the Look In drop-down list, double-click the folder in the list box below the Look In drop-down list.
The list box displays any folders or files located under the folder selected in the Look In drop-down list. The types of files that are displayed in the list box are dependent on the file filter selected in the Files of Type drop-down list.
7.Keep double-clicking on folders until you have navigated to the folder that contains the application file you want to load. Select the application file from the list box.
The application file should be highlighted in the list box and its name added to the File Name text box.
8.Click Add.
The application file is added to the Startup Suite dialog box and is loaded into AutoCAD. You are also returned to the Startup Suite dialog box.
9.Click Close.
Click Close to exit the Startup Suite dialog box and return to the Load/Unload Applications dialog box.
10.Click Close to exit the Load/Unload Applications dialog box.
Getting AutoCAD to do some of the work
The Startup Suite is great to automatically load application files for a small group of AutoCAD users but isn’t very efficient for large groups. This is why AutoCAD is designed to look for certain named files when it is first started and when a drawing is created or opened. These files are specific to several of the different application types.
Automatically loading AutoLISP files
AutoCAD looks for several different AutoLISP application files when it first starts, when a new drawing is created or opened, and when a CUI file is loaded. These specially named files are loaded in a specific order to allow you the option of overriding standard AutoCAD commands and defining your own custom commands. These specially named files can be great for loading AutoLISP, VBA, ObjectARX, and ObjectDBX application files. As explained under the previous sections, you can use the different AutoLISP functions to load the different types of application files.
678 Running a Program in an Application File
started, so if you need to perform a task every time a new drawing is created or opened, you need to handle this through events. We explain more about this process and the use of events later in Chapter 4 of this minibook.
Automatically loading ObjectARX files
Similar to how AutoCAD looks for specially named AutoLISP or VBA files, AutoCAD looks for a file to load ObjectARX application files from. The file is named ACAD.RX. If AutoCAD finds an ACAD.RX file, it steps through the file and loads each of the ObjectARX files listed in it. The ACAD.RX is a file that must be created manually with a text editor like Notepad. Below is an example of what an ACAD.RX file might look like:
C:\ObjectARX\Utilities\customInsert16.arx
geom3d.arx
It is possible to use the full file path to the ObjectARX file or just the file name only. If you use only the filename to load the ObjectARX file, the file must be loaded in one of the support paths listed under Support File Search Path of the Files tab in the Options dialog box.
Running a Program in an Application File
You usually load an application file because you want to run one of the custom programs defined in the file. Custom programs are usually accessible in two different ways, as a command or as a function. Custom commands are run by typing the command name at the command line and pressing Enter to execute it. A custom command can be created using AutoLISP, ObjectARX, or
.NET, but not VBA.
A custom function, if it is exposed through AutoLISP or ObjectARX, must be enclosed in parentheses to be executed. If the function is defined with VBA, it is known as a procedure and can be executed using a command like VBAMAN. The VBAMAN command, along with other additional methods
of executing a procedure defined in a VBA application file, are covered in greater depth in Chapter 4 of this minibook.
To execute a procedure in a VBA application file, follow these steps:
1.From the Tools menu, choose Macros VBA Manager.
AutoCAD launches the VBA Manager dialog box.
2.Click the Macros button located on the right side of the VBA Manager.
The Macros dialog box (see Figure 2-7) is displayed and shows all the available procedures to run in the loaded VBA application files.
Running a Program in an Application File 679
Figure 2-7:
Putting a procedure (or macro) to work.
3.Select the procedure that you want to run from the list box in the middle of the dialog box.
The selected procedure is highlighted in the list box. You can resize the Macros dialog box by clicking one of the corners of the dialog box and dragging outward. This allows you to see more of the names of the procedures in the list box.
4.Click Run.
The procedure starts executing. Follow any onscreen prompts for input that might be displayed while the procedure is being executed.
You can use the -VBARUN command to execute a procedure in a VBA application file from a command macro or a script file. We explain the -VBARUN command later in Chapter 4 of this minibook.
Book X
Chapter 2
UsingPrograms
Custom
680 Book X: Programming AutoCAD
Chapter 3: Introducing AutoLISP
In This Chapter
Accessing the AutoLISP Development Environment
Using the VLIDE
Creating a basic program
Getting information to and from the user
Using the debug tools in the Visual LISP IDE
Using ActiveX Automation with AutoLISP
The AutoLISP functionality of AutoCAD has always been one of those features that many users don’t know about and don’t take advantage of.
This is partly because many users who are new to AutoCAD just don’t have the time to master all the features that are offered. The program is much more robust than it was during its earlier days, so not as many people are forced to resort to programming in AutoLISP. The numbers of users who know AutoLISP is on the decline today because it is now a niche feature that helps to improve workflow, rather than a necessary tool to create features that aren’t part of the product.
Utilities like Revision Cloud and Justify Text were once originally AutoLISP programs found in AutoCAD; a majority of the Express Tools that ship with AutoCAD were also developed with AutoLISP. For more information on Express Tools, see Book IX, Chapter 4. As we discuss in this chapter, AutoLISP is a very powerful language that is easy to master. After you start creating your own custom programs, you might wonder why you didn’t start working with AutoLISP sooner.
Accessing the AutoLISP Development Environment
Over the years, the main development environment for creating AutoLISP programs has been Notepad. Notepad was the tool of choice simply because Autodesk didn’t offer a development tool for working with AutoLISP files. This all changed when Autodesk purchased a program called Vital LISP. Vital LISP was developed by a third-party software company and extended the capabilities of AutoLISP. Shortly after Autodesk purchased Vital LISP, they renamed the product to Visual LISP.