

HTML 4_01 Weekend Crash Course - G. Perry
.pdf92 |
Saturday Morning |
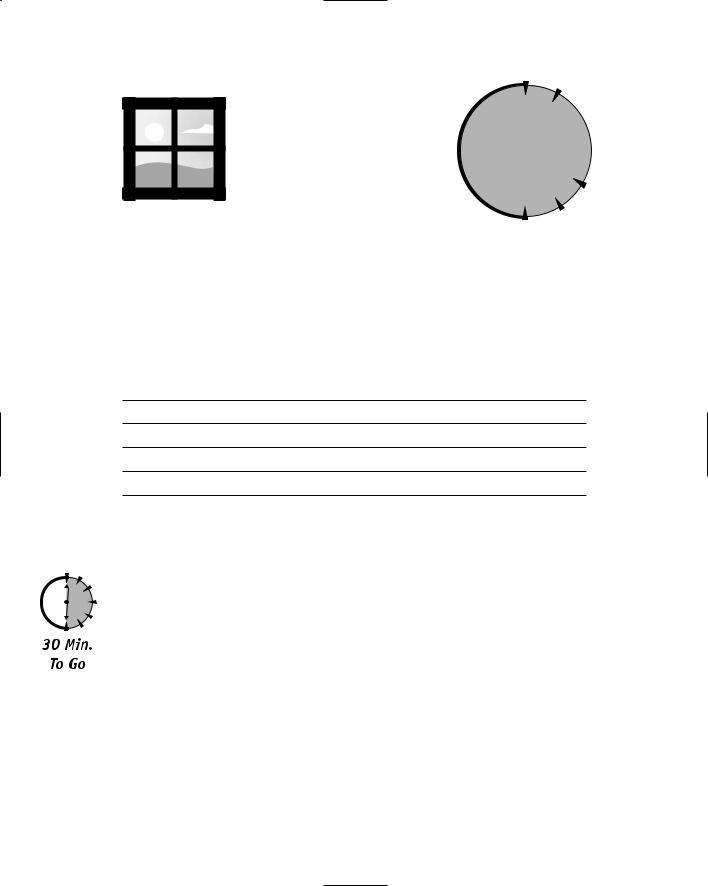
Border
Figure 7-2
The image is right-aligned against the window edge with a framed border.
Specifying the Image Size
When a browser loads a Web page that contains one or more images, the browser must calculate the size of each image to make room for the graphics and to format the other text and images. You can speed the loading of the pages you create with
HTML by specifying image sizes inside the <img> tag. You can specify the number of pixels, high and wide, that the image requires.
Most of today’s graphics programs can determine the exact pixel size of any image and display the size. You can often locate the
image size in the menu option labeled Properties.
Tip
Use the width= (for width) attribute to specify the image’s pixel width, and use the height= (for height) attribute to specify the image’s pixel height. The
Session 7—HTML Graphics |
93 |
following line displays an image on the Web page at an exact width of 600 pixels and a height of 400 pixels:
<img src=”/images/ourhouse.gif” width=600 height=400>
You can combine all of the <img> attributes you’ve seen in this session in a single <img> tag.
Tip
When you specify the incoming graphic’s size, you not only save loading time, but you also can resize the image to grow or shrink in the receiving Web page. If you specify a width and height attribute value that is smaller than the image’s actual size, the Web page will shrink the image. If you specify a width and height attribute value that is larger than the image’s actual size, the Web page will expand the image.
The actual width and height attributes only shrink or grow the image’s size on the Web page but do not speed up or slow down the loading of the image. In other words, the full image loads with the Web page, and the width and height attributes only determine the size at which the Web page will display the image in the browser window.
Never change an image’s height or width value by itself unless you want the image to appear out of proportion. In other words, if you want to shrink the width of an image by 25 percent, be
Never sure to specify a height attribute value that is also 25 percent smaller than the image’s original size.
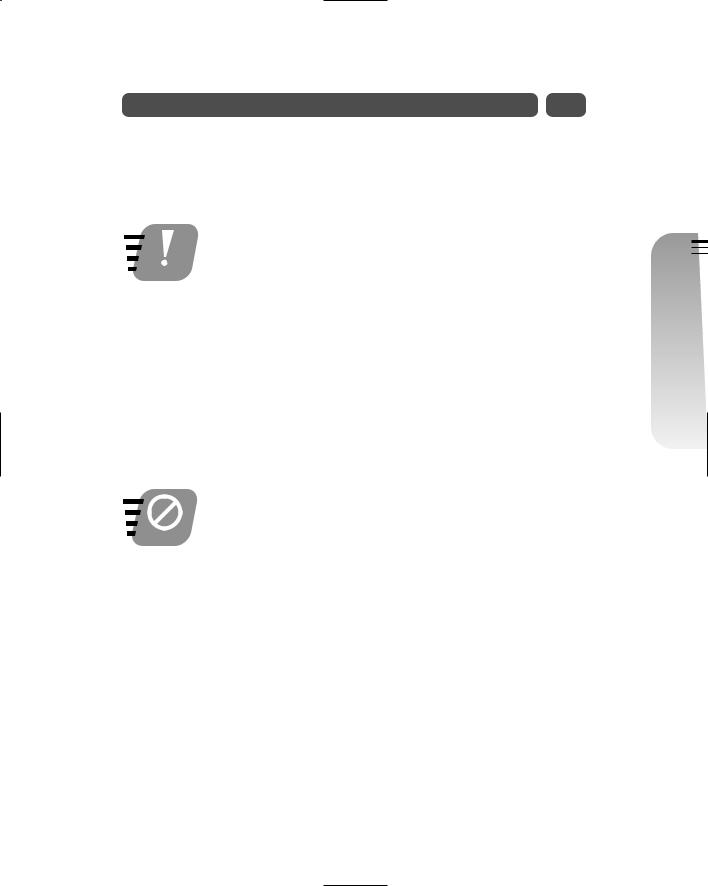
Figure 7-3 shows the same image with three different sizes. The first image is displayed without height and width attributes in the <img> tag, so the image comes in at its actual size. The second image is smaller because of smaller height and width attributes, and the third image is larger because of larger height and width attributes.
Keep in mind that an image does not actually grow or shrink when you change the height and width attributes. The image’s original size determines what the browser receives, and the <img> tag determines how the browser displays the image. If, for example, you attempt to display a larger image that runs far past its original width and height size, the image will appear grainy because there is not enough of the image to expand well past a given point.
Morning Saturday—II Part
7 Session
94 |
Saturday Morning |
Figure 7-3
The same image appears on this Web page in three different sizes.
If you want to take an image and expand its size dramatically, and the expansion causes the image to appear grainy on receiving Web pages, consider loading that image into a graphics program such as PaintShop Pro and enlarging the actual image. The graphics program can help correct color and resolution problems that might arise when you grow the image too large in HTML. Of course, increasing the size of the image in the graphics program also increases the loading time when that larger image loads in the Web page. Loading time versus resolution is one of the trade-off issues that you’ll constantly balance as you develop Web pages.
Tip
Note
Some graphics programs will remove header information that comes embedded in many GIF images. You can reduce the size of a GIF image by 10 percent and speed loading time by removing the image’s header information.
Many HTML programmers attempt to keep their home pages 35K or less, meaning that the total size of the home page, including all text and graphics, comes to no more than 35K. Even this size can be too slow, so attempt to make the size as compact as possible. A 35K Web page takes about 25 seconds to download using a low-end 14.4 Kbps modem, and 12 to 15 seconds using a 28.8

Session 7—HTML Graphics |
95 |
Kbps modem, which is too long for some users to wait. Many Web pages are far greater than 35K, and such a limit can be extremely frustrating. The good news is that the entire Internet speed, its bandwidth, should be moving faster as technologies improve.
When Users Turn Off the Image Display
As noted in Session 3, some users turn off the loading of graphic images. Therefore, you must constantly keep those users in mind when designing your Web page. Obviously, if your Web page’s mission is to display pictures or show artwork, you can consciously cater to the users who have high-speed Internet connections or to users who don’t mind waiting on the images to load.
The <img> tag supports the optional alt= (for alternative image) attribute that lets you display text in place of an image whenever the user turns off the display of graphics in the browser. The text that follows the alt= tag, enclosed in quotation marks, appears in the user’s browser window when graphics are turned off. The user, therefore, knows what the image is supposed to be and can either decide to view that particular graphic image by clicking it or ignore the image and concentrate on the text.
Generally, you should add alternate text to your <img> tags whenever you place images on your page. The following line displays the message, Jayne’s Picture, instead of the actual picture if the user’s images are turned off:
<img src=”images/jayne.jpg”, alt=”Jayne’s Picture”>
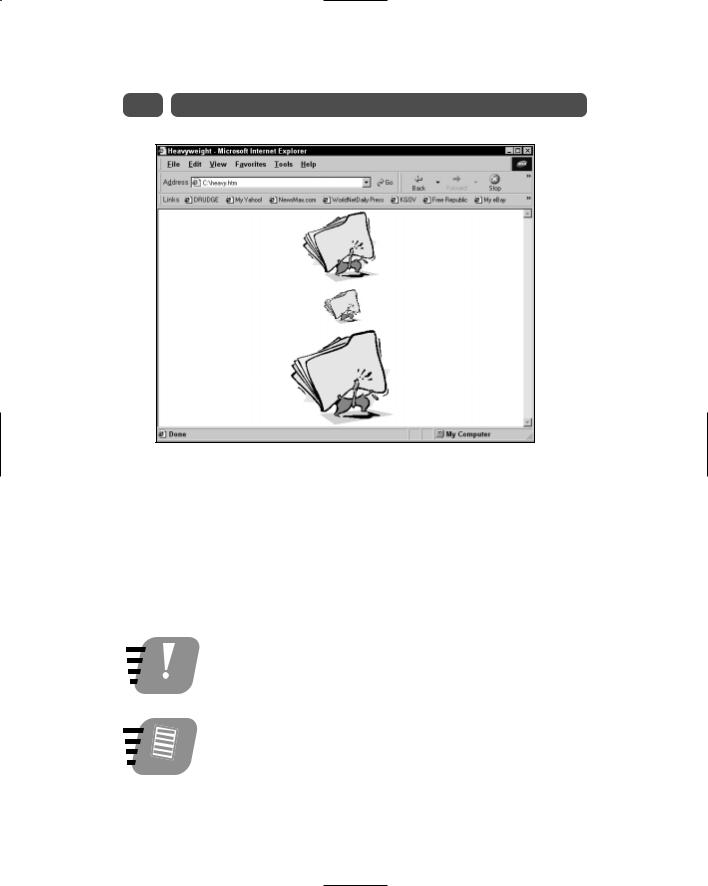
Figure 7-4 shows a Web page with the graphic images turned off but with alternative text descriptors that describe what the user does not see.
|
Even if the user’s graphics are turned on, the alt= attribute |
|
provides an additional benefit. When the user hovers the mouse |
Tip |
pointer over the image, the text pops up in a small box next to |
the mouse pointer. Therefore, the user might point to an image |
|
|
to read what your alternative attribute says about the image. |
|
Therefore, make your alt= attribute values descriptive. |
If you place borders around images that are decorative on your Web page, you should specify the alt= attribute for those images, too, so that text can be displayed instead of the actual border. Use a blank attribute value on such images, as done here:
<img src=”images/borderpaisley.jpg”, alt=””>
Morning Saturday—II Part
7 Session
96 |
Saturday Morning |
Alternate image tags
Figure 7-4
The alternative text gives the text-only browser information about the pictures.
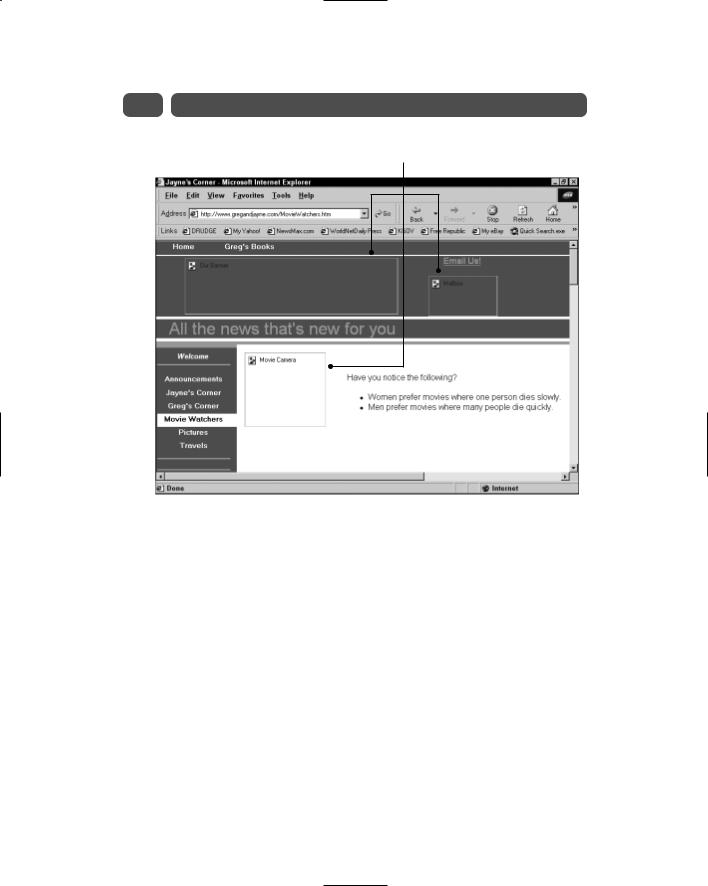
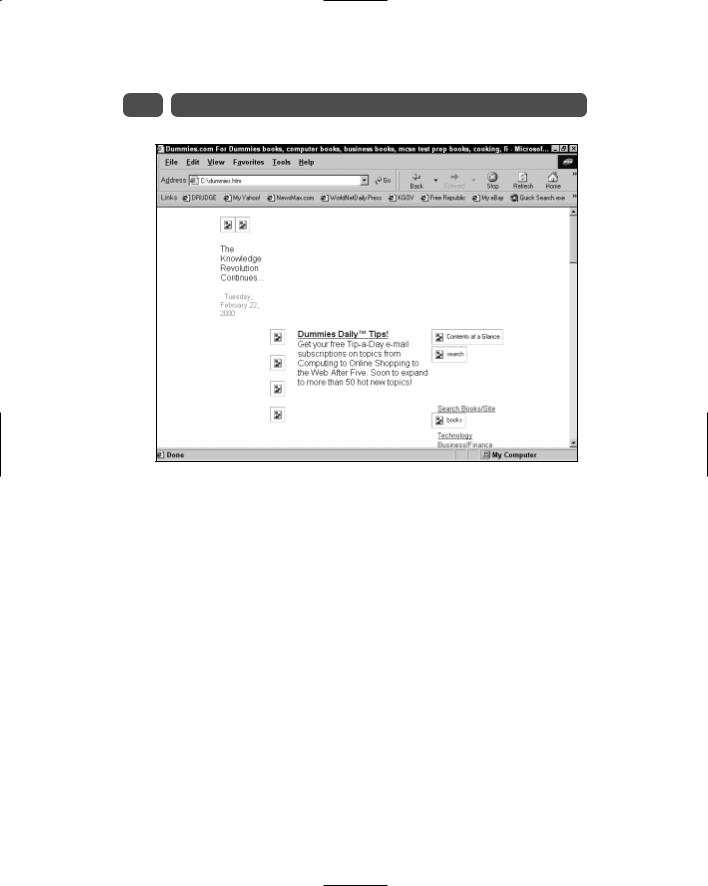
As an added bonus for users who display pages with images turned off, if you specify the size of each image using the height= and width= attributes, the browser pads the space where the image would normally go instead of displaying an unpadded, small icon. The difference is that the browser respects your page layout and does not change the location and spacing of headlines and other elements that might appear on your page. In Figure 7-5, the browser properly formats the page layout, even though graphics are not present, because of the width= and height= attributes on each of the graphic’s tags. Figure 7-6, on the other hand, shows a jumble of icons; the browser does not lay out the page properly because it cannot make guesses as to how wide and high the images are supposed to be without the proper attributes.

Session 7—HTML Graphics |
97 |
Figure 7-5
With the width and height measurements, room is allocated for the actual images.
Interlaced versus Noninterlaced Images
An interlaced image is a GIF image that appears blurry at first and then slowly gets crisper as the page loads. A noninterlaced image will not appear in the user’s browser window until the browser gets the entire image. However, an interlaced image will appear although seemingly out of focus. The browser gets the image a layer at a time, with each layer making the image crisper and clearer. Nevertheless, even the blurred first or second version of the image that appears as the page loads is often enough for the user to see what the image holds and make a decision to wait based on the first impression.
Interlaced JPEG images, called progressive JPEGs, are now available but few browsers support them.
Morning Saturday—II Part
7 Session
Note
98 |
Saturday Morning |
Figure 7-6
Without width and height measurements, the page layout is harmed.
The user might want to see the image in its final form, or the user might opt to traverse to a different Web site before the image clears up. Either way, the user has the choice to decide sooner than would be possible if the image were a noninterlaced image.
The decision to use interlacing is not done at HTML coding time. Instead, you determine whether or not an image is interlaced when you save it in a graphics program. As an HTML programmer, you should care about interlaced images because they affect how you want to design your site. If you want your images to be hidden until the entire image arrives on the user’s page, don’t use interlaced images. You will save some loading time because noninterlaced images load faster although the user won’t see any of the image until the entire image arrives in the browser.

Session 7—HTML Graphics |
99 |
Gamma Correction
PC monitors generally display images 20 percent darker than Mac monitors do. When you develop a graphic image in a graphics program, the program’s gamma correction enables you to lighten or darken the images to adjust the gamma value, or the value that determines the brightness. PCs usually require a gamma correction of 2.2 while the Mac requires a 1.7 to 1.9 gamma. As an HTML programmer, you may work with whatever images you receive, but if you see that your page’s graphics don’t look correct on either a PC or a Mac, you may have to adjust the gamma value for those images in a graphics program.
REVIEW
Graphics add flair to your Web site.
JPEG images are generally used for photos, and GIF images are generally used for all other artwork.
Keep in mind the trade-off of loading speed versus graphic resolution.
The <img> tag with the align=left and align=right attributes lets you leftand right-align your images properly in the Web page window.
The border= attribute inside the <img> tag lets you add borders around the images you want framed on your Web page.
The <img> tag supports the optional alt= attribute that lets you display text in place of your graphic images.
QUIZ YOURSELF
1.Which graphics type is best for logos? (See “Graphic File Types.”)
2.What is the screen resolution of most monitors? (See “Graphic File Types.”)
3.How can you center an image in the window? (See “Aligning an Image.”)
4.True or False: When you decrease the display size of an image by specifying small width= and height= attributes, you increase the page-loading speed. (See “Specifying the Image Size.”)
5.Why would you ever use a blank alt= attribute for an image on your Web site? (See “When Users Turn Off the Image Display.”)
Morning Saturday—II Part
7 Session

S E S S I O N
8 
Working with Color in
Text and Graphics
Session Checklist
Determine your Web page’s color strategies
Use color codes to specify exact colors
Utilize browser-safe colors to make your Web site universal
Add color to text and your Web page background
Be forewarned — this session contains some color theory and less hands-on HTML coding than any session so far. If you are not an artist, you may have little interest in learning about colors and color palettes. However,
understanding colors as they apply to the Web is far different from understanding colors that an artist must master. Here, you learn how to use Web colors so that they display properly as opposed to the millions of colors that will mislead you into thinking that your Web page looks like what you intended when it does not.