

Office PowerPoint2003
.pdf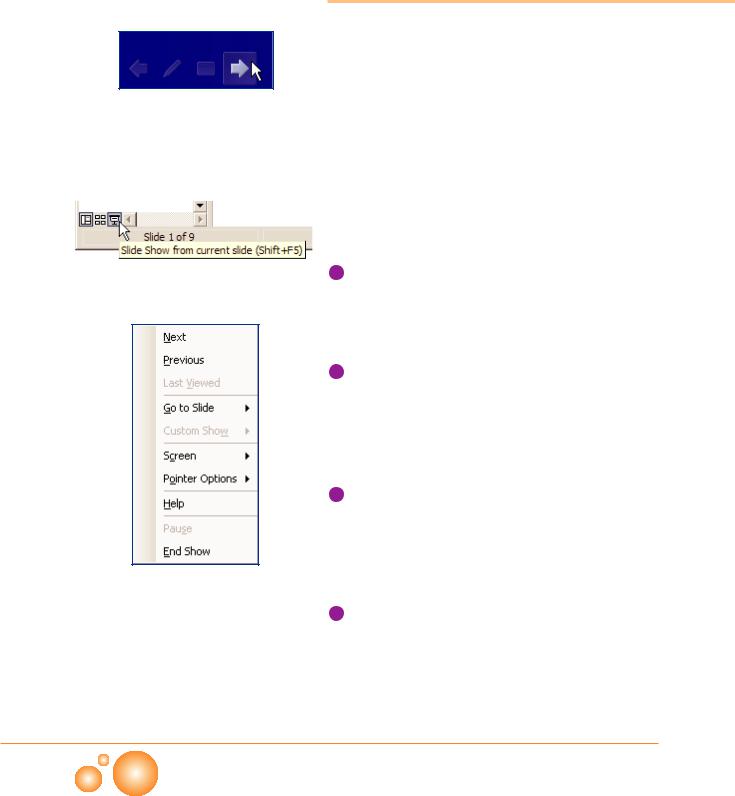
Navigating the Slide Show
PowerPoint Slide Show Navigation Tool
Starting Slide Show
Popup Menu
The easiest way to move from a slide to the next one is to click the mouse button. However, PowerPoint 2003 has a Navigation Toolbar that appears at the bottom left corner view when you move the mouse within the Slide Show. The Navigation Toolbar gives you the ability to go to the next, the previous, or any other slide.
These are the basic navigation techniques to start, navigate, and end a slide show:
To start a slide show;
click Slide Show button, or press F5, or
use Slide Show menu > Slide Show.
To go to the next slide; press [Space Bar], or
press right arrow [→] key, or
click the Next button on the Navigation Toolbar , or right-click the screen, and click Next on the shortcut menu.
To go to the previous slide; press left arrow [←] key, or
click the Previous button on the Navigation Toolbar , or
right-click the screen, and click Previous on the shortcut menu.
show;
press [Esc], or
right-click the screen, and click End Show on the shortcut menu, or
click the Navigation button on the Navigation Toolbar , and click End Show.
CHAPTER 5
62 P O W E R P O I N T

Annotating
While you are presenting your slide show, you may need to emphasize a certain place on a slide. If you are away from your computer you can use a wooden pointer or a laser pointer. But if you can reach your computer, PowerPoint 2003 has a very developed annotation. During a slide show you can draw freehand lines with your mouse to emphasize your ideas.
Step 1: Start the slide show (F5)
Step 2: You will see a Pen button on the Navigation Toolbar located at the bottom-left side of the slide. When you click it, you can access to popup menu. Click any one of the pen tools (Ballpoint Pen, Felt Tip Pen, or Highlighter). Then begin drawing.
Popup Menu |
Annotating Your Show |
To change the ink color:
Step 1: Click the Pointer arrow
Step 2: Click Ink Color. A color palette appears
Step 3: Choose the color you want from the in the palette.
Deleting Your Drawings
Step 1: Click the Pen button.
Step 2: You have two options;
a)Eraser: erases only the drawing you click
b)Erase All Ink on Slide: erases all your previous drawings on the slide.
VIEWING A SHOW
Changing Ink Color
press [E] to erase pen annotations
press [A] to show the pointer arrow
press [Ctrl+E] to toggle to eraser
P O W E R P O I N T 63

Go to Slide Using Popup Menu
Custom Show Popup
Menu
Some Options From
Popup Menu
Adding Speaker Notes
from Popup Menu
Other Options on the Popup Menu
PowerPoint 2003 has several useful and easy to use options on the popup menu.
Go to Slide
To jump to any slide in your slide show (even it is hidden);
Rightclick on the screen, click Go to Slide, and then select the slide you want to go, or
Click the Navigation button on the popup menu, click Go to Slide, and then select the slide from the submenu
Custom Show
To access to your Screen when displaying your slide show;
Right-click on the screen, click Custom Show, and select the show from the submenu, or
Click the Navigation button on the popup menu, click Custom Show, and select the show from the submenu.
Screen
To access to your screen when displaying your slide show;
Right-click on the screen, click Screen, and select the show from the submenu, or
button on the popup menu, click Screen, and select the show from the submenu.
Black Screen: Temporarily shows a black screen during a presentation. This is usually used when you are running your presentation on more than one monitor. The slide area for audience turns black but your monitor continues to show your slide show.
White Screen: Like Black Screen shows a White Screen to your audience.
Speaker Notes: You can add Speaker Notes easily while you are presenting your slide show.
CHAPTER 5
64 P O W E R P O I N T

Help
You can get quick help during a slide show. The quick help contains a list of very useful keyboard short-cuts:
Right-click on the screen, click Help, or
Getting Help Using Popup Menu
Slide Show Help ( keyboard shortcuts for common operations)
Review
In this chapter you have learned that you have lots of options while you are presenting your slide show;
 You have toolbar options, keyboard shortcuts, and popup window commands to use different tasks.
 You can use different pen tools and pen colors to point any particular point during your presentation, you can save these annotations if you want.
 You can show your hidden slides if you change your idea during the slide show.
  You can change your slide show to any custom show during the slide show.
VIEWING A SHOW
P O W E R P O I N T 65

Questions
1.PowerPoint 2003 Navigation Toolbar appears at the bottom left corner when you move the mouse within the Slide Show view. (T)(F)
2.The Navigation Toolbar gives you only the ability of going to the next and the previous slides. (T)(F)
3.Annotating is needed when you need to emphasize a certain place on a slide during the slide show. (T)(F)
4.You can change the ink color of your freehand lines. (T)(F)
5.You can jump to any slide in your slide show at any time during the slide show. (T)(F)
6.To access to your Custom Show when displaying your slide show; right-click on the screen, click Custom Show, and select the show from the submenu. (T)(F)
7.You can not add Speaker Notes while you are presenting your slide show. (T)(F)
8.You can get quick help (about keyboard shortcuts) during a slide show by right clicking on the screen. (T)(F)
9.To start a slide show _________________.
I. click Slide Show button II. press F5
III. press [Space Bar]
IV. select Slide Show menu > Slide Show
A) I-II-IV |
B) II-III-IV |
C) I-III-IV |
D) I-II-III-IV |
10.To go to the next slide _______________. I. press the right arrow key
II. click the Next button on the Navigation Toolbar
III. press [Space Bar]
IV. right-click the screen, and click Next on the
shortcut menu |
|
A) I-II-IV |
B) II-III-IV |
C) I-III-IV |
D) I-II-III-IV |
11.To end a slide show __________________. I. press [Esc]
II. click the End key on the keyboard
III. right-click the screen, and click End Show on the shortcut menu
IV. click the Navigation button on the Navigation Toolbar, and click End Show
A) I-II-IV |
B) II-III-IV |
C) I-III-IV |
D) I-II-III-IV |
12.To delete your drawings __________________. I. click the Pen button then select Eraser
II. click the Pen button then select Erase all ink on Slide
III. click Del key on the keyboard
IV. press [E] to erase pen annotations
A) I-II-IV |
B) I-II-III |
C) I-III-IV |
D) I-II-III-IV |
13.You can access _________________ by right clicking on the screen.
I. Black Screen
II. White Screen |
|
III. Speaker Notes |
|
IV. Custom Show |
|
A) I-II-IV |
B) I-II-III |
C) I-III-IV |
D) I-II-III-IV |
CHAPTER 5
66 P O W E R P O I N T


To access header and footer click the View menu, then Header and Footer
Although, slide show is the most common way of delivering a presentation, sometimes you need to print your slides to show them on overhead projectors, or you may need to print speaker notes or handouts for audience.
Before printing you can customize your printouts, change paper size, change printer properties and add header and footer to make them more understandable.
This section lets you select the printer.
Print range section allows you to select slides to be  printed.
what’ |
section |
|
allows |
you |
to select |
Slides, |
Handouts, |
|
Notes |
Pages, Outline |
|
View |
|
|
|
|
|
Printing Slides
Step 1: Open your presentation to be printed. Then click File > Print. Print dialog box opens.
Adjust printer
 properties using
Properties button.
Copies section  sets the number
of copies.
Color/Grayscale section allows you to select your printouts to be Color, Grayscale, or Pure Black and White.
Preview button opens
print preview window.
Print Dialog Box
CHAPTER 6
68 P O W E R P O I N T

Step 2: Click the Preview button, Print preview window opens. Print Preview toolbar helps you to make the adjustments. you want before printing. Click the Print button.
Print Preview Toolbar
Printing Handouts
In most cases, printing every slide in your presentation on a separate page is not a good idea. You can print more than one slide on a paper using Handouts. For example to give a copy of your presentation to your audience, you can use Handouts printing method.
Handouts are useful especially when you want your audience to
have the presentation as a document after the show.
Handouts Section of Print Dialog Box
To do this,
Step 1: Open File>Print
Step 2: Change Print what section to Handouts. Now Handouts section is activated.
Slides per page changes number of pages that will be printed on a page. Order changes the order of slides (left to right or top to bottom on paper).
Print Preview of Handouts
PRINTING A SHOW
P O W E R P O I N T 69

Printing Notes
Print Preview of Note Pages
(Speaker Notes)
Outline View of View Pane
Selecting Outline View
This option prints each slide including its speaker notes under the slide if it has one. Giving speakers additional material about the current slide enables the audience to make additional comments about the slide.
To print speaker notes;
Step 1: Open File > Print
Step 2: Change Print what section to Note Pages.
Note: to add speaker notes, use the text box, at the bottom of the screen tittled as "Click to add notes".
Printing Outlines
This option prints only the text on the slides, and does not print anything else (pictures, movies, etc.).
The Outline tab of slide pane will be printed. In general outline printing is used for toner and paper saving purposes.
To print outlines; Step 1: File>Print
Step 2: Change Print what section to Outline View.
Exporting to the MS Word
PowerPoint has limited printing options. You can export your slides to the MS Word for better printing.
To send your presentation to the MS Word:
Step 1: Open File > Send To> Microsoft Office Word.
Accessing to Send to from File Menu
CHAPTER 6
70 P O W E R P O I N T