

Publishing history - Basic Armouring
.pdf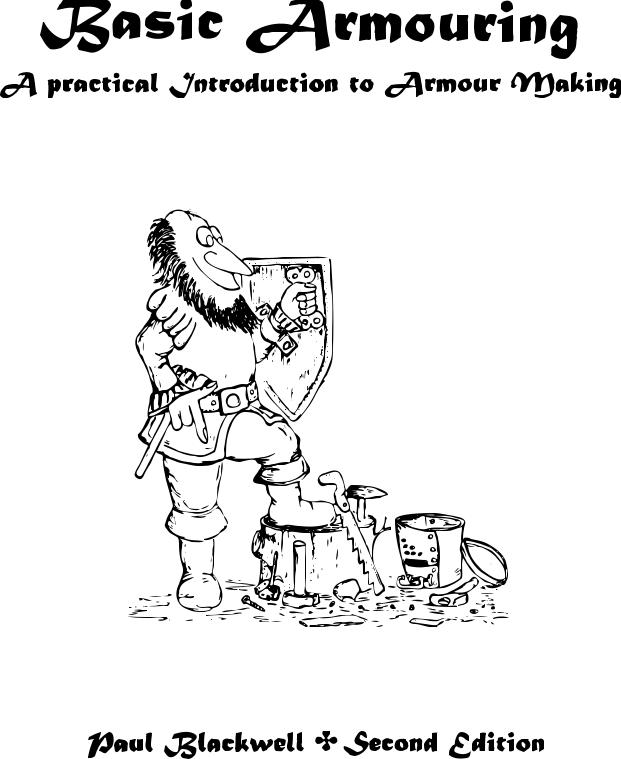

Basic Armouring—A Practical Introduction to Armour Making, Second Edition
By Paul Blackwell
Publishing History
March 1986: First Edition
March 2002: Second Edition
Copyright © 2002 Paul Blackwell.
This document may be copied and printed for personal use. It may not be distributed for profit in whole or part, or modified in any way. Electronic copies may be made for personal use. Electronic copies may not be published.
The right of Paul Blackwell to be identified as the Author and Illustrator of this work has been asserted in accordance with the Copyright, Designs and Patents Act 1988.
The latest electronic version of this book may be obtained from:
http://www.brighthelm.org/
Ye Small Print—Cautionary Note and Disclaimer
Combat re-enactment in any form carries an element of risk (hey they used to do this for real!) Even making armour can be hazardous, if you drop a hammer on your foot, cut yourself on a sharp piece of metal or do something even more disastrous! It must be pointed out, therefore, that if you partake in silly hobbies such as these you do so at your own risk!
The advice and information in this booklet is given in good faith (most having been tried out by the author) however as I have no control over what you do, or how you do it, I can accept no liability for injury suffered by yourself or others while making or using armour.
Ye Nice Note
Having said all that I’ll just add that I’ve been playing for ages and am still in one piece and having fun.
Cheers, Paul
ii
Table of Contents |
|
Introduction ........................................................................... |
1 |
Materials ................................................................................. |
3 |
Tools........................................................................................ |
7 |
Saftey .................................................................................... |
13 |
Leather Working Techniques .............................................. |
15 |
Metal Working Techniques.................................................. |
17 |
More Advanced Metal Working Techniques ...................... |
19 |
Padding................................................................................. |
23 |
Head ..................................................................................... |
29 |
Neck ...................................................................................... |
41 |
Body ...................................................................................... |
45 |
Arms ..................................................................................... |
53 |
Hands.................................................................................... |
65 |
Legs....................................................................................... |
77 |
Shields................................................................................... |
87 |
Maintaining Armour ........................................................... |
93 |
Authenticity .......................................................................... |
95 |
Fighting Styles ...................................................................... |
97 |
Aftermath ........................................................................... |
101 |
More Bits............................................................................. |
103 |
iii
TABLE OF CONTENTS
iv

Chapter 1 — Introduction
Stepping out into the world of medieval combat recreation can, like any other sport, be somewhat daunting. To start with where do you get all the equipment you need, especially all that nice shiny armour? Well here are your options:
1.Borrow it (a good way to start if spare stuff is available)
2.Buy it new (can be expensive)
3.Buy it second hand (cheaper but will it fit or be worn out already?)
4.Make it yourself.
5. Any combination of the above!
This booklet is a primer for those who want to try the fourth option; it sets out to show you how to make simple, but practical, armour. Beware though, armour making can become a hobby in its own right and this book is but an introduction! In time you may want to make even fancier, more complex and more authentic armour, in the meanwhile this book should get you out on the field! Enjoy.
Before you begin armouring
Decide what you need! This may seem obvi- 


 ous but experience has shown that people


 can rush out, make something entirely inap-


 propriate, then wonder why no one will


 let them play in it! Sad but true. To avoid


 this first check out what the local armour


 requirements are — read the rules, ask a


 marshal or another fighter, people like to


 help (more fighters equals more fun). A lot can be learnt by simply talking to experienced fighters. “Oh you don’t want one of those — they weigh a ton —
stops you running about! Want to buy my old one?” Try and decide on a style that will suit both the way you want to look and the way you want to fight then start
1
INTRODUCTION
thinking about how to achieve it. The sketch to the right shows what is generally required. (For more information see Chapters 18 and 20.)
Fitting
Obviously your armour should fit you. This means patterns etc. will need adjusting. Therefore don’t just go out and copy an existing piece and expect it to fit — it probably won’t. If you have been borrowing armour you will probably have noticed this effect already; universal fit means that it universally doesn’t quite fit anybody. What is not so obvious is that your armour should fit you and what ever else you are wearing. Padding can change your size and shape considerably so build your armour around it, not the tee shirt you wear in the workshop. Armour should also allow you to move; if it catches, rubs painfully or jams then you’ve done something wrong — fix it.
2

Chapter 2 — Materials
World wide period armours were made out of just about anything; cloth, metal, leather, bone, horn, bamboo; basically if it was available and it worked it was used! European armours tend to be less esoteric and generally stick to metal and leather over cloth. When looking for materials shop around, look for off cuts, remnants, or consider buying in bulk. Armour doesn’t have to cost a fortune.
Steel
Sheet steel is easily obtainable these days; look in the Yellow Pages under Metal Stockists. In the 1800s Sir Henry Bessemer invented a new process for making steel. Modern steel is therefore very different to period stuff; in fact it’s a lot better! Mild Steel is the easiest and cheapest to get hold of and the most convenient to work. For one thing you can easily cold work it - which means you don’t need a forge. Mild steel contains less than 0.25% carbon, has a non-fibrous structure and will take a high polish - it does rust however. It comes as either bright rolled sheets which are shiny and hence easiest to polish or hot rolled, which are marginally easier to work and come in a black colour. Galvanised steel is mild steel with a coating on it to stop it rusting which is fine until you scratch it; it is a nasty grey colour and isn’t suitable for anything that involves a lot of shape changing. I tend to avoid the stuff! Stainless steel comes to a variety of specifications; it’s more expensive than mild and more difficult to work, however, if you get the right stuff it won’t rust. If you plan to do anything dramatic to stainless you will need to anneal it, which will require heat, more of which later.
Mild steel is the best stuff to start off with. It is sold in sheets (generally 2 x 3 meters) of various thicknesses. To be confusing these are often referred to as gauges — of course there are different gauge systems from around the world and
Mild Steel for Armour
Thickness (mm) |
|
Gauge (UK) |
Used For |
Notes |
|
|
|||||
|
|
|
|
|
|
1.0 |
|
20 |
Edging shields, body plates |
Light weight, dents easily |
|
|
|
|
|
|
|
1.2 |
|
18 |
Arms, legs |
Will dent, but isn't too heavy |
|
|
|
|
|
|
|
1.5–1.6 |
|
16 |
Elbows, knees, helms |
Nice for dishing, can be used |
|
|
for arms and legs |
||||
|
|
|
|
||
2.0 |
|
14 |
Helms |
Starting to get heavy! |
|
|
|
|
|
|
|
3
MATERIALS
the British gauge system changed when we went metric! Best way round this is to tell the stockist what thickness you want and let him sort out the rest! The table below gives you an idea of what is suitable; the 1.5 to 1.6 mm for 16 gauge is because the old imperial stuff was 1.6mm and the new metric is 1.5. You can still get stuff rolled to the old size if you are lucky! Toughness wise stainless is roughly equivalent to the next gauge up of mild steel.
Leather
Leather is a wonderful material for making armour out of. It can be shaped, left soft to act as a pad, made hard so as to be armour in its own right or just cut into straps to hold everything together! Leather can be purchased from leather factors, warehouses, re-enactors markets (good cheap supplies) or through craft outlets. As with everything else shop around.
|
Leather for Armour |
|
|
|
|
Type |
Explanation and Use |
|
|
|
|
Rawhide |
Untanned, makes good shield edging (dog chews are a good source). |
|
Soak in water to make pliable then allow it to dry to make it hard again. |
||
|
||
|
|
|
Vegetable tanned |
‘Period style’ leather tanned using natural tannin from tree bark. |
|
Straps, coats of plates etc. Can be dyed. |
||
|
Good idea to give it a waterproofing finish (wax, oil). |
|
|
|
|
Chrome tanned |
Modern curing process using chromium salts. |
|
Straps, coats of plates etc. Comes in a variety of colours. |
||
|
||
|
|
|
Suede and Split |
No smooth face - not very strong - avoid! |
|
|
|
|
Tooling leather |
Vegetable tanned leather without waterproofing finish. |
|
When wetted becomes soft and pliable. Can be moulded to shape when wet. |
||
|
||
|
|
|
Sole leather |
Thick leather; often compressed for extra rigidity. |
|
Good for plates etc. Expensive |
||
|
Rivets
The vast majority of your armour is going to be held together by rivets. Look in Yellow Pages under fasteners. Ironmongers, DIY centres, craft shops and leather fittings retailers may also sell certain types. Rivets come very cheap if you buy in bulk (50 plus) rather than in little packers of 10 or so.
Mild steel rivets come in a variety of sizes and lengths — I’ve ended up with a huge variety! I mainly use 3/16 inch diameter, that’s 4.8 mm for you metric types. Length wise I keep lots of 1/4 inch for riveting two pieces of metal together and 3/8 inch for riveting three bits, articulations and the like. It’s also worth keeping a few really long ones, you can cut down, for that annoying job where the ones you have don’t quite reach. The only other diameter I use a significant number of is 1/8 inch (2.4 mm), for fingers on gauntlets and other fine work.
Tubular rivets with a head size of around 1/2 inch (13 mm) are useful. There is a special tool for setting these things — I find that putting them onto something flat and hitting them with a hammer works fine! The double headed type shown above are superior to the thin back type as they last longer and you can put them in upside down without going, “Darn, that looks wrong!”
4