

186 Project 1 CREATING A CUSTOMER MAINTENANCE PROJECT
else
{
sqlDataAdapter1.Update(customerDataSet1); MessageBox.Show(“Database updated!”);
}
}
In the preceding code, I have used a variable flag of the bool data type to determine whether any field has been left blank. When a field is blank, the value of the flag variable changes to false and an error message is set on the ErrorProvider control. Similarly, after the user specifies a valid value in the field, the error message associated with the field is cleared.
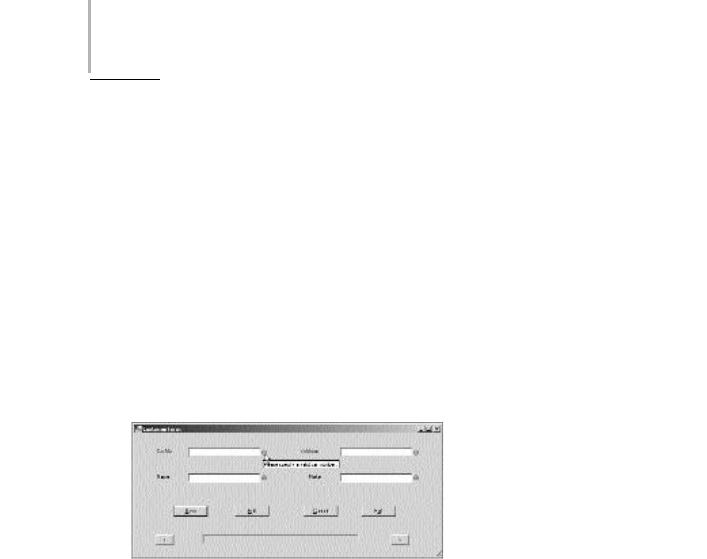
After writing the preceding code, run the form and check the output. To open CustomerForm, click on Customer on the main menu of the form. If you click on Save without specifying any value in the CustomerForm form,error icons appear for each field in the form, as shown in Figure 9-7.
FIGURE 9-7 Using an ErrorProvider control
Handling Exceptions
Exceptions are abnormal conditions in an application. For example, if you attempt to update records in a database when one or more of the mandatory fields have been left blank, your application will throw an exception.

VALIDATIONS AND EXCEPTION HANDLING |
Chapter 9 |
187 |
|
|
|
If exceptions are not handled by your application, your application will terminate abnormally. In this section, you can learn about ways to handle exceptions in the
JobDetails form.
Using the try and catch Statements
The try and catch statements form part of structured exception handling. When you know about certain statements of code that may generate an error, you can place those statements in a try block. For example, when you specify code to update data in a database or convert data from one format to another, your application can throw an exception. Therefore, you should place these statements in a try block.
Whenever statements in a try block throw an exception, the catch block, which follows the try block, catches the exception if the exception is in the same format as that expected by the catch block. For example, if you attempt to supply a string data type variable instead of an int data type, your application will throw an exception of the FormatException class. If the catch block handles exceptions of the FormatException class, the statements of the catch block will be executed.
You may wonder if you need to specify catch statements for each type of exception that your application generates. It is not mandatory to do so. All exception classes are derived from the Exception class of the System namespace. Therefore, unless you want to implement different exception handling logic for different types of exceptions, you can use the Exception class to handle all exceptions generated by your application.
The syntax for the try and catch statements is given as follows:
try
{
//The statements that might generate an error Statement(s);
}
catch (filter)
188 Project 1 CREATING A CUSTOMER MAINTENANCE PROJECT
{
//The statements written here are executed when the statements listed in the Try
//block fail and the filter specified is true.
Statement(s);
}
The code for the Click event of the Update button, after implementing the try and catch statements, is given as follows:
private void btnUpdate_Click(object sender, System.EventArgs e)
{ |
|
|
|
|
Y |
if (editCarNo.Text.Length <6) |
|
||||
{ |
|
|
|
|
|
|
|
|
L |
||
|
|
|
|
||
|
MessageBox.Show(“Please specify a valid car Number”); |
||||
|
editCarNo.Focus(); |
|
F |
||
|
|
M |
|
||
|
return; |
|
|
|
|
} |
|
|
|
|
|
|
|
A |
|
||
try |
|
|
|
||
{ |
|
E |
|
||
|
|
|
|||
|
if (Convert. oInt32(editWorkerId.Text)<1) |
||||
|
|
T |
|
|
|
{
MessageBox.Show(“Please specify a valid worker ID”); editWorkerId.Focus();
return;
}
if (Convert.ToDateTime(dateTimePicker1.Value) > DateTime.Today)
{
MessageBox.Show(“Please specify a valid date”); dateTimePicker1.Focus();
return;
}
}
catch (Exception exception)
{
MessageBox.Show(exception.Message);
}
}
Team-Fly®
VALIDATIONS AND EXCEPTION HANDLING |
Chapter 9 |
189 |
|
|
|
In the preceding code, I used the try block for converting the values specified by
the user for the editWorkerId and dateTimePicker1 fields to int and date data
types, respectively. If these statements throw any exception, the program control passes to the catch block and the description of the error is displayed to the user.
Using the Debug and Trace Classes
The .NET Framework class library provides the Debug and Trace classes in the System.Diagnostics namespace.The classes can be used to monitor variables in an application. For example, the number of months in a year cannot exceed 12. Therefore, you can use the Debug or Trace classes to monitor the value of a variable, such as a month. Whenever the value of the variable exceeds 12, the application will throw an assertion failure, which will lead to display of the Debug Assertion Failure dialog box.
CAUTION
The Debug and Trace classes provide the same functionality. However, the Debug class is active only in the Debug configuration.Therefore, use the Debug class only to debug your application. Do not change application data by using this class because the logic will not work in the Release configuration.Therefore, if you plan to change application data, use the Trace class.
You can use the Debug and Trace classes anywhere in the JobDetails form. As an example, I have used the Assert method of the Debug class to ensure that the date in the dateTimePicker1 control never exceeds the current date. To do this, complete the following steps:
1.Add a reference to the System.Diagnostics namespace by specifying the following line of code in the JobDetails.cs file:
using System.Diagnostics;
2.Add the following line of code wherever you want to check the value of
the dateTimePicker1 control:
Debug.Assert(Convert.ToDateTime(dateTimePicker1.Value) >
DateTime.Today,”The date has exceeded the current date”);