

3D Game Programming All In One (2004)
.pdf148Chapter 4 ■ Game Programming
//============================================================================
//The following functions are called from the client common code modules.
//These stubs are added here to prevent warning messages from cluttering
//up the log file. //============================================================================ function onServerMessage()
{
}
function onMissionDownloadPhase1()
{
}
function onPhase1Progress()
{
}
function onPhase1Complete()
{
}
function onMissionDownloadPhase2()
{
}
function onPhase2Progress()
{
}
function onPhase2Complete()
{
}
function onPhase3Complete()
{
}
function onMissionDownloadComplete()
{
}
Right off the bat, a new ActionMap called playerKeymap is created. This is a structure that holds the mapping of key commands to functions that will be performed—a mechanism often called key binding, or key mapping. We create the new ActionMap with the intent to populate it later in the module.
Then we define the 3D control (TS, or ThreeSpace) we call PlayerInterface (because that's what it is), which will contain our view into the 3D world. It's not a complex definition. It basically uses a profile defined in the common code—something we'll explore in a later chapter. If we want to use our mouse to provide view manipulation, we must set the noCursor property of the control to 1, or true.
Team LRN

Server 149
Then we define a method for the PlayerInterface control that describes what to do when the control becomes active ("wakes up"). It's not much, but what it does is activate DirectInput in order to grab any user inputs at the keyboard or mouse and then make the playerKeymap bindings active.
Next, we define a callback method for the GameConnection object (you know, the one we created back there in control/main.cs). The engine invokes this method internally when the server has established the connection and is ready to hand control over to us. In this method we assign our player interface control to the Canvas we created earlier in the InitializeClient() function in the control/initialize.cs module.
After that, we define a whole raft of motion functions to which we will later bind keys. Notice that they employ global variables, such as $mvLeftAction. This variable and others like it, each of which starts with $mv, are seen and used internally by the engine.
Then there is a list of key bindings. Notice that there are several variations of the Bind calls. First, there are binds to our playerKeymap, which makes sense. Then there are binds to the GlobalActionMap; these bindings are available at all times when the program is running, not just when an actual game simulation is under way, which is the case with a normal action map.
Finally, there is a list of stub routines. All of these routines are called from within the common code package. We don't need them to do anything yet, but as before, in order to minimize log file warnings, we create stub routines for the functions.
Server
The control/server.cs module is where game-specific server code is located. Most of the functionality that is carried in this module is found in the form of methods for the GameConnection class. Here is the control/server.cs module. Type it in and save it as Emaga4\control\server.cs.
//============================================================================
//control/server.cs
//server-side game specific module for 3DGPAI1 emaga4 tutorial game
//provides client connection management and player/avatar spawning
//Copyright (c) 2003 by Kenneth C. Finney. //============================================================================ function OnServerCreated() //----------------------------------------------------------------------------
//Once the engine has fired up the server, this function is called
//----------------------------------------------------------------------------
{
Team LRN

150 Chapter 4 ■ Game Programming
Exec("./player.cs"); // Load the player datablocks and methods
}
//============================================================================
//GameConnection Methods
//Extensions to the GameConnection class. Here we add some methods
//to handle player spawning and creation. //============================================================================
function GameConnection::OnClientEnterGame(%this) //----------------------------------------------------------------------------
// Called when the client has been accepted into the game by the server. //----------------------------------------------------------------------------
{
// Create a player object. %this.spawnPlayer();
}
function GameConnection::SpawnPlayer(%this) //----------------------------------------------------------------------------
// This is where we place the player spawn decision code.
// It might also call a function that would figure out the spawn // point transforms by looking up spawn markers.
// Once we know where the player will spawn, then we create the avatar. //----------------------------------------------------------------------------
{
%this.createPlayer("0 0 220 1 0 0 0");
}
function GameConnection::CreatePlayer(%this, %spawnPoint) //----------------------------------------------------------------------------
//Create the player's avatar object, set it up, and give the player control
//of it.
//----------------------------------------------------------------------------
{
if (%this.player > 0)//The player should NOT already have an avatar object. { // If he does, that's a Bad Thing.
Error( "Attempting to create an angus ghost!" );
}
// Create the player object %player = new Player() {
Team LRN

Player 151
|
dataBlock = HumanMaleAvatar; |
// defined in player.cs |
|
|
client = %this; |
// the avatar will have a pointer to its |
|
}; |
|
|
// owner's connection |
// |
Player setup... |
|
|
%player.setTransform(%spawnPoint); // where to put it
// Give the client control of the player %this.player = %player; %this.setControlObject(%player);
}
//============================================================================
//The following functions are called from the server common code modules.
//These stubs are added here to prevent warning messages from cluttering
//up the log file. //============================================================================ function ClearCenterPrintAll()
{
}
function ClearBottomPrintAll()
{
}
The first function, OnServerCreated, manages what happens immediately after the server is up and running. In our case we need the player-avatar datablocks and methods to be loaded up so they can be transmitted to the client.
Then we define some GameConnection methods. The first one, OnClientEnterGame, simply calls the SpawnPlayer method, which then calls the CreatePlayer method using the hardcoded transform provided.
CreatePlayer then creates a new player object using the player datablock defined in control/player.cs (which we will review shortly). It then applies the transform (which we created manually earlier) to the player's avatar and then transfers control to the player.
Finally, there are a couple more stub routines. That's the end of them—for now—I promise!
Player
The control/player.cs module defines the player datablock and methods for use by this datablock for various things. The datablock will use the standard male model, which in this case has been named player.dts. Figure 4.3 shows the standard male avatar in the Emaga4 game world.
Team LRN

152 Chapter 4 ■ Game Programming
Figure 4.3 Player-avatar in Emaga4.
Here is the control/player.cs module. Type it in and save it as Emaga4\control\player.cs.
//------------------------------------------------------------------------
//control/player.cs
//player definition module for 3DGPAI1 emaga4 tutorial game
//Copyright (c) 2003 by Kenneth C. Finney.
//------------------------------------------------------------------------
datablock PlayerData(HumanMaleAvatar)
{
className = Avatar; shapeFile = "~/player.dts"; emap = true; renderFirstPerson = false; cameraMaxDist = 4;
mass = 100; density = 10; drag = 0.1; maxdrag = 0.5; maxEnergy = 100; maxDamage = 100;
maxForwardSpeed = 15; maxBackwardSpeed = 10; maxSideSpeed = 12;
Team LRN

Running Emaga4 |
153 |
minJumpSpeed = 20; maxJumpSpeed = 30; runForce = 4000; jumpForce = 1000; runSurfaceAngle = 70; jumpSurfaceAngle = 80;
};
//----------------------------------------------------------------------------
// Avatar Datablock methods //----------------------------------------------------------------------------
//----------------------------------------------------------------------------
function Avatar::onAdd(%this,%obj)
{
}
function Avatar::onRemove(%this, %obj)
{
if (%obj.client.player == %obj) %obj.client.player = 0;
}
The datablock used is the PlayerData class. It is piled to the gunwales with useful stuff. Table 4.2 provides a summary description of each of the properties.
There are many more properties available for the avatar, which we aren't using right now. We can also define our own properties for the datablock and access them, through an instance object of this datablock, from anywhere in the scripts.
Last but not least, there are two methods defined for the datablock. The two basically define what happens when we add a datablock and when we remove it. We will encounter many others in later chapters.
Running Emaga4
Once you've typed in all of the modules, you should be in a good position to test Emaga4. Emaga4 is a fairly minimalist program. When you launch tge.exe, you will be deposited directly into the game. Once you have been deposited in the game, you have a small set of keyboard commands available to control your avatar, as shown in Table 4.3.
Team LRN

154 Chapter 4 ■ Game Programming
Table 4.2 Emaga4 Avatar Properties
Property |
Description |
className |
Defines an arbitrary class that the avatar can belong to. |
shapeFile |
Specifies the file that contains the 3D model of the avatar. |
emap |
Enables environment mapping on the avatar model. |
renderFirstPerson |
When true, causes the avatar model to be visible when in first-person point-of- |
|
view mode. |
cameraMaxDist |
Maximum distance from the avatar for the camera in third-person point-of- |
|
view mode. |
mass |
The mass of the avatar in terms of the game world. |
density |
Arbitrarily defined density. |
drag |
Slows down the avatar through simulated friction. |
maxdrag |
Maximum allowable drag. |
maxEnergy |
Maximum energy allowed. |
maxDamage |
Maximum damage points that can be sustained before the avatar is killed. |
maxForwardSpeed |
Maximum speed allowable when moving forward. |
maxBackwardSpeed |
Maximum speed allowable when moving backward. |
maxSideSpeed |
Maximum speed allowable when moving sideways (strafing). |
minJumpSpeed |
Below this speed, you can't make the avatar jump. |
maxJumpSpeed |
Above this speed, you can't make the avatar jump. |
jumpForce |
The force, and therefore the acceleration, when jumping. |
runForce |
The force, and therefore the acceleration, when starting to run. |
runSurfaceAngle |
Maximum slope (in degrees) that the avatar can run on. |
jumpSurfaceAngle |
Maximum slope (in degrees) that the avatar can jump on, usually somewhat |
|
less than runSurfaceAngle. |
Table 4.3 Emaga4 Navigation Keys
Key |
Description |
Up Arrow |
Run forward |
Down Arrow |
Run backward |
Left Arrow |
Run (strafe) left |
Right Arrow |
Run (strafe) right |
Numpad 0 |
Jump |
z |
Free look (hold key and move mouse) |
Tab |
Toggle player point of view |
Escape |
Quit game |
Tilde |
Open console |
Team LRN

|
|
Moving Right Along |
155 |
After you have created all |
|
|
|
|
|
||
of the modules, you can |
|
|
|
run |
Emaga4 simply |
|
|
by double-clicking on |
|
|
|
Emaga4\tge.exe. You will |
|
|
|
"spawn" in to the game |
|
|
|
world above the ground, |
|
|
|
and |
drop down. When |
|
|
you hit the ground, your |
|
|
|
view will shake from the |
|
|
|
impact. If you turn your |
|
|
|
player around, using the |
|
|
|
mouse, you will see the |
|
|
|
view shown in Figure 4.4. |
|
|
|
After spawning, you can |
|
|
|
run around the country- |
Figure 4.4 Looking around the Emaga4 game world. |
|
|
side, admire your avatar |
|
||
|
|
||
with the Tab and z keys, and jump. |
|
||
Moving Right Along
You should have a fairly simple game now. I'll be the first to admit that there is not much to do within the game, but then that wasn't the point, really. By stripping down to a barebones code set, we get a clearer picture of what takes place in our script modules.
By typing in the code presented in this chapter, you should have added the following files in your emaga4 folder:
C:\emaga4\main.cs
C:\emaga4\control\main.cs
C:\emaga4\control\client.cs
C:\emaga4\control\server.cs
C:\emaga4\control\initialize.cs
C:\emaga4\control\player.cs
The program you have will serve as a fine skeleton program upon which you can build your game in the manner that you want.
By creating it, you've seen how the responsibilities of the client and server portions of the game are divvied out.
Team LRN

156Chapter 4 ■ Game Programming
You've also learned that your player's avatar needs to have a programmatic representation in the game that describes the characteristics of the avatar, and how it does things.
In the next chapter we will expand the game by adding game play code on both the client and the server sides.
Team LRN
chapter 5
Game Play
n Chapter 4 we created a small game, Emaga4. Well, not really a game—more of a |
|
really simple virtual reality simulation. We created a few important modules to get |
|
Ithe ball rolling. |
|
In this chapter we'll build on that humble beginning and grow toward something with |
|
some game play challenge in it, called Emaga5. There will be some tasks to perform (goals) |
|
and some things to make those tasks just that much harder (dramatic tension). |
|
To make this happen we'll have to add a fair number of new control modules, modify |
|
some of the existing ones, and reorganize the folder tree somewhat. We'll do that in |
|
reverse order, starting with the reorganization. |
|
The Changes |
|
You will recall that there are two key branches in the folder tree: common and control. As |
|
before, we won't worry about the common branch. |
|
Folders |
|
The control branch contained all of our code in the Chapter 4 version. For this chapter |
|
we'll use a more sophisticated structure. When you run the EmagaCh5KitInstall program, |
|
it will automatically create the new folder tree for you. It's important for you to become |
|
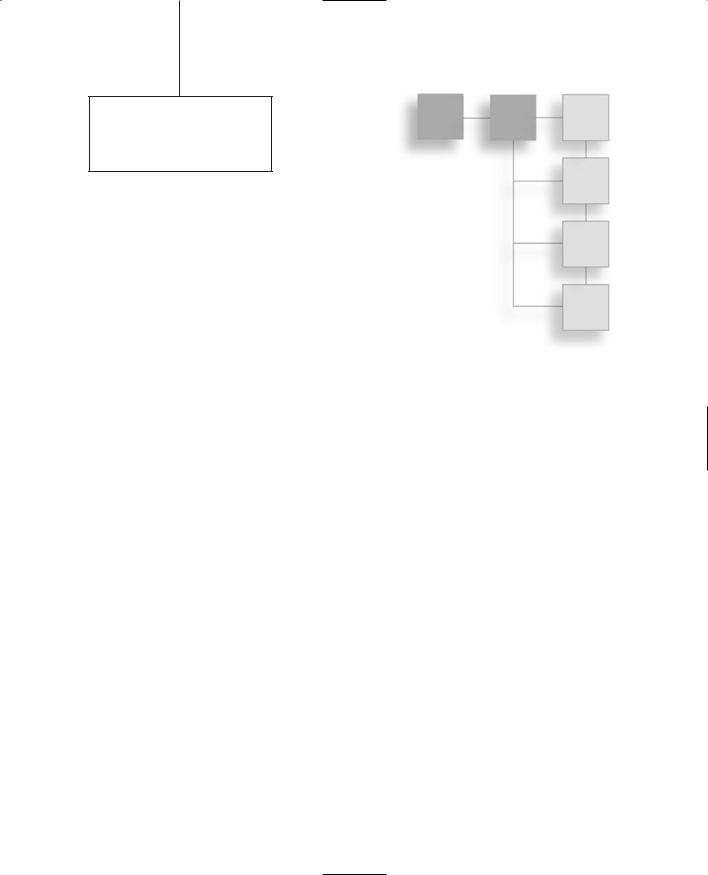
familiar with it, so study Figure 5.1 for a few minutes. |
|
After examining Figure 5.1, take a few moments to run the EmagaCh5KitInstall program. |
|
You will find it in the 3DGPAi1\RESOURCES folder. After it does its business, it will have |
|
installed everything except the key modules that we're going to explore in detail. There is |
|
still some manual assembly involved. |
157 |
|
Team LRN