

ASP.NET 2.0 Instant Results
.pdfWrox Photo Album
Figure 7-1
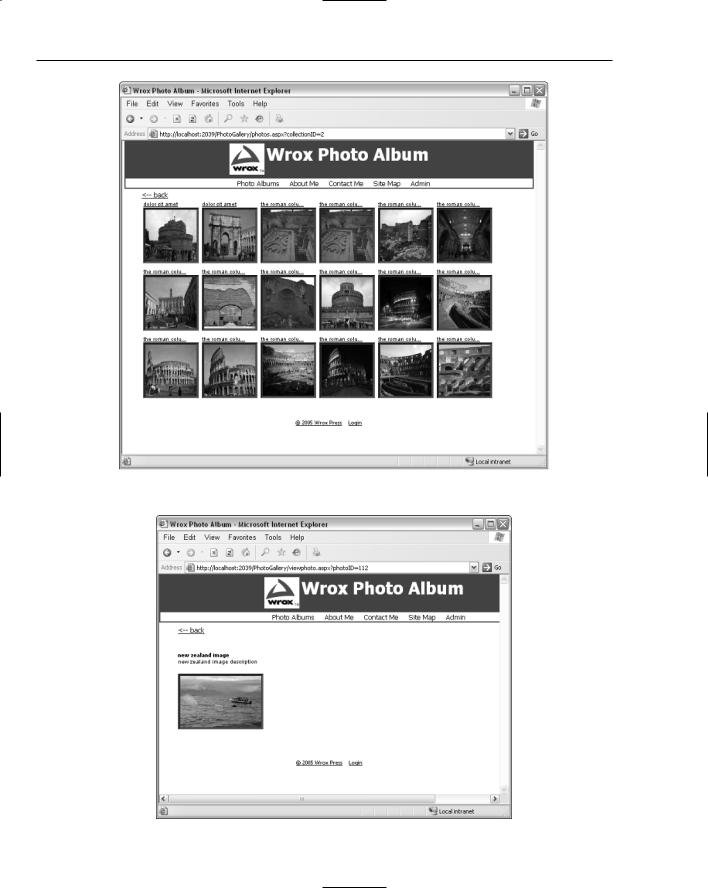
Clicking one of the main collection images — the images directly beneath the main menu items — loads up the collection contents page, which consists of a grid of images, displayed in Figure 7-2.
Further clicking on any of these images loads the photo detail page, as shown in Figure 7-3.
The look and feel of the web site is managed by the use of ASP.NET 2.0 feature themes. Themes are essentially sets of user interface management files, which allow the entire application’s look and feel to be easily modified at the change of a single configuration entry. You learn more about themes and skins in the design section to follow.
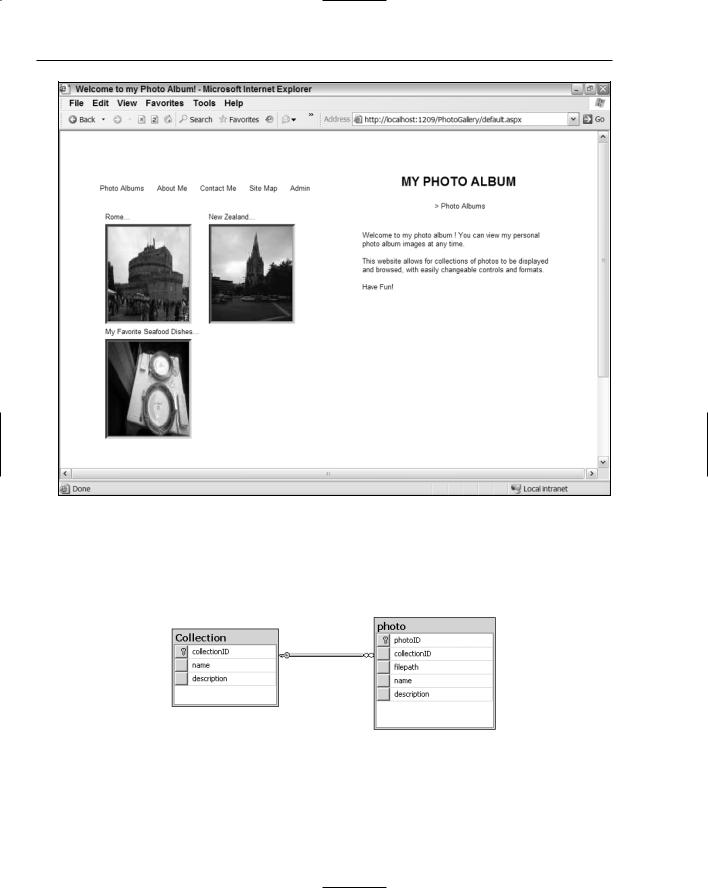
The homepage is basically a photo selection page (see Figure 7-2) where you will see a list of large thumbnail images displayed for each collection. These images are simply the first photo from each of the collections arbitrarily selected in order to graphically represent the collection. The page contains a user control for the bulk of the image display screens of the application. The groups of digital images are called collections, and the images are referred to as photos. Each collection can have any number of photos. Collections also have a name and a description. Each photo can have a name, description, and a collection to which it belongs. You can click one of the collection thumbnails to display the contents of the collection, which are the photos themselves. Once the actual photos of a collection are displayed, you can click an individual photo in order to view its full and unaltered state.
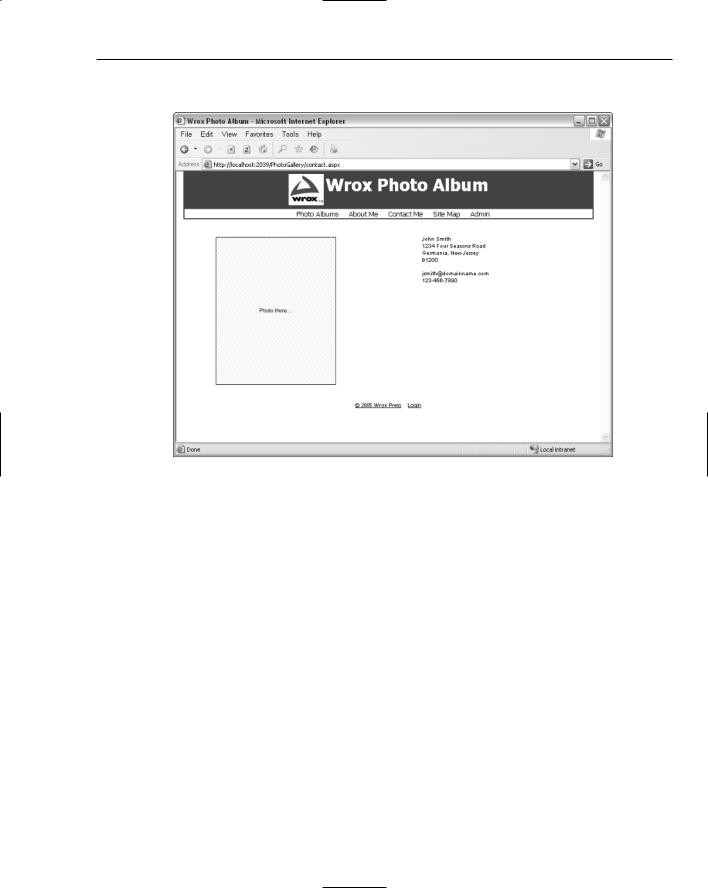
By clicking the About Me link, you’ll see there is a placeholder for the artist or photographer to identify themselves pictorially. In similar fashion, the Contact Me page has the same placeholder.
207
Chapter 7
Figure 7-2
Figure 7-3
208
Wrox Photo Album
Figure 7-4 depicts the simple Contact Me page, with a placeholder for the web site owner’s picture.
Figure 7-4
The site map page contains a data-bound TreeView control, which contains links to each page on the web site, just like the main menu at the top of the screen.
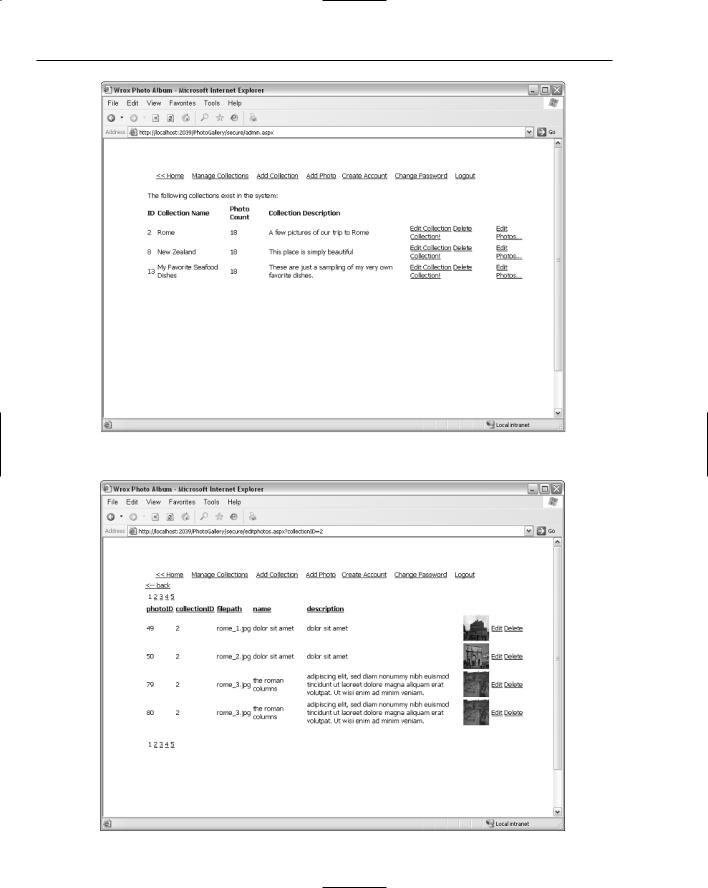
When you click Admin from the main menu, you enter into the secure administrator section of the web site. You’re greeted with a Login control to authenticate your user credentials in the system. If you’re not sure what your password is you can click the Password Recovery hyperlink at the bottom of the Login control. Once you’re logged into the system, you will see the main menu for the administrator area, shown in Figure 7-5.
Figure 7-5 shows the main menu administration page, with a GridView control displaying all of the collections in the system by default. From this page, you’re greeted with a list of the existing collections the system contained in a GridView control. This grid contains collections of photos that you can add or delete at will. On the right-hand side of the grid, you see clickable hyperlinks for editing or deleting a collection. You also see a hyperlink for editing the photos contained within a collection.
Clicking the Edit Photos link loads the page displaying the photos within that collection in an editable grid (see Figure 7-6). This grid has all you will need to manage the existing photos in the system.
209
Chapter 7
Figure 7-5
210 |
Figure 7-6 |
Wrox Photo Album
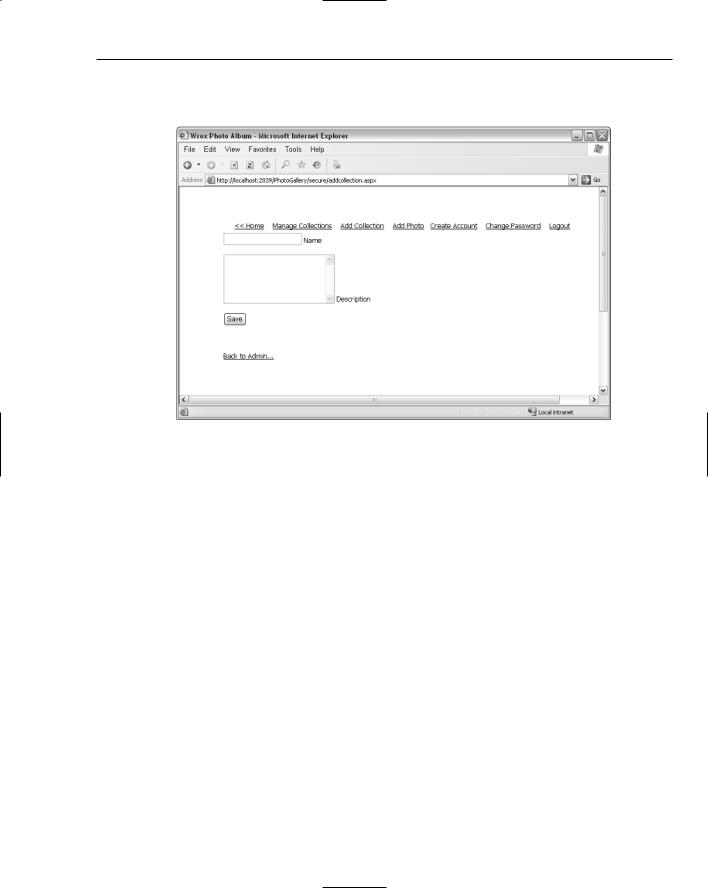
From the main menu of the Admin section you can also click the Add Collection link. Clicking this link loads the page displayed in Figure 7-7.
Figure 7-7
Figure 7-7 shows the simple add-collection interface, which allows you to add a new collection to the database, stating its name and description. To add a photo to any collection in the system, click the Add Photo link at the top of the administration area. From this page, you can select the photo on your local machine, enter a name for the photo, select a collection from the drop-down, and enter any descriptive information about the image in the description field. Clicking the Upload button saves the image and textual fields to the server where it is catalogued and viewable immediately.
After walking through the useful features of the Wrox Photo Album, you will be pleased to know there is an insightful design involved in the project. The next section describes the design in detail.
Wrox Photo Album Design
The design of the Wrox Photo Album includes considerations for how the various pieces fit together, and the structure of the site in general. It also explains the way in which images are managed within the system, and how the images are bound to controls on the WebForms.
How It All Fits Together
The design chosen for the Wrox Photo Album has several distinct characteristics and takes into consideration some very specific complexities of displaying and managing images online. These include the following:
211

Chapter 7
Storing images (database versus file system)
Displaying images (data-bound controls versus custom queries)
Structure of the site
Themes and skins
Design of the data model
Security model
The design decisions implemented within the Wrox Photo Album are not by any means locked in place. They can be changed in various capacities in the areas of the security model chosen, data tables used, file structures, and data binding as a whole. In short, nearly all of the application can easily be restructured to accommodate your unique design decisions.
Storing Images
Two popular methods of storing and rendering images for a web site exist: Either store the images as binary data within a database, or store them within a file folder on the web server as an alternative. Storing the image in the database as binary data is not necessarily the best way to manage images over the Internet. Studies have been performed that measure the quality and resolution of a JPEG image that is created from a database and converted from binary data to a streamed image and sent to a browser. Results have shown in some cases that for some reason the images that stream to the browser are of the lower quality in comparison with images that are stored in a file folder on the web server and sent over a normal HTTP protocol response. In addition, storing images outside of the database can arguably provide a greater amount of flexibility in the movement and control over storage and volume issues. This is especially true if your Wrox Photo Album becomes large and unmanageable. That is, if you will be storing thousands of images in the SQL Server Express 2005 database, there may be a performance hit to text-based SQL queries on the database. As more and more queries run against your application, and the size of the data begins to increase due to image volume, you may experience some level of performance degradation. As an alternative to storing images in the database, storing them in a traditional web-based file folder will ensure maximum control over your image content, while maintaining near-zero latency in your database queries.
Displaying Images
In the classic ASP (ASP 3.0) world, in order to display thumbnails of images any grid-like fashion, a developer would have to create some fairly intelligent dynamic execution logic. With the advent of ASP.NET data-bound controls, however, images can be rendered in a grid within what is known as Repeater controls. The DataList control, which is one of the many repeater-like controls available, allows developers to create a set of HTML that can be easily repeated every time a new record is processed through the control.
Following is an excerpt of the DataList control HTML markup in the Wrox Photo Album photo display grid:
<asp:DataList ID=”DataList1” runat=”Server” dataSourceID=”SqlDataSource1” repeatColumns=”6” repeatdirection=”Horizontal” borderwidth=”0px”
cellpadding=”3”>
<ItemStyle cssClass=”item” /> <ItemTemplate>
212

Wrox Photo Album
<table align=left border=”0” cellpadding=”0” cellspacing=”0”> <tr>
<td></td>
<td nowrap width=”100” valign=”top”>
<a class=”photoname” href=”viewphoto.aspx?photoID=<%# Eval(“photoID”)
%>”>
<%#GetName(Server.HtmlEncode(Eval(“Name”).ToString()))%> </a>
</td>
<td></td>
</tr>
<tr>
<td></td>
<td>
<a href=’viewphoto.aspx?photoID=<%# Eval(“photoID”) %>’ >
<img class=”viewphoto” src=”upload/<%# Eval(“filepath”) %>” height=”95” width=”95” alt=’<%# Eval(“description”) %>’ />
</a>
</td>
<td></td>
</tr>
</table>
</ItemTemplate>
</asp:DataList>
As displayed in the preceding HTML tags, the DataList control allows for the HTML to be repeated with the specific image filename replaced each time the HTML section is rendered. The <%# Eval(“fieldname”) %> fields are where the data fields will be replaced with the data rows from the database. The table structure within the DataList control provides a formatted display of information for each photo record. The section titled “Code and Code Explanation” reviews this in detail.
Site Structure
The site is composed of numerous separate files being referenced in an intelligent and systematic way, adhering to popular practices of using user controls, WebForms, class files, master pages, and codebehind files. The user controls are the commonly used ASP.NET files that represent the actual code and processing of the ASP.NET WebForms. Each ASP.NET WebForm contains a single user control to contain the business logic of the page. The class files are used to represent the photo and collection objects as they are passed into the system from other WebForm pages. The master pages are used to provide consistent aesthetics and structure to each page, showing the menu and title area for the page.
The sections of the project are listed in the following table:
Section |
Description |
|
|
App_Code |
The object classes and helper classes such as those used for data access calls. |
App_Data |
The actual SQL Server Express .mdf data file. |
App_Themes |
The location of the contents of two themes to use. |
Images |
Any images not associated to a particular theme. |
|
Table continued on following page |
213
Chapter 7
Section |
Description |
|
|
Secure |
Administrator area, locked down with controlled access by the ASPNET |
|
security database and ASP.NET built-in security protocol to the administrator |
|
role and the super-administrator role. |
Upload |
The folder where images are uploaded and stored. |
Controls |
The location for all user controls, to which most WebForm pages point. |
Webforms |
The .aspx files in the root of the web site folder structure. |
Configuration Files |
The Map.sitemap and Web.config files used to store the navigation and |
|
configuration settings for the web site. |
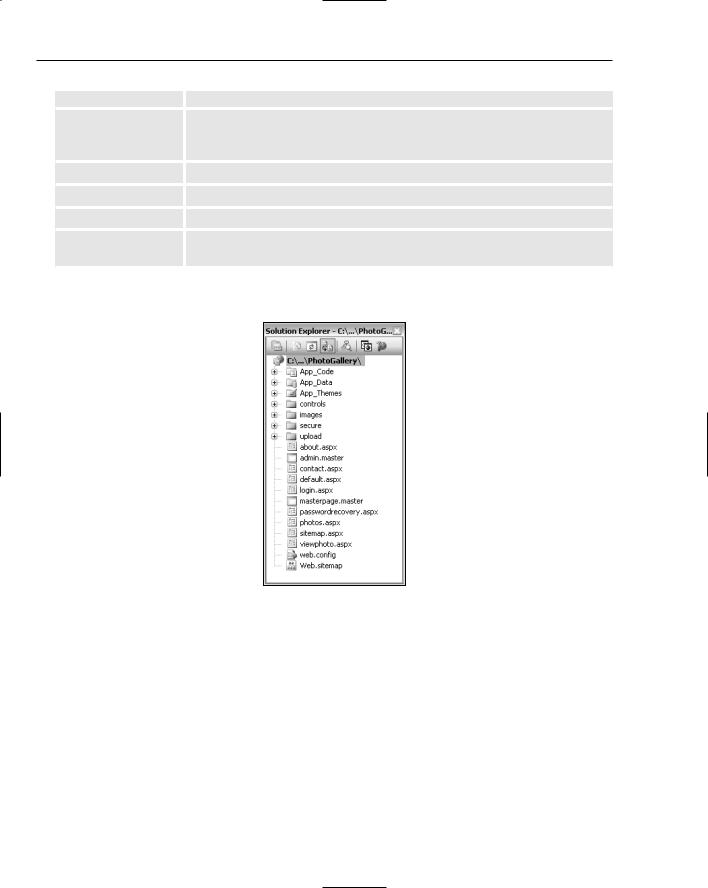
Figure 7-8 shows a developer’s view of the project’s folders and files from within the Solution Explorer.
Figure 7-8
Themes and Skins
The Wrox Photo Album look and feel is managed by the use of themes and skins in the folder App_Themes in the root of the application. A skin allows you to define the visual styles that can be applied to any controls. A theme, however, is a collection or grouping of skins and applies to the ASP.NET page itself. By using these two techniques in conjunction, the entire site’s look and feel can be configured and managed from a configuration file or application setting. Specifically, the actual theme that the application is currently using can be found in the appSettings section of the Web.config file, as displayed here:
214

Wrox Photo Album
<appSettings>
<add key=”CurrentTheme” value=”openbook” />
<!-- Commented Lines Here...
<add key=”CurrentTheme” value=”ultraclean” /> -->
</appSettings>
The Wrox Photo Album is configured with two themes:
The OpenBook theme
The UltraClean theme
Each theme can be used by simply changing the entry within the Web.config file as documented in the preceding code. The actual entries for each of these are displayed in the text that follows and are mutually exclusive in nature. That is, only one appSettings CurrentTheme entry is allowed to exist at a time. The other setting must be commented out or deleted.
You could leave the OpenBook theme in place with the following entry in the Web.config file:
<appSettings>
<add key=”CurrentTheme” value=”openbook” /> </appSettings>
Or instead, you could use the following entry for the UltraClean theme:
<appSettings>
<add key=”CurrentTheme” value=”ultraclean” /> </appSettings>
The OpenBook theme uses a much more elegant font style, and a beautiful background image of an open book. Figure 7-1 at the beginning of the chapter shows what the OpenBook theme looks like in your browser.
The UltraClean theme (see Figure 7-9) uses a standard Arial font style, with hardly any other formatting or background colors and images. This is provided purposefully, because many developers would naturally like to make changes to an existing skin in order to customize it to their liking.
Thus, themes allow you to make changes to the visual elements of the site as a whole. But if you want to make granular changes to individual controls, you would have to modify the skin files within the theme folders, respectively. The skin files represent how the ASP.NET controls are to be formatted, including the application of CSS style sheets and specific server-side HTML markup tags.
215
Chapter 7
Figure 7-9
Data Model
The data model is simplistic by design and by purpose. Only two tables are used in the site: Photo and Collection. The model is displayed in Figure 7-10.
Figure 7-10
216