

Beginning Visual Basic 2005 (2006)
.pdfChapter 4
How It Works
In this case, the question “Is intNumber equal to 1000?” comes out false. The code block executes only if the statement is true, so it’s skipped. If the statement were true, the line between the If and End If lines would have executed. However, in this instance the statement was false, so the next line to be executed was the first line directly following the End If line (which is End Sub). In effect, the “true” code block is skipped.
The Else Statement
If you want to run one piece of code if the condition is true and another piece if the condition is false, you use the Else statement. Expand on the previous Try It Out to see how it works.
Try It Out |
The Else Statement |
1.Change the code in the btnAnotherIf_Click procedure so that it looks like this:
Private Sub btnAnotherIf_Click(ByVal sender As System.Object, _
ByVal e As System.EventArgs) Handles btnAnotherIf.Click
‘Declare and set a variable Dim intNumber As Integer = 27
‘Here’s where you make a decision, ‘and tell the user what happened If intNumber = 1000 Then
MessageBox.Show(“‘intNumber’ is, indeed, 1000!”, “Simple If”)
Else
MessageBox.Show(“‘intNumber’ is not 1000!”, “Simple If”)
End If
End Sub
2.Run the code and you’ll see the message box shown in Figure 4-2.
Figure 4-2
How It Works
The code following the Else statement runs if the condition in the If statement is not met. In this case, the value of intNumber is 27, but the condition being tested for is intNumber = 1000, so the code after the Else statement is run:
Else
MessageBox.Show(“‘intNumber’ is not 1000!”, “Simple If”)
End If
86
Controlling the Flow
Allowing Multiple Alternatives with ElseIf
If you want to test for more than one condition, you need to make use of the ElseIf statement. Now take your Simple If program as an example to see how you can test for the value of intNumber being 27 and 1000.
Try It Out |
The ElseIf Statement |
1.Change the code in the btnAnotherIf_Click procedure so that it looks like this:
Private Sub btnAnotherIf_Click(ByVal sender As System.Object, _
ByVal e As System.EventArgs) Handles btnAnotherIf.Click
‘Declare and set a variable Dim intNumber As Integer = 27
‘Here’s where you make a decision, ‘and tell the user what happened If intNumber = 1000 Then
MessageBox.Show(“‘intNumber’ is, indeed, 1000!”, “Simple If”)
ElseIf intNumber = 27 Then
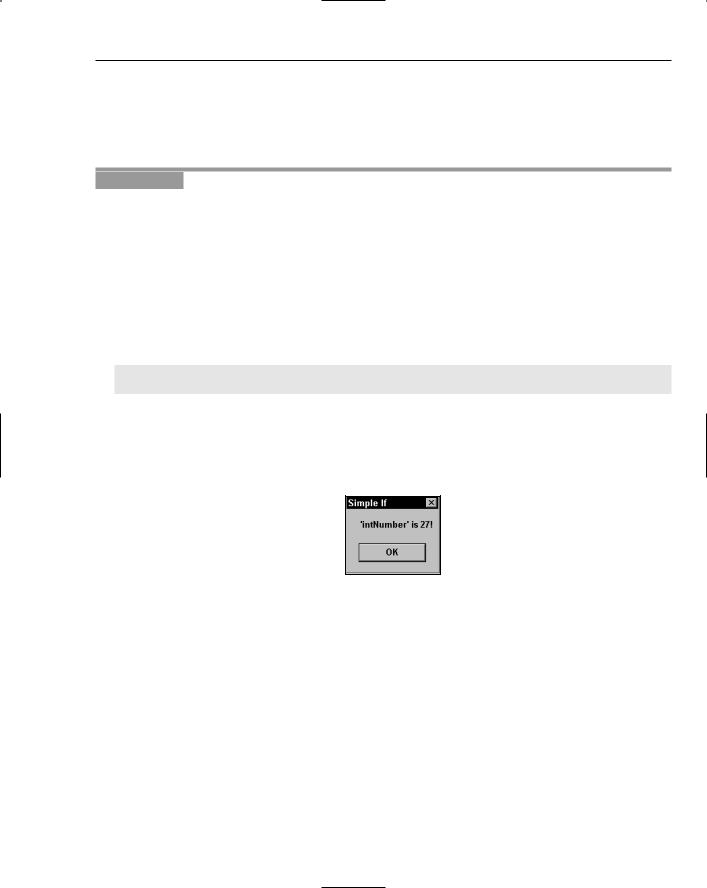
MessageBox.Show(“‘intNumber’ is 27!”, “Simple If”)
Else
MessageBox.Show(“‘intNumber’ is neither 1000 nor 27!”, “Simple If”) End If
End Sub
2.Run the code and you’ll see the message box shown in Figure 4-3.
Figure 4-3
How It Works
This time the code in the ElseIf statement ran because intNumber met the condition intNumber = 27. Note that you can still include the Else statement at the end to catch instances where intNumber is neither 27 nor 1000, but something else entirely:
ElseIf intNumber = 27 Then MessageBox.Show(“‘intNumber’ is 27!”, “Simple If”)
Else
MessageBox.Show(“‘intNumber’ is neither 1000 nor 27!”, “Simple If”) End If
You can add as many ElseIf statements as you need to test for conditions. However, bear in mind that each ElseIf statement is executed as Visual Basic 2005 attempts to discover whether the condition is true. This slows your program if you have a lot of conditions to be tested. If this is the case, you should
87

Chapter 4
try to put the statements in the order they are most likely to be executed, with the most common one at the top. Alternatively, you should use a Select Case block, which you will be looking at later in the chapter.
Nested If Statements
It’s possible to nest an If statement inside another:
If intX = 3 Then
MessageBox.Show(“intX = 3”)
If intY = 6 Then
MessageBox.Show(“intY = 6”)
End If
End If
There’s no real limit to how far you can nest your If statements. However, the more levels of nesting you have, the harder it is to follow what’s happening in your code. So try to keep the nesting of If statements to a minimum if you can.
Single-Line If Statement
The single-line form is typically used for short, simple tests, and it saves space in the text editor. However, it doesn’t provide the structure and flexibility of the multiline form and is usually harder to read:
If intX = 3 Then MessageBox.Show(“intX = 3”) Else MessageBox.Show(“intX is not 3”)
You don’t need an End If at the end of a single-line If . . . Then statement.
Multiple statements can also be executed within a single line If . . . Then statement. All statements must be on the same line and must be separated by colons, as in the following example:
If intX = 3 Then MessageBox.Show(“intX = 3”) : intX = intX + 1 : Total += intX
Comparison Operators
You know how to check whether a particular variable is equal to some value and execute code if this is the case. In fact, If is far more flexible than this. You can ask questions such as these, all of which have yes/no answers.
Is intNumber greater than 49?
Is intNumber less than 49?
Is intNumber greater than or equal to 49?
Is intNumber less than or equal to 49?
Is strName not equal to Ben?
88

Controlling the Flow
When working with string values, most of the time you’ll use the Equal To or Not Equal To operators. When working with numeric values (both integer and floating-point), you can use all of these arithmetic operators discussed in the previous chapter.
Using Not Equal To
You have not used Not Equal To yet, so test the Not Equal To operator with strings.
Try It Out |
Using Not Equal To |
1.Create a new Windows Application project called If Demo.
2.When the Form Designer for Form1 appears, add a TextBox control and a Button control. Set the Name property for TextBox1 to txtName and the Text property to Robbin. Set the Name property for Button1 to btnCheck and the Text property to Check.
3.Double-click the Button control to create its Click event handler. Add the highlighted code:
Private Sub btnCheck_Click(ByVal sender As System.Object, _
ByVal e As System.EventArgs) Handles btnCheck.Click
‘Declare a variable and get the name from the text box Dim strName As String
strName = txtName.Text
‘Is the name Gretchen?
If strName <> “Gretchen” Then
MessageBox.Show(“The name is *not* Gretchen.”, “If Demo”) End If
End Sub
4.Run the project and click the Check button. You will see a message box dialog box indicating that the name is not Gretchen.
How It Works
The Not Equal To operator looks like this: <>. When the button is clicked, the first thing you do is to retrieve the name from the text box by looking at its Text property:
‘Declare a variable and get the name from the text box Dim strName As String
strName = txtName.Text
After you have the name, you use an If statement. This time, however, you use the Not Equal To operator rather than the Equal To operator. Also notice that you are comparing two string values.
‘Is the name Gretchen?
If strName <> “Gretchen” Then
MessageBox.Show(“The name is *not* Gretchen.”, “If Demo”) End If
The code between Then and End If executes only if the answer to the question asked in the If statement is True. You’ll probably find this a bit of a heady principle, because the question you’re asking is, “Is strName not equal to Gretchen?” to which the answer is “Yes, the strName is not equal to
89

Chapter 4
Gretchen.” As the answer to this question is yes, or True, the code runs and the message box displays. However, if you enter Gretchen into the text box and click Check, nothing happens, because the answer to the question is “No, the strName is equal to Gretchen”; therefore you have a no, or False, answer.
If you try this, be sure to enter Gretchen with an uppercase G and with the rest of the letters in lowercase; otherwise the application won’t work properly. You’ll see why later.
An alternative way of checking that something does not equal something is to use the Not keyword. The condition in the If statement could have been written:
If Not strName = “Gretchen” Then
Using the Numeric Operators
In this section, you take a look at the four other comparison operators you can use. These are all fairly basic, so you’ll go through this quite fast.
Try It Out |
Using Less Than |
1.If the project is running, close it. Open the Form Designer for Form1 and add another TextBox control and set its Name property to txtValue. Add another Button control and set its Name property to btnCheckNumbers and its Text property to Check Numbers.
2.Double-click the Check Numbers button and add the following highlighted code to its Click event handler:
Private Sub btnCheckNumbers_Click(ByVal sender As System.Object, _
ByVal e As System.EventArgs) Handles btnCheckNumbers.Click
‘Declare variable
Dim intNumber As Integer
Try
‘Get the number from the text box
intNumber = txtValue.Text
Catch
End Try
‘Is intNumber less than 27? If intNumber < 27 Then
MessageBox.Show(“Is ‘intNumber’ less than 27? Yes!”, “If Demo”)
Else
MessageBox.Show(“Is ‘intNumber’ less than 27? No!”, “If Demo”) End If
End Sub
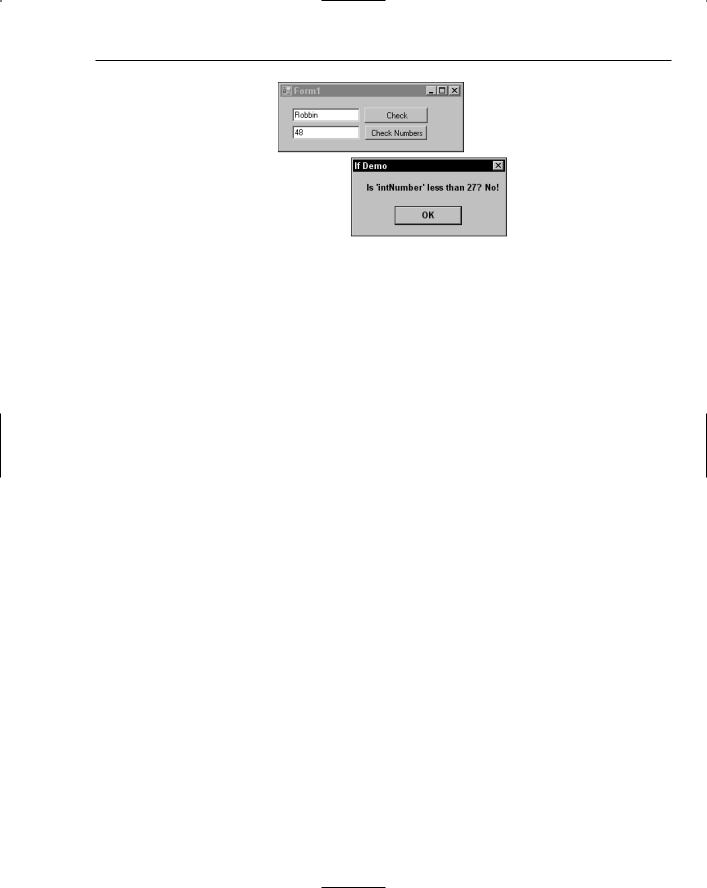
3.Run the project. Enter a number into the text box and click the Check Numbers button. You’ll be told whether the number entered is less than or greater than 27 as shown in Figure 4-4.
90
Controlling the Flow
Figure 4-4
How It Works
First, you get the value back from the text box. However, there is a slight wrinkle. Because this is a text box, the end users are free to enter anything they like into it, and if a series of characters that cannot be converted into an integer is entered, the program will crash. Therefore, you add an exception handler to make sure that you always get a value back. If the user enters something invalid, intNumber remains 0 (the default value), otherwise it will be whatever is entered:
‘Declare variable
Dim intNumber As Integer
Try
‘Get the number from the text box
intNumber = txtValue.Text
Catch
End Try
You’ll be introduced to exception handling properly in Chapter 9. For now, you can safely ignore it!
The Less Than operator looks like this: <. Here, you test to see whether the number entered was less than 27, and if it is, you say so in a message box; otherwise you say No:
‘Is intNumber less than 27? If intNumber < 27 Then
MessageBox.Show(“Is ‘intNumber’ less than 27? Yes!”, “If Demo”)
Else
MessageBox.Show(“Is ‘intNumber’ less than 27? No!”, “If Demo”) End If
Here’s something interesting though. If you actually enter 27 into the text box and click the button, you’ll see a message box that tells you intNumber is not less than 27. The If statement said No, and it’s right; intNumber is actually equal to 27 and the cutoff point for this operator is anything up to but not including the value itself. You can get around this problem with a different operator, as you’ll see in the next Try It Out.
91

Chapter 4
Try It Out |
Using the Less Than Or Equal To Operator |
1.Change the If statement in the btnCheckNumbers_Click event handler as shown here:
Try
‘Get the number from the text box
intNumber = txtValue.Text
Catch
End Try
‘Is intNumber less than or equal to 27? If intNumber <= 27 Then
MessageBox.Show(“Is ‘intNumber’ less than or equal to 27? Yes!”, _ “If Demo”)
Else
MessageBox.Show(“Is ‘intNumber’ less than or equal to 27? No!”, _
“If Demo”)
End If
2.Now run the project and enter 27 into the text box. Click the Check Numbers button and you should see the results shown in Figure 4-5.
Figure 4-5
How It Works
The Less Than Or Equal To operator looks like this: <=. In this situation, you’re extending the possible range of values up to and including the value you’re checking. So, in this case when you enter 27, you get the answer, Yes, n is less than or equal to 27. This type of operator is known as an inclusive operator.
The final two operators look really similar to this, so let’s look at them now.
Try It Out |
Using Greater Than and Greater Than Or Equal To |
1.Open the Click event handler and add these two additional If statements:
‘Is intNumber less than or equal to 27? If intNumber <= 27 Then
92

Controlling the Flow
MessageBox.Show(“Is ‘intNumber’ less than or equal to 27? Yes!”, _ “If Demo”)
Else
MessageBox.Show(“Is ‘intNumber’ less than or equal to 27? No!”, _ “If Demo”)
End If
‘Is intNumber greater than 27? If intNumber > 27 Then
MessageBox.Show(“Is ‘intNumber’ greater than 27? Yes!”, _ “If Demo”)
Else
MessageBox.Show(“Is ‘intNumber’ greater than 27? No!”, _ “If Demo”)
End If
‘Is intNumber greater than or equal to 27? If intNumber >= 27 Then
MessageBox.Show(“Is ‘intNumber’ greater than or equal to 27? Yes!”, _ “If Demo”)
Else
MessageBox.Show(“Is ‘intNumber’ greater than or equal to 27? No!”, _ “If Demo”)
End If End Sub
2.Run the program. This time enter a value of 99 and click the Check Numbers button. You’ll see three message boxes one after the other. The first message box will indicate that intNumber is not less than or equal to 27, while the second message box will indicate that intNumber is greater than 27. The final message box will indicate that intNumber is greater than or equal to 27.
How It Works
The Greater Than and Greater Than Or Equal To operators are basically the opposite of their Less Than counterparts. This time, you’re asking, “Is intNumber greater than 27?” and, “Is intNumber greater than or equal to 27?” The results speak for themselves.
The And and Or Operators
What happens when you need your If statement to test more than one condition? For example, if you want to make sure that “intNumber is less than 27 and greater than 10”? Or, how about checking that strName is “Sydney” or “Stephanie”? You can combine operators used with an If statement with the And and Or operators, as you do in the next Try It Out.
Try It Out |
Using the Or Operator |
1.Create a new Windows application called And Or Demo.
2.In the Form Designer for Form1, add two TextBox controls and a Button control. Set the Name properties of the text boxes to txtName1 and txtName2 and the Name property of the button to btnOrCheck.
93
Chapter 4
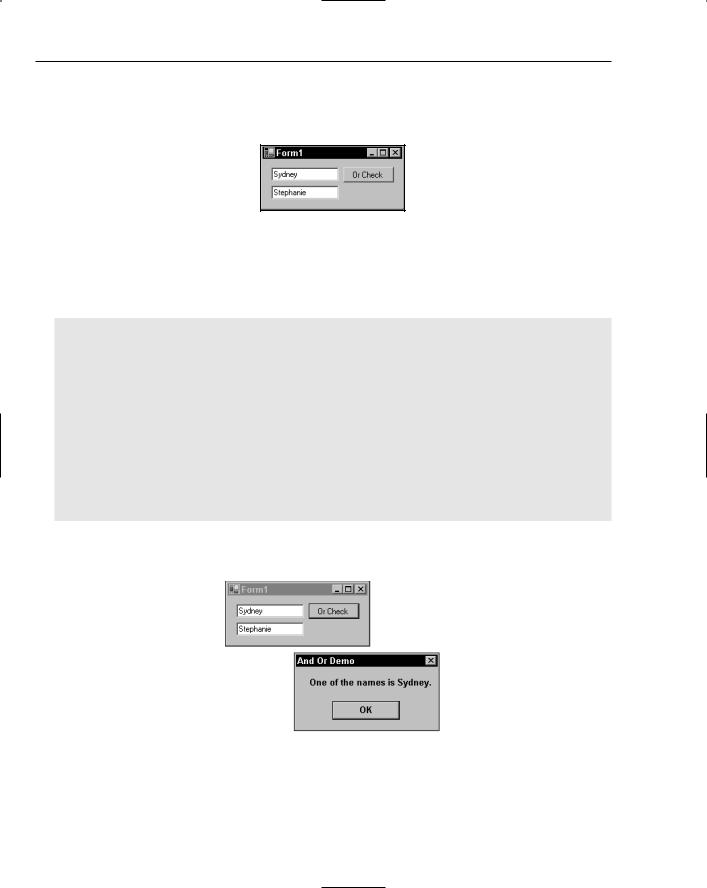
3.Set the Text property for txtName1 to Sydney and the Text property for txtName2 to Stephanie. Finally, set the Text property for btnOrCheck to Or Check. Your completed form should look similar to the one shown in Figure 4-6.
Figure 4-6
4.Double-click the button and add the following code to its Click event handler:
Private Sub btnOrCheck_Click(ByVal sender As System.Object, _
ByVal e As System.EventArgs) Handles btnOrCheck.Click
‘Declare variables
Dim strName1 As String, strName2 As String
‘Get the names
strName1 = txtName1.Text strName2 = txtName2.Text
‘Is one of the names Sydney?
If strName1 = “Sydney” Or strName2 = “Sydney” Then MessageBox.Show(“One of the names is Sydney.”, _
“And Or Demo”)
Else
MessageBox.Show(“Neither of the names is Sydney.”, _ “And Or Demo”)
End If End Sub
5.Run the project and click the button. You should see the results as shown in Figure 4-7.
Figure 4-7
94

Controlling the Flow
6.Click OK to dismiss the message box dialog box and flip the names around so that the top one (txtName1) is Stephanie and the bottom one (txtName2) is Sydney. Click the button again and you’ll see a message box indicating that one of the names is Sydney.
7.Now, click OK to dismiss the message box again and this time change the names so that neither of them is Sydney. Click the button and you should see a message box indicating that neither of the names is Sydney.
How It Works
The Or operator is a great way of building If statements that compare two different values in a single hit. In your Click event handler, the first thing you do is declare your variables and then retrieve both names and store them in variables strName1 and strName2:
‘Declare variables
Dim strName1 As String, strName2 As String
‘Get the names
strName1 = txtName1.Text strName2 = txtName2.Text
You’ll notice that you’ve defined two variables on the same line. This is perfectly legitimate coding practice, although it can sometimes make the code look congested. The variables are separated with commas; notice that it’s still important to use the As keyword to tell Visual Basic 2005 what data type each of the variables is.
Once you have both names, you use the Or operator to combine two separate If statements. The question you’re asking here is, “Is strName1 equal to Sydney or is strName2 equal to Sydney?” The answer to this question (providing that one of the text boxes contains the name Sydney) is, “Yes, either strName1 is equal to Sydney or strName2 is equal to Sydney.” Again, it’s a yes/no or true/ false answer, even though the question is seemingly more complex:
‘Is one of the names Sydney?
If strName1 = “Sydney” Or strName2 = “Sydney” Then MessageBox.Show(“One of the names is Sydney.”, _
“And Or Demo”)
Else
MessageBox.Show(“Neither of the names is Sydney.”, _ “And Or Demo”)
End If
Using the And Operator
The And operator is conceptually similar to Or, except that both parts of the condition need to be satisfied, as you will see in the next Try It Out.
Try It Out |
Using the And Operator |
1.Add another Button control to the form and set its Name property to btnAndCheck and its Text property to And Check. Double-click the button and add the following highlighted code to its Click event handler:
95