

RADIO INDICATORS
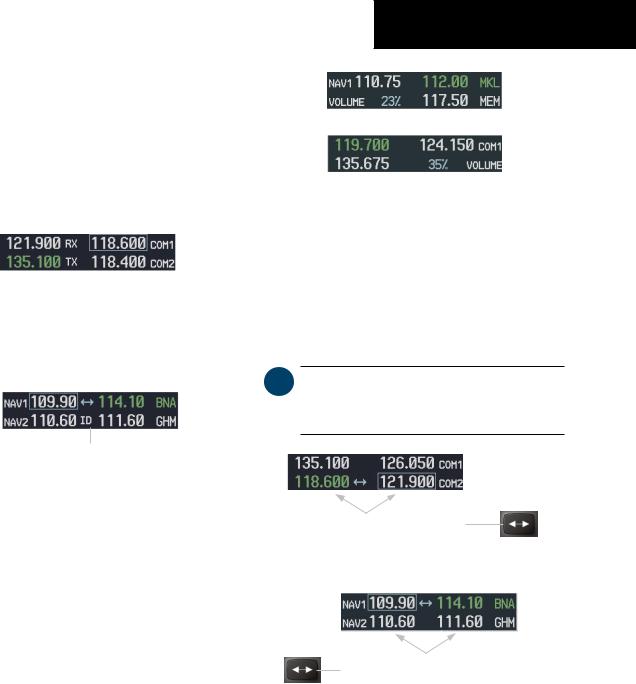
•RX – During COM signal reception, a white RX appears by the active COM frequency.
•TX – During COM transmission, a white TX appears by the active COM frequency replacing the Frequency Transfer Arrow.
Figure 3-7 COM Radio Status Indications
•ID – When the Morse code identifier is ON for a NAV radio, a white ID appears to the left of the active NAV frequency.
The Morse code identifier is
ON for the GHM VOR.
Figure 3-8 ID Indication
VOLUME
Radio volume level can be adjusted from 0 to 100% using the VOL/PUSH SQ knob for COM or VOL/PUSH ID knob for NAV. Turning the knob clockwise increases volume, counterclockwise decreases volume.
When adjusting, the level is displayed in place of the standby frequencies. Volume level indication remains for two seconds after the change.
NAV/COM
Figure 3-9 COM and NAV Volume Levels
FREQUENCY TRANSFER ARROW
The Frequency Transfer Arrow is displayed between the COM and NAV active and standby frequencies for the active radio. Pressing the Frequency Transfer key toggles the frequencies. Pressing the small COM or NAV knob transfers the frequency tuning box and the Frequency Transfer Arrow between the radios.
 NOTE: When a COM signal is received or transmitted, the Frequency Transfer Arrow is replaced by a white RX or TX indication.
Pressing the COM Frequency Transfer key toggles the COM frequencies.
Pressing the NAV Frequency Transfer key toggles the NAV frequencies.
Figure 3-10 Transferring COM and NAV Frequencies
190-00498-00 Rev.A |
Garmin G1000 Pilot’s Guide for Cessna Nav III |
3-5 |