


Chapter 2
File Editing
You can now make the necessary changes to the config.php file.
The settings that need editing are (add the values into the '' after the equals sumbol on the appropriate lines):
•$config['MasterServer']['servername']—This sets the address of your database
server. On most installations of vBulletin the database server is located on the same computer as the web server, in which case the address should be set to localhost. If this isn't the case, then you will need to use the address of the database server as supplied by your web host.
•$config['MasterServer']['username']—This is the username that was assigned
to connect to the database on your web server. If you created a database yourself using phpMyAdmin, then use the username that you assigned there. Otherwise contact your web host. In our example this is vb_user.
•$config['MasterServer']['password']—This is the password that was assigned
to connect to the database on your web server. In our example this is password.
•$config['Database']['dbname']—This is the name of the database that you want
vBulletin to use. In our example this is vb_user.
•$config['Database']['technicalemail']—Here you need to enter an email address.
All database error messages that are generated will be forwarded to this address.
•$config['Database']['tableprefix']—Here you need to enter a prefix for the
tables that vBulletin will use. In our example this is vb.
Uploading the vBulletin Files
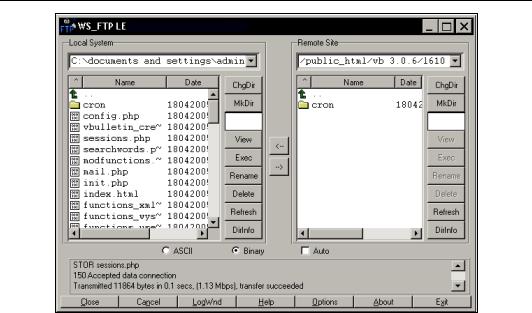
You are now ready to upload the files to the web server. Connect to your web server with your FTP program and upload the files and folders.
Images
Some of the screenshots that follow show an earlier version of vBulletin (for example, it might show 3.0.6 as a version number)—this is purely a cosmetic difference and can be ignored.
23
Installing and Configuring vBulletin
Uploading the vBulletin files
Most FTP client applications will handle the file transfers automatically, but if for some reason your application does not, you should make a note of the following:
•Transfer all text files in ASCII mode.
All files containing plain text from the vBulletin installation package should be transferred in ASCII mode.
Text file types you will find in vBulletin are: .html, .php, .js, .xml, and .css.
•Transfer all non-text files in Binary mode
The remaining files, which are mostly images, should be transferred to your web server in Binary mode.
Binary file types used in vBulletin include: .gif, .png, .jpg, and .ico.
Upload of the files will take several minutes, even with a fast connection.
Once all the files are uploaded, you are ready for the next stage of the installation.
Running the vBulletin Installation Script
Once all the vBulletin files have been successfully uploaded to your web server, you will need to run the vBulletin Installation Script in order to prepare your database to work with vBulletin.
The Installer runs as a PHP script using your web browser. To start the installation process, open your browser and type the http address of your forum's directory, followed by /install/ install.php, then hit the Enter key to begin the running of the script. For example,
http://www.example.com/vb/install/install.php.
24
Chapter 2
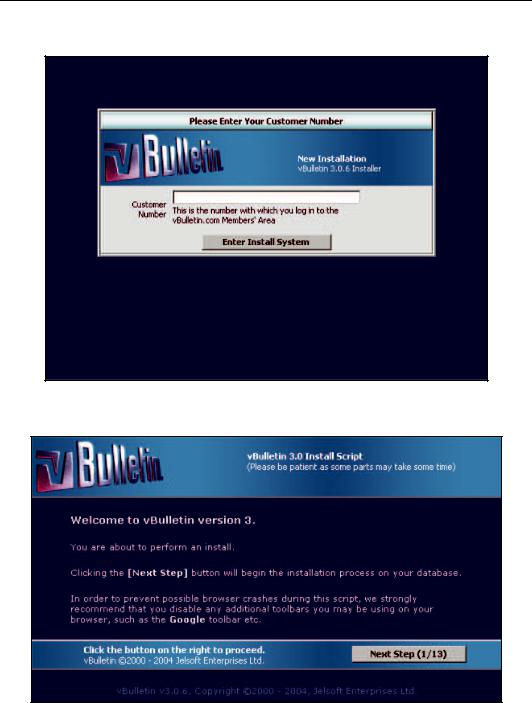
Before you can continue with the installation, you need to enter your customer number. (You will have been provided with this when you purchased vBulletin.)
Running the Installation Script
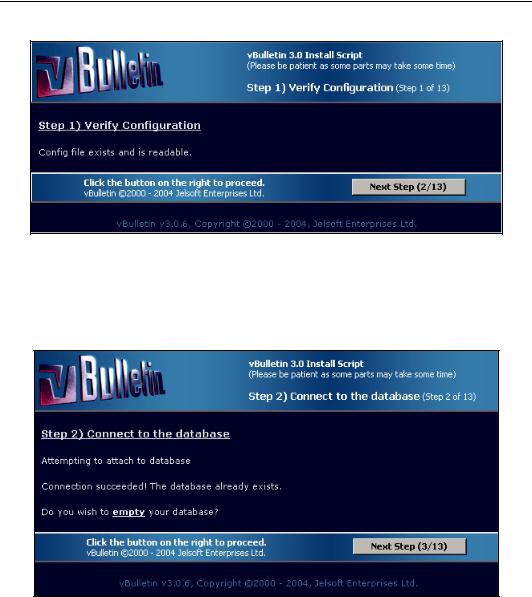
After successfully entering your customer number, you are ready to proceed with the installation.
Installation continues
25
Installing and Configuring vBulletin
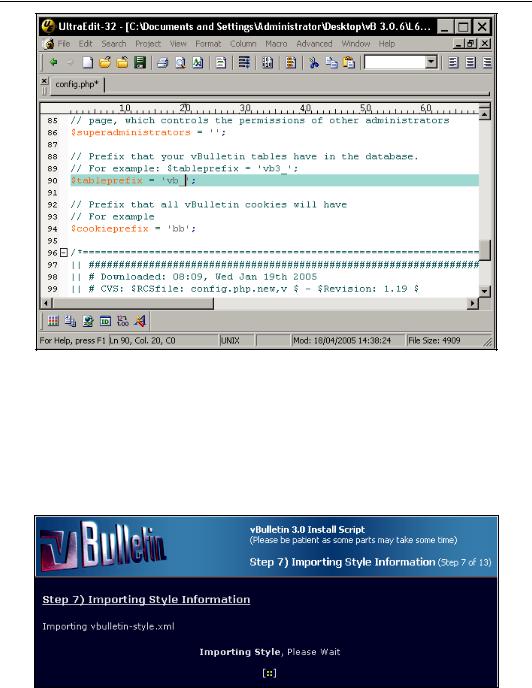
Step 1 of the installation only verifies that the configuration file is present and readable.
Configuration files OK
Step 2 connects the script to the database, which ensures that the username and password you enter is correct. At this stage you are also given the option to empty the database of any data. Here we are installing vBulletin into a database that contains the data for other applications running on the server, in which case we want to retain the information. Otherwise we could empty the database (but remember that this is one way and unrecoverable unless you have a backup).
Connecting to the database
26
Chapter 2
In step 3 vBulletin creates the tables that it requires to function.
Creating database tables
If you want these tables to be distinguishable from other tables in your database, you can assign them a table prefix in the includes/config.php file. In this case we have chosen not to do this to keep things 'standard', but this doesn't conflict with either the Wordpress blog software or phpBB discussion board software that we have installed into the same database that vBulletin will be using. In fact, vBulletin is quite happy to share a database with other applications and doesn't, as some people think, require a database to itself. (However, as the bulletin board gets bigger and busier, a dedicated database may become desirable, and you will be able to see to this when the need arises.)
To ensure that you don't have conflicts if you are sharing a database, it isn't a bad idea to assign a table prefix.
27
Installing and Configuring vBulletin
Assigning a database table prefix
Step 4 makes some necessary table configurations.
Step 5 inserts default data into the tables. This data is used as the default settings for the vBulletin installation. At this stage you don't need to do anything—only click the buttons to proceed from one installation screen to the next!
Step 6 configures the language settings for the discussion forum.
Step 7 imports the necessary style information into the vBulletin installation.
Importing style information
28
Chapter 2
Step 8 installs the admin help files for the discussion board.
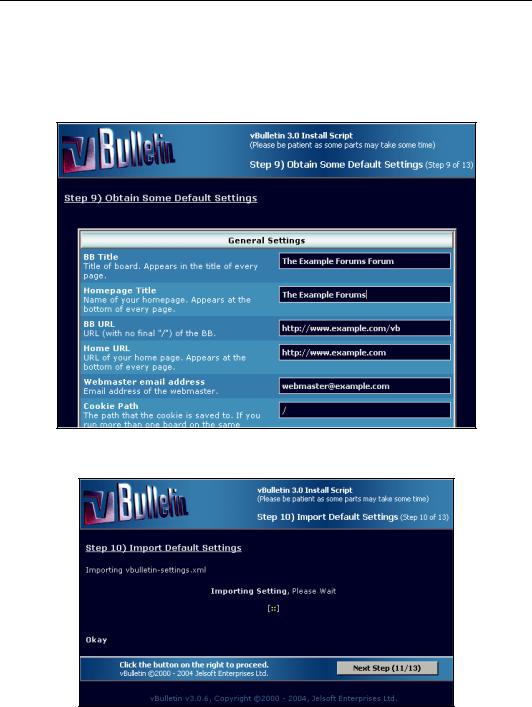
Step 9 asks you for some basic information about the discussion board you are setting up—title, name, contact details, and so on. If you are only running the one discussion board on your web site, then you can also leave the Cookie Path as /. The Cookie Domain settings box allows you to change the scope of the cookies on your site—as a rule you can leave this blank. Installation of other cookie-dependent software might mean that you have to revisit these settings and make changes later.
Entering basic forum information
Step 10 confirms that the settings have been successfully stored.
Confirmations that the settings have been successfully saved
29

Installing and Configuring vBulletin
Step 11 asks you to enter the login details of the administrator of the forum. Make a careful note of these settings—you don't want to forget them!
Make sure that the password is a good one too. A poor password will mean that others might be able to guess it and gain access to the site. Make sure that the password is at least eight characters long and contains both upper and lower case characters and a few numbers thrown in for good measure.
Administrator login details
Step 12 confirms that the administrator details have been successfully saved.
Confirmation that the administrator details have been saved
30
Chapter 2
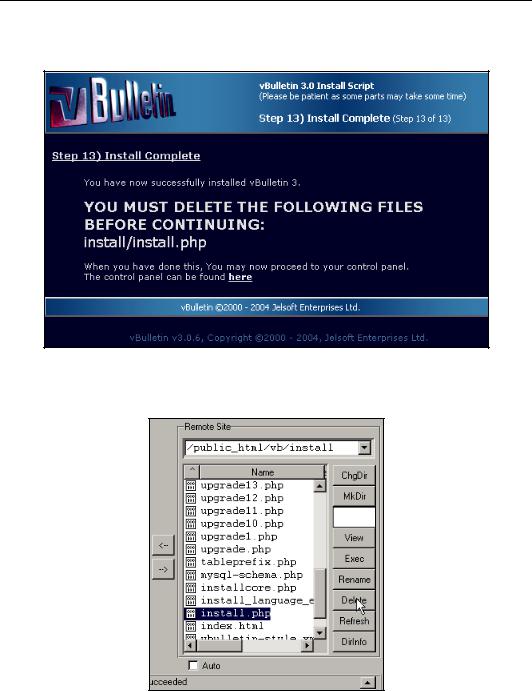
Step 13 tells you to do something important—and that is to delete the install/install.php file from the web server. This is required because others could use it to alter your site or delete the data from the database.
Important security advice
Use your FTP application to delete the file. Once you have done this you can enter the control panel by clicking the link on the screen.
Deleting the install/install.php file
31