

Chapter 8
Making the Changes
Let's now work through how to make this hack possible. There are a few code changes you need to make to a vBulletin template. If things go wrong, you already know how to revert templates back to their original state. As long as you take care and follow the code here carefully, everything will work out fine. But always keep a backup just in case!
Locating the Template
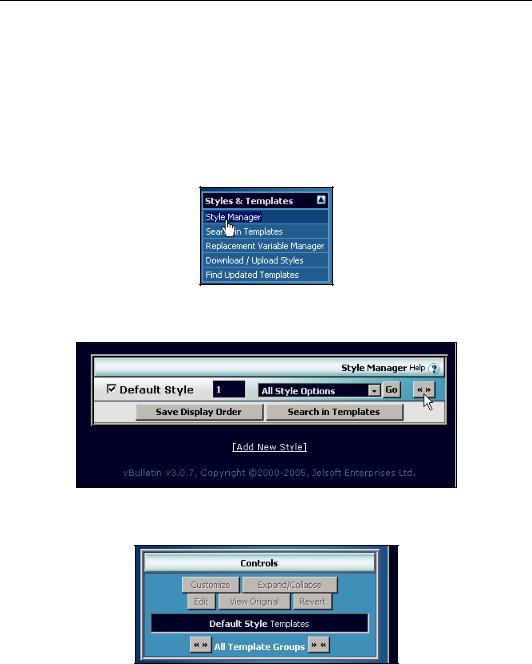
In the left-hand menu of the AdminCP, click on Styles & Templates to expand it, and then click on
Style Manager.
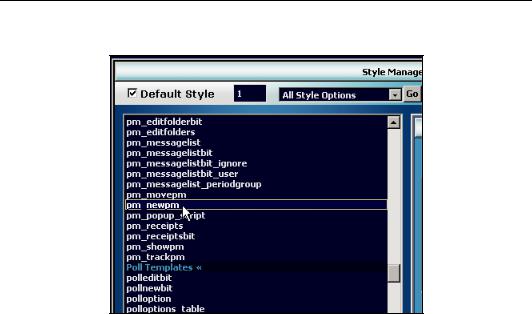
This brings up the Style Manager page in the right-hand side screen. Click on the button marked << >> to expand the template window.
You now need to click on the new button marked << >> lower down on the page to expand all the templates so as to find the one you are looking for.
169
Developing a Hack
In the scrolling window, work your way down until you get to a template called pm_newpm. Double-click on the link to open the template.
Hacking the pm_newpm Template
You can now make a few changes to this template. These changes involve removing the existing code that causes the prompt to appear and adding new code that provides a checkbox so that the sender can request a read receipt if they want one.
The first thing you need to do is locate the following segment of JavaScript code in the template:
else if (formname.dopreview != true)
{
<if condition="$show['trackpm']">
if (confirm("$vbphrase[request_receipt_for_message]"))
{
formname.receipt.value = 1;
}
</if>
}
You need to remove this section of code. Rather than delete it outright it's much better to just comment out the code by adding // and a space to the beginning of each line of the script:
//else if (formname.dopreview != true)
//{
and so on.
While you're doing this, it's a good idea to add a note so that later you will be reminded later why you commented it out!
//Begin PM read receipt hack
//else if (formname.dopreview != true)
//{
170
Chapter 8
//}
//End PM read receipt hack
Next, within the same template, find this segment of code:
<input type="hidden" name="receipt" value="0" />
(This will be on one long line, so it may be rather hard to find.) Comment this out too. Since this is HTML, we comment it out by placing <!-- and --> around the line. Again, it's wise to add comments to the code to remind you why you removed the line:
<!-- Begin PM read receipt hack --> <!-- line removed -->
<!-- <input type="hidden" name="receipt" value="0" /> --> <!-- End PM read receipt hack -->
Next, look for the following segment of code:
<div>
<label for="cb_parseurl">
<input type="checkbox" name="parseurl" value="1" id="cb_parseurl" tabindex="1" $checked[parseurl] />
$vbphrase[automatically_parse_links_in_text] </label>
</div>
When you locate it, you need to add below it as follows (again remembering to add the comments):
<!-- Begin PM read receipt hack --> <!-- line added -->
<div>
<label for="cb_receipt">
<input type="checkbox" name="receipt" id="cb_receipt" value="1" /> Request Read Receipt?
</label>
</div>
<!-- End PM read receipt hack -->
Now that you've made the modifications to the code, you can save it by clicking on the Save button.
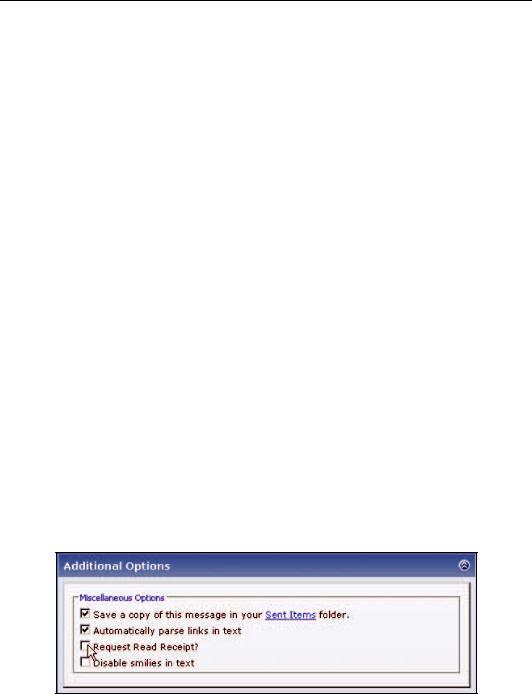
Testing the Hack
Testing is simple—try sending a PM! When you are in the private message window, you will see the new checkbox enabling you to specify that you want a read receipt for the message you send. Try a couple of tests, one with a read receipt request and another one without, just to make sure it all works.
171