

76 |
CHAPTER 2. A TOY APP |
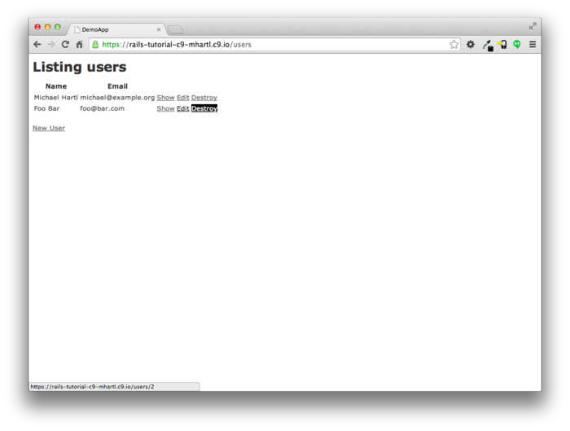
Figure 2.10: Destroying a user.
class of administrative users.
2.2.2 MVC in action
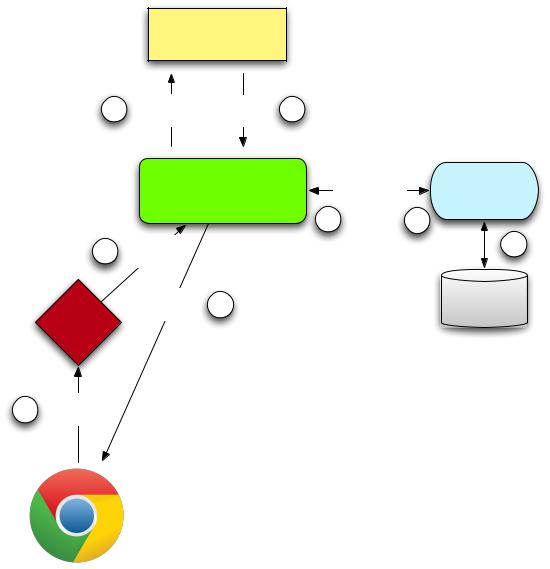
Now that we’ve completed a quick overview of the Users resource, let’s examine one particular part of it in the context of the Model-View-Controller (MVC) pattern introduced in Section 1.3.3. Our strategy will be to describe the results of a typical browser hit—a visit to the user index page at /users—in terms of MVC (Figure 2.11).
Here is a summary of the steps shown in Figure 2.11:
1. The browser issues a request for the /users URL.
2.2. THE USERS RESOURCE |
77 |
VIEW
(INDEX.HTML.ERB)
6 @USERS HTML 7
|
CONTROLLER |
USER.ALL |
MODEL |
|
(USERS_CONTROLLER.RB) |
(USER.RB) |
|
|
|
||
|
5 |
|
3 |
2 INDEX |
|
4 |
|
|
|
||
RAILS |
HTML 8 |
|
DATABASE |
|
|
|
|
ROUTER |
|
|
|
1/USERS
Figure 2.11: A detailed diagram of MVC in Rails.

78 |
CHAPTER 2. A TOY APP |
2.Rails routes /users to the index action in the Users controller.
3.The index action asks the User model to retrieve all users (User.all).
4.The User model pulls all the users from the database.
5.The User model returns the list of users to the controller.
6.The controller captures the users in the @users variable, which is passed to the index view.
7.The view uses embedded Ruby to render the page as HTML.
8.The controller passes the HTML back to the browser.5
Now let’s take a look at the above steps in more detail. We start with a request issued from the browser—i.e., the result of typing a URL in the address bar or clicking on a link (Step 1 in Figure 2.11). This request hits the Rails router (Step 2), which dispatches to the proper controller action based on the URL (and, as we’ll see in Box 3.2, the type of request). The code to create the mapping of user URLs to controller actions for the Users resource appears in Listing 2.2; this code effectively sets up the table of URL/action pairs seen in Table 2.1. (The strange notation :users is a symbol, which we’ll learn about in Section 4.3.3.)
Listing 2.2: The Rails routes, with a rule for the Users resource.
config/routes.rb
Rails.application.routes.draw do resources :users
.
.
.
end
5Some references indicate that the view returns the HTML directly to the browser (via a web server such as Apache or Nginx). Regardless of the implementation details, I prefer to think of the controller as a central hub through which all the application’s information flows.