


1.4. VERSION CONTROL WITH GIT |
45 |
1.4.4 Branch, edit, commit, merge
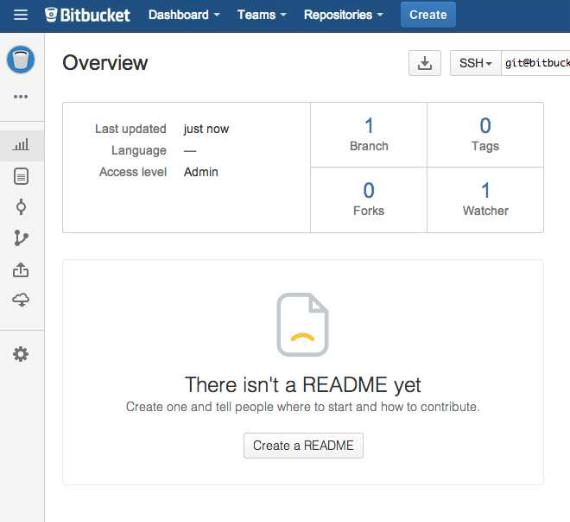
If you’ve followed the steps in Section 1.4.3, you might notice that Bitbucket didn’t automatically detect the README.rdoc file from our repository, instead complaining on the main repository page that there is no README present (Figure 1.16). This is an indication that the rdoc format isn’t common enough for Bitbucket to support it automatically, and indeed I and virtually every other developer I know prefer to use Markdown instead. In this section, we’ll change the README.rdoc file to README.md, while taking the opportunity to add some Rails Tutorial–specific content to the README file. In the process, we’ll see a first example of the branch, edit, commit, merge workflow that I recommend using with Git.13
Branch
Git is incredibly good at making branches, which are effectively copies of a repository where we can make (possibly experimental) changes without modifying the parent files. In most cases, the parent repository is the master branch, and we can create a new topic branch by using checkout with the -b flag:
$ git checkout -b modify-README
Switched to a new branch 'modify-README'
$git branch master
* modify-README
Here the second command, git branch, just lists all the local branches, and the asterisk * identifies which branch we’re currently on. Note that git checkout -b modify-README both creates a new branch and switches to it, as indicated by the asterisk in front of the modify-README branch. (If you set up the co alias in Section 1.4, you can use git co -b modify-README instead.)
The full value of branching only becomes clear when working on a project with multiple developers,14 but branches are helpful even for a single-developer
13For a convenient way to visualize Git repositories, take a look at Atlassian’s SourceTree app.
14See the chapter Git Branching in Pro Git for details.
46 |
CHAPTER 1. FROM ZERO TO DEPLOY |
Figure 1.16: Bitbucket’s message for a missing README.

1.4. VERSION CONTROL WITH GIT |
47 |
tutorial such as this one. In particular, the master branch is insulated from any changes we make to the topic branch, so even if we really screw things up we can always abandon the changes by checking out the master branch and deleting the topic branch. We’ll see how to do this at the end of the section.
By the way, for a change as small as this one I wouldn’t normally bother with a new branch, but in the present context it’s a prime opportunity to start practicing good habits.
Edit
After creating the topic branch, we’ll edit it to make it a little more descriptive. I prefer the Markdown markup language to the default RDoc for this purpose, and if you use the file extension .md then Bitbucket will automatically format it nicely for you. So, first we’ll use Git’s version of the Unix mv (move) command to change the name:
$ git mv README.rdoc README.md
Then fill README.md with the contents of Listing 1.13.
Listing 1.13: The new README file, README.md.
# Ruby on Rails Tutorial: "hello, world!"
This is the first application for the
[*Ruby on Rails Tutorial*](http://www.railstutorial.org/) by [Michael Hartl](http://www.michaelhartl.com/).
Commit
With the changes made, we can take a look at the status of our branch:
$ git status
On branch modify-README
Changes to be committed:

48 |
CHAPTER 1. FROM ZERO TO DEPLOY |
|
|
(use "git |
reset HEAD <file>..." to unstage) |
renamed: |
README.rdoc -> README.md |
Changes not |
staged for commit: |
(use "git |
add <file>..." to update what will be committed) |
(use "git |
checkout -- <file>..." to discard changes in working directory) |
modified: |
README.md |
|
|
At this point, we could use git add -A as in Section 1.4.1, but git commit provides the -a flag as a shortcut for the (very common) case of committing all modifications to existing files (or files created using git mv, which don’t count as new files to Git):
$ git commit -a -m "Improve the README file"
2 files changed, 5 insertions(+), 243 deletions(-) delete mode 100644 README.rdoc
create mode 100644 README.md
Be careful about using the -a flag improperly; if you have added any new files to the project since the last commit, you still have to tell Git about them using git add -A first.
Note that we write the commit message in the present tense (and, technically speaking, the imperative mood). Git models commits as a series of patches, and in this context it makes sense to describe what each commit does, rather than what it did. Moreover, this usage matches up with the commit messages generated by Git commands themselves. See the article “Shiny new commit styles” for more information.
Merge
Now that we’ve finished making our changes, we’re ready to merge the results back into our master branch:
1.4. VERSION CONTROL WITH GIT |
49 |
$ git checkout master Switched to branch 'master'
$ git merge |
modify-README |
|
|
Updating 34f06b7..2c92bef |
|||
Fast forward |
|
|
|
README.rdoc |
| |
243 -------------------------------------------------- |
|
README.md |
| |
5 + |
|
2 files changed, 5 |
insertions(+), 243 deletions(-) |
||
delete mode |
100644 |
README.rdoc |
|
create mode |
100644 |
README.md |
|
Note that the Git output frequently includes things like 34f06b7, which are related to Git’s internal representation of repositories. Your exact results will differ in these details, but otherwise should essentially match the output shown above.
After you’ve merged in the changes, you can tidy up your branches by deleting the topic branch using git branch -d if you’re done with it:
$ git branch -d modify-README
Deleted branch modify-README (was 2c92bef).
This step is optional, and in fact it’s quite common to leave the topic branch intact. This way you can switch back and forth between the topic and master branches, merging in changes every time you reach a natural stopping point.
As mentioned above, it’s also possible to abandon your topic branch changes, in this case with git branch -D:
# For illustration only; don't do this unless you mess up a branch $ git checkout -b topic-branch
$ <really screw up the branch> $ git add -A
$ git commit -a -m "Major screw up" $ git checkout master
$ git branch -D topic-branch
Unlike the -d flag, the -D flag will delete the branch even though we haven’t merged in the changes.
50 |
CHAPTER 1. FROM ZERO TO DEPLOY |
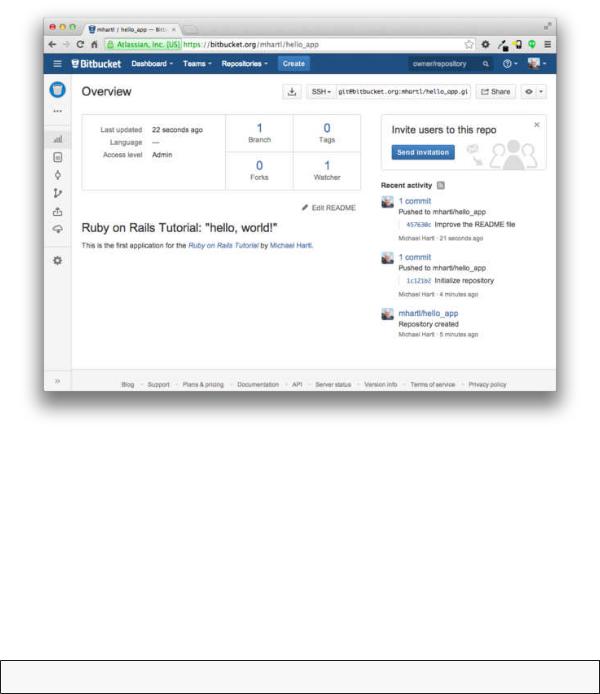
Figure 1.17: The improved README file formatted with Markdown.
Push
Now that we’ve updated the README, we can push the changes up to Bitbucket to see the result. Since we have already done one push (Section 1.4.3), on most systems we can omit origin master, and simply run git push:
$ git push
As promised in Section 1.4.4, Bitbucket nicely formats the new file using Markdown (Figure 1.17).