

Word 2010
.pdfPractice
In the following exercise, you will create a WordArt text.
1.Open the volleyball tournament document. Place the insertion point above the SmartArt diagram.
2.On the Insert tab, click the WordArt button in the Text group.
3.In the WordArt Style gallery, click a style.
4.Replace the sample text with your own.
5.Select a Font type and a Font size. You can later edit and change these options.
The WordArt style gallery
6. Click OK.
|
|
|
Sample WordArt text |
|
Replacing the WordArt text |
The WordArt object is inserted in the document. The
Ribbon displays the Drawing Tools Format tab.
Formatting a WordArt
You can edit the WordArt text, apply reflection, shadow, 3-D rotation, and add text transformations. In this exercise, you will change the shape of a WordArt text.
1.Click on the WordArt.
2.Click the Text Effects button in the WordArt Styles group.
3.On the menu, select Transform, and choose a shape transformation effect.
Applying WordArt styles
Charts and Smart Art Graphics |
101 |
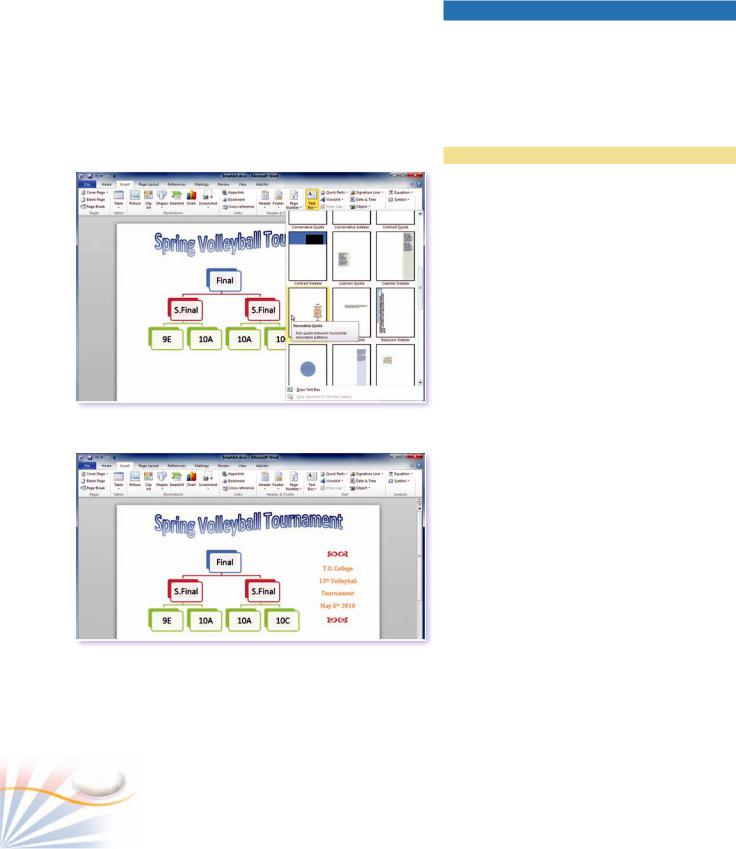
The Text Box gallery
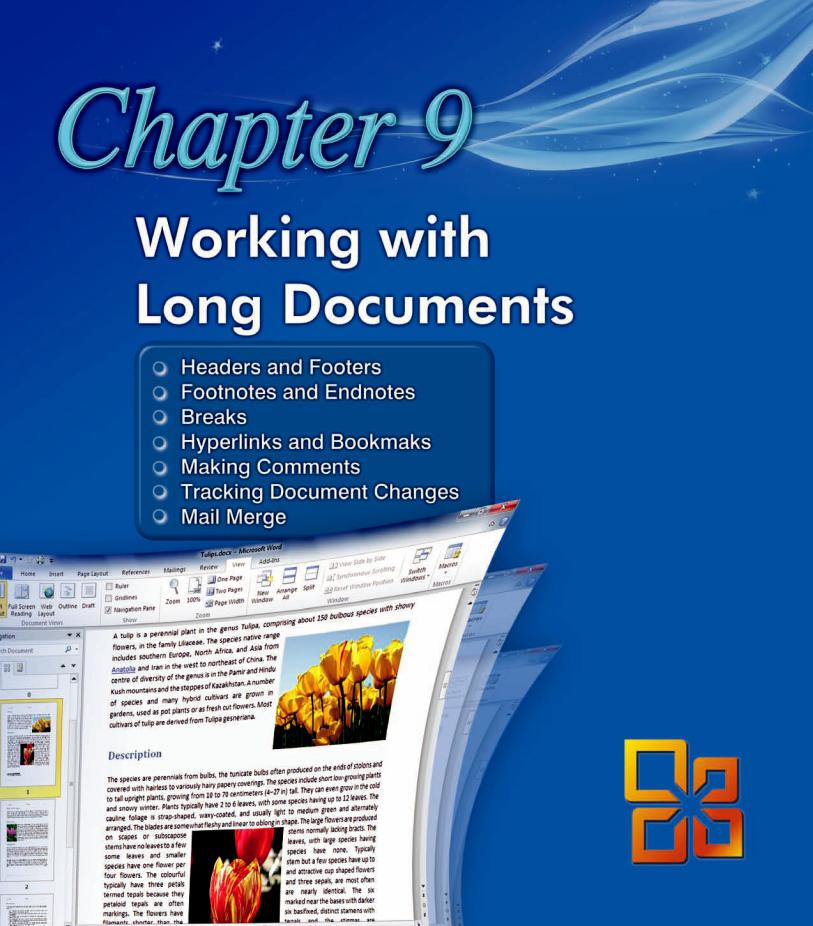
Typing in the text box
Text Boxes
A text box is a moveable box which used to change the text direction or rotate text or add text to a drawing. The text inserted in a text box can effectively highlight a key point of the document. Text boxes can be formatted as drawing objects.
Practice
Creating a Text Box
In this exercise, you will create a text box.
1.On the Insert tab; click the Text Box button in the Text group.
The Text Box gallery opens.
2.Select a preformatted style. Depending on the styles format, the text box is positioned in the document.
The Text box is created in the document.
3.Start typing your text in the Text box. A Text box's text and paragraphs can be formatted just like any text in a Word document. The Text box automatically resizes to fit its contents.
4.Position the text box using the Position button in the Arrange group.
To create a text box from scratch;
5.Click the Draw Text Box command at the bottom of the menu.
6.Click and drag your mouse to draw your text box.
102 |
Chapter 8 |

Case Study
Creating a Chart Object
Step-1 Open the Mytable.docx document you have created in the previous chapter.
Step-2 Use the data to create a chart. Enter the field names and data in the datasheet.
Step-3 Return to your main document.
Step-4 You should have a 3-D chart object in your document.
Step-5 Change the page layout to landscape on the Page Layout tab.
Step-6 Resize the chart to fit a full page. Step-7 Save the document as Mychart.docx.
Fill In The Blank
1.A ______________diagram is a special type of graphic with text.
2.______________ enables you to create special text effects.
3.______________ allows you to position text with a different orientation from the other text in the document.
True or False
1.A WordArt object can be formatted like any other text in a Word document..

 True
True 
 False
False
2.In a chart datasheet, columns represent a category and rows represent numerical values for each category.

 True
True 
 False
False
3.In a chart, you can only format the chart type and the chart background.

 True
True 
 False
False
Projects
1.Connect to the Internet. Search for the Olympic Games. Find the top three medal winning athletes in the latest Olympic Games. Create a chart that shows this data.
2.Create a list of your monthly expenses. Create a Pie style chart using 5 items in the list. Show the percentage of each expense in the chart.
Charts and Smart Art Graphics |
103 |

Multiple Choice Questions
1.Which of the following format features can be used in a text box? (Choose three answers)
a. Font |
b. Page Numbers |
c. Indent |
d. Alignment |
2.Select the basic elements of a chart object. (Choose two answers)
6.Which of the following are true about chart objects? (Choose two answers)
a.To select a chart object, click on it.
b.You can create custom chart types of your own.
c.To change the chart type, first double click over the chart.
d.A chart data can not be changed.
a. A Graphic Chart |
b. A Legend |
c. A Datasheet |
d. Data Labels |
3.Which of the following program opens to enter data when you create a new chart object in Word?
a.Microsoft Word
b.Microsoft Excel
c.Microsoft Graphic chart
d.Microsoft SmartArt
4.Which of the following is not true about WordArt objects?
a.You can format a WordArt like any other text in a document.
b.WordArt lets you create vertical text.
c.You can apply a shadow to a WordArt text.
d.You can format the text of a WordArt object in the WordArt Tools Format tab.
5.In order to resize, angle, or rotate a WordArt object, you can use _____________ . (Choose two answers)
a.Rotation handles
b.WordArt Gallery
c.Sizing handles
d.Object order and grouping
7.To show the yearly growth in sales of a product, the best illustration is____ .
a.A WordArt Text
b.A SmartArt diagram
c.A Line Chart
d.A Bulleted List
8.How can you enter text for a SmartArt diagram? (Choose two answers)
a.Click in the Text Pane and start typing.
b.Convert the diagram into a text box.
c.Use the WordArt Text dialog box.
d.Type in directly in the diagram.
9.A Text box allows you_____________ .
a.apply 3-D and shadow effects to the text.
b.change the text direction.
c.add a text to drawing objects.
d.create special graphic text.
10.Select the formatting you can apply on a WordArt. (Choose three answers)
a.Change the text direction.
b.Rotate the text.
c.Apply 3-D and shadow effects.
d.Link WordArt text to another WordArt text.
104 |
Chapter 8 |

Headers and Footers
A Header or Footer is information such as text or graphics that are displayed at the top or bottom of every page in a document. You can use the same header and footer throughout a document or have a different header and footer for a part of the document.
Practice
Inserting Headers and Footers
In the following examples, you will insert Headers and
Footers to your document.
1.Click the Insert tab.
2.Click the Header button in the Header & Footer group.
The Header style gallery opens.
3.Select the Blank style.
The insertion point is placed in the Header area and the rest of the document content is dimmed. You can enter information in the header or footer areas the same way you enter an ordinary text.
Inserting Headers and Footers
4.Click the Date & Time button in the Insert group. Select a Date and Time format and click OK.
5.Scroll down to the bottom of your page. The footer area is located at the bottom of your page. Click inside the Footer area.
6.Click the Page number button in the Header & Footer group. Select the Current position, and click the Accent Bar 2 option.
7.Double click anywhere outside the Footer area.
Or click the Close Header and Footer button in the Close group.
Creating a Header
106 |
Chapter 9 |
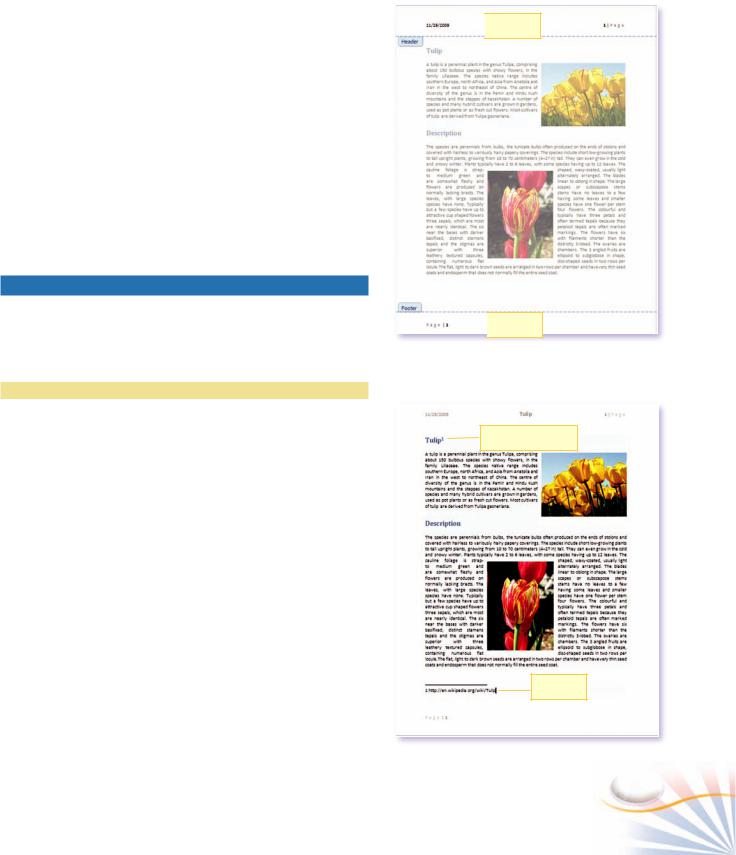
The current Date and Time is displayed at the top and the page numbers are displayed at the bottom of each page in the document.
To edit the Header area;
1.Double-click inside the Header area.
Or select the Edit Header command at the bottom of the Header style gallery.
To remove a header and footer;
1.Click the Header or Footer button in the Header & Footer group.
2.Choose Remove Header or Remove Footer at the bottom of the menu.
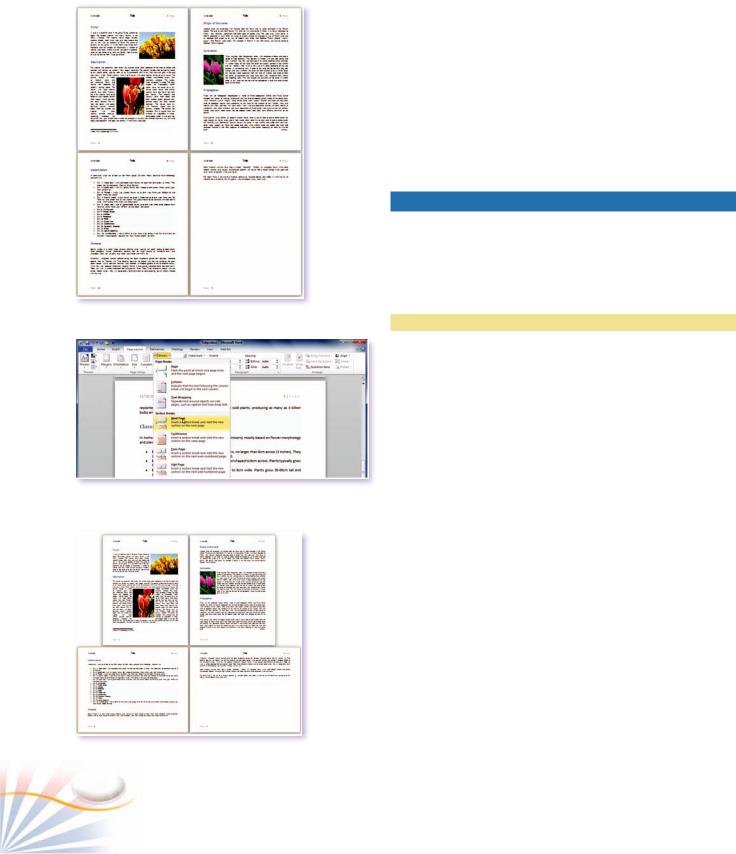
Footnotes and Endnotes
Footnotes and Endnotes are used to explain, comment on, or provide references in a text document. Footnotes appear at the bottom of each page in a document, while endnotes appear at the end of a section or the document.
Practice
Inserting Footnotes
In this exercise, you will insert a footnote into your document.
1.Place the insertion point after the text you want to footnote.
2.On the References tab, click the Insert Footnote command in the Footnotes group.
A reference mark with a superscript number indicates that a footnote is inserted. The insertion point moves to the bottom of the page.
3.Type the footnote text.

 Header

 Footer
Header & Footer
Reference
Footnot
Reference Mark & Footnote
Working with Long Documents |
107 |
A document with one section
The Page Breaks gallery
A document with two sections
Formatting Footnotes and Endnotes
You can format and change the style and location of your footnotes and endnotes in the Footnote and Endnote dialog box.
1.Click the Footnote & Endnote dialog box launcher in the Footnotes group.
2.Under Format, click the Number format arrow, and then select the number format you want.
Breaks
You can apply different formatting such as a different header and footer, numbers of text columns, and margin and orientation to different parts of your document. Use section breaks to divide a document into sections, and then format each section in the way you want.
Practice
Breaking a Document into Sections
To insert a section break follow these steps;
1.Locate the insertion point where you want the new section to begin.
2.On the Page Layout tab; click the Breaks button in the Page Setup group.
3.Choose the Next Page break type on the Page Breaks menu.
A section break is inserted and the next page starts after the section break.
You can see the section break as a double-dotted line with the words Section Break in the Draft view.
To apply a different layout to a new section;
1.Click anywhere inside the new section.
2.Click Orientation button in the Page Layout group, and select the Landscape orientation.
Word changes the layout of the pages in the new section.
108 |
Chapter 9 |
Hyperlinks and Bookmarks
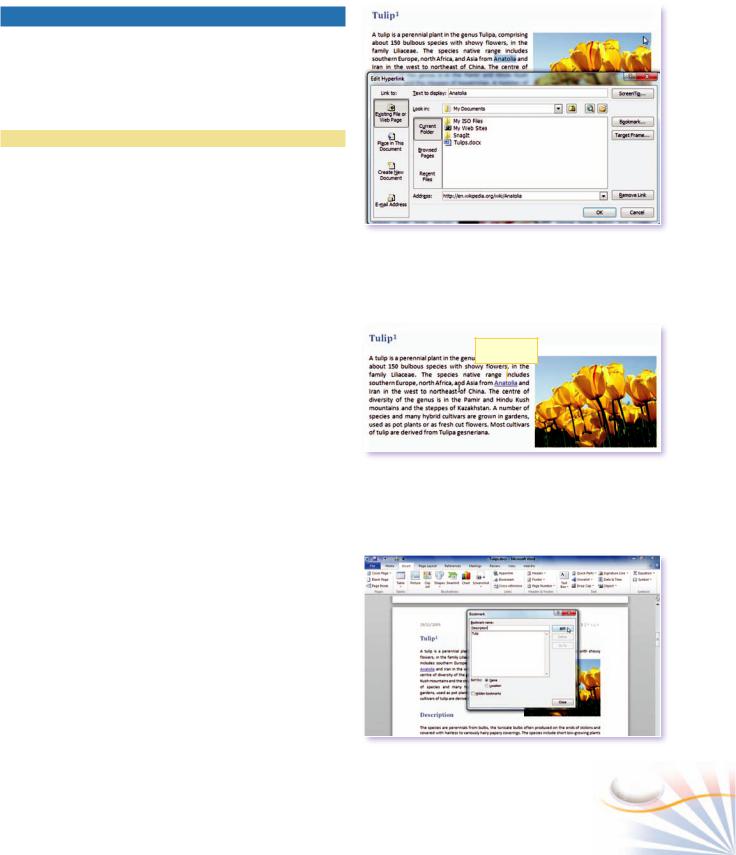
A hyperlink is a text or a graphic which is linked to a file, a page, a location in a document, or a page on the Internet or Intranet. A hyperlink is usually indicated by a colored and underlined text. You can create both text and graphic hyperlinks.
Practice
To create a text hyperlink;
1.Select the text you want to use as a hyperlink.
2.On the Insert tab; click the Hyperlink button in the Links group.
The Insert Hyperlink dialog box opens.
3.Type http://en.wikipedia.org/wiki/Anatolia" in the Address area. Click OK.
The Hyperlink is inserted at the location of the insertion point.
4.Press the Ctrl key and click the mouse on the Hyperlink to follow the link.
A bookmark is a link to a different section within the same document. Bookmarks are quite helpful when browsing content in long documents.
To create a bookmark;
1.Position the insertion point at the location or select the text that you want to go.
2.On the Insert tab; click the Bookmark command in the Links group.
The Bookmark dialog box opens.
3.Type a new name to create a bookmark.
4.Click the Add button.
Inserting a hyperlink
Hyperlink
Hyperlink in the document
Creating a Bookmark
Working with Long Documents |
109 |
To go to a bookmark;
1.Open the Bookmark dialog box from the Links group.
Or click the Page in the status bar. Click the Go To tab. Enter the bookmark name or browse it in the drop down menu. Click Go To.
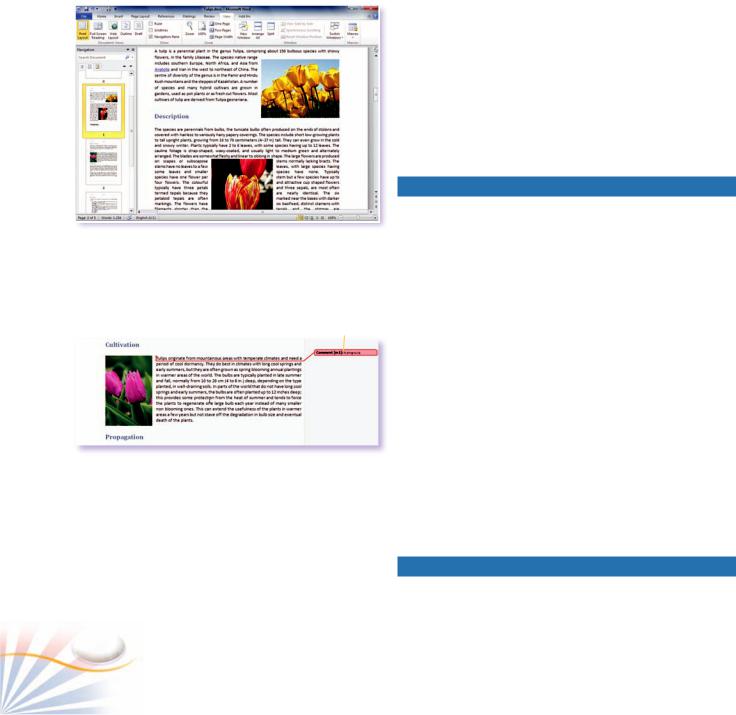
The Navigation Pane
The Navigation Pane allows you to move around in a document, searching for content, or editing the outline and headings.
To browse pages in the Navigation Pane;
1.Click the View tab; in the Show group, check the Navigation Pane box.
2.Click Browse the pages in your document tab. Select the page thumbnail you want to go.
Making Comments
A Comment is a reference mark, a note, or a suggestion
The Navigation Pane that an author or reviewer adds to a document. Word displays comments in a balloon in the margin of the
document or in the Reviewing Pane.
To create a comment;
|
|
1. |
Place the insertion point where you want to insert a |
|
|
Comment |
|||
|
|
comment. Click the Review tab; |
||
|
|
|
|
|
|
|
|
2. |
Click New Comment button in the Comments group. |
|
|
|
||
|
|
|
|
The selected text is highlighted. In the right margin, |
|
|
|
|
the markup area displays. |
|
|
|
3. |
Type the comment in the comment balloon in the |
|
|
|
|
markup area. |
|
|
|
To remove a comment from a document; |
|
Inserting Comments |
|
|
||
|
|
|
|
|
|
1. |
Click on the comment, and click the Delete button in |
||
|
|
|
|
the comments group. |
|
|
|
|
Or right click on the comment, use the menu. |
Tracking Document Changes
When two or more people work on a document as a team, the changes made by each author can be recorded
110 |
Chapter 9 |