

Word 2010
.pdfTo change the orientation of the document using shortcut keys;
2.Press the Alt key on your keyboard.
3.Press the P key to open the Page Layout tab, and then the O to open Orientation menu.
The File tab and the Backstage
The File tab opens the Backstage view that contains file related tasks; such as open, save, printing, sharing, and Word options.
The left side of the Backstage window displays the major file tasks or commands. When you click on a command, the Backstage displays the menu related to selected tasks.
Creating a New
Document
In this exercise, you will type a letter. Microsoft Word is a good choice for this kind of task. Before start typing in Word, there are few things you need to know;
The short, vertical, blinking line at the top of the document is the
insertion point (cursor). The insertion point indicates where text will be entered as you type.
When typing long lines of text, you do not have to press Enter each time you want to start a new line. Word will automatically start a new line for you when you reach the right side of the page.
This feature is called word wrapping.
By default, Word functions in Insert mode. This means that any new text you enter in the middle of a line is inserted between existing texts. But if you turn on the Overtype mode you can overwrite existing text with any new text that you type in. You can double-click OVR on the status bar or press the Insert key on the keyboard to turn overtype on or off.
Getting Acquainted with Microsoft Word |
11 |

The New Document dialog window opens.
Dear President,
I am a student at the International High School.
I am very concerned about the growing number of people my age who smoke or use spit tobacco. Every day, between 80.000 and 100.000 children worldwide start smoking and try their first cigarette. Another 30.000 kids become regular smokers, and roughly one-third of them will eventually die from a tobacco-related disease. More than 40 million of all smokers are under the age of 18, including 39 percent of all high school students.
Did you know that kids are three times more sensitive to tobacco advertising than adults, and youth are more likely to be infuenced by cigarette marketing than by peer pressure?
Smoking related-discasses kill one in 10 adults globally, or cause four million deaths each year. Every cigarette smoked cuts at least 5 minutes of life on average - about the time taken to smkoe it.
Something must be done. The governments spend more than € 200 billion per year treating tobacco-related illnesses.
As the President, we are counting on you to tell the tobacco industry to stop advertising in ways that they know will addict us to a habit that will lead to discase and premature death.
We deserve your support and a chance at life without tobacco. Sincerely,
John Doe 16/02/2010|
Creating a new document
Practice
To create a new document;
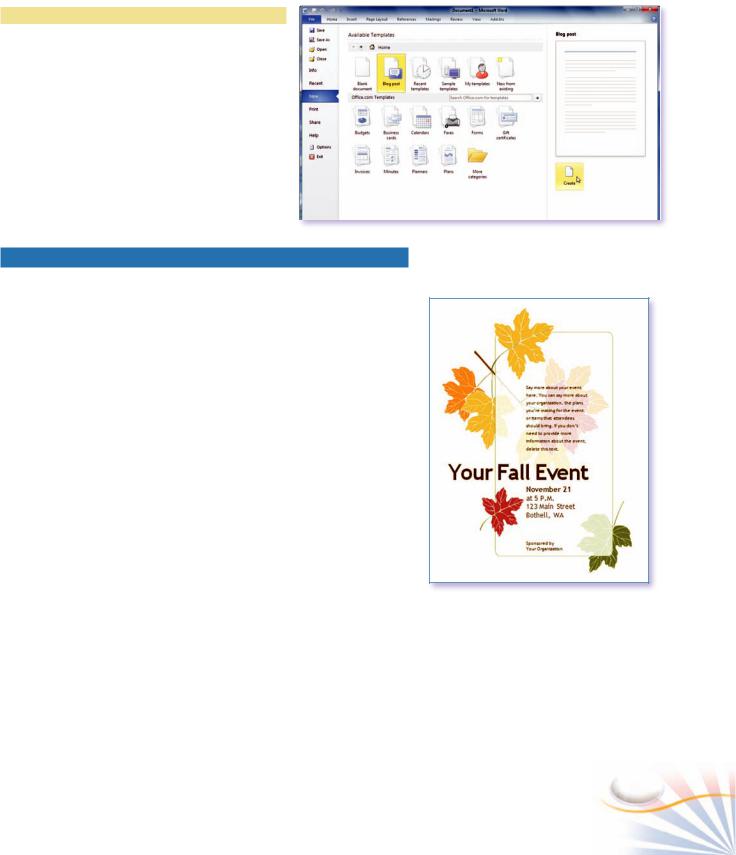
1.Click the File tab and then select New.
The left side of the Backstage window contains templates for creating new documents. A preview of the document is displayed in the right pane of the window.
2.Under Available Templates, click Blank Document.
3.Click Create.
Or press Ctrl + N.
4.Type “Dear President” and press Enter twice.
5.Type “I am a student at the International High School”. Press Enter twice.
6.Continue your letter by typing the following text and at the end of each paragraph press Enter twice. Pressing the Enter key starts a new paragraph.
Templates
A template is a document; such as brochures, memos, reports, and business letters, which provides a preformatted layout for content with text and graphics. You can customize the content in the template to create your own document.
If you are connected to the Internet you can use a variety of online templates that are stored on the Microsoft Office Online Web site.
12 |
Chapter 1 |
Practice
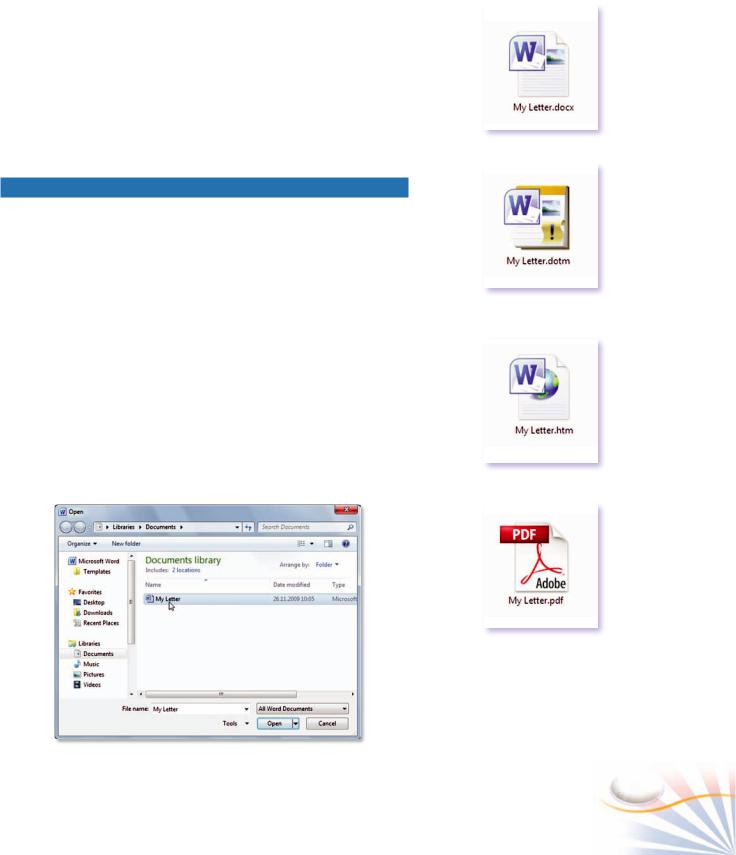
In the following exercise, you will download a template from Microsoft Office Online. You will need a connection to the Internet to complete the task.
1.Click New command on the File tab.
2.Select a template under Available Templates or use Search Office.com for templates box, and then click Download.
3.Word downloads the template and opens
it as a new document.
Choosing a template
Saving a Document
After you have created a document, you must give it a name and save it to a permanent storage device, such as the hard disk, or a flash disk, for future use. You should save the document not only at the end of your work but shortly after you first create and as you work on it.
In this exercise, you will save your document with the name My Letter in your Documents folder.
1.From the File tab, choose Save. Or press Ctrl + S.
Or click the Save button on the Quick Access toolbar.
The Save As dialog box opens because it is the first time that you are saving the document.
2.In the File name box, type “My Letter”.
3.Click the Save button to save your document. To save the file in a new folder;
Word opens the downloaded template
Getting Acquainted with Microsoft Word |
13 |

The Save As dialog box
The Save As menu
4.Click the New Folder button in the Save As dialog box. Name the new folder.
Your file is saved with the name My Letter.docx in your folder.
If you want to save your document under a different file name or to a different location, or in a different file format, you can use the Save As option. For example, the Word 97-2003 Document command saves the current document so that it can be viewed in previous versions of Word.
Practice
In this exercise, you will save your document “My Letter” with a different name on a flash drive or another hard disk.
1.From the File tab, choose Save As. Or press F12.
2.In the Folders pane, click the Computer button, and then select your flash drive.
3.Use the New Folder button to create a folder named “MyWork”.
4.In the File name box, type “My Letter”. Select the PDF file format from the Save as type box.
5.Click Save to save the file and the dialog box closes.
Your document is saved with the name My Letter.pdf on your flash drive.
14 |
Chapter 1 |
File Types
Word 2010 provides different kinds of file types. The .docx file extension is for basic documents with text and graphics. The documents with this extension block scripts and macros, making it safe from viruses.
A document with the .docm file extension contains macros or programming code. Previous versions of Word cannot open .docx and
.docm file types. Basic documents with text and graphics
Opening a Document
When you work with Word you will sometimes need to create a new document from scratch. More often, you will need to work on an existing document that you or someone else has previously created. Also it's often easier and more efficient to create a document by modifying one that already exists, instead of having to retype a lot of information.
To open an existing document,
1.Press Ctrl + O.
Or select the Open command on the File tab.
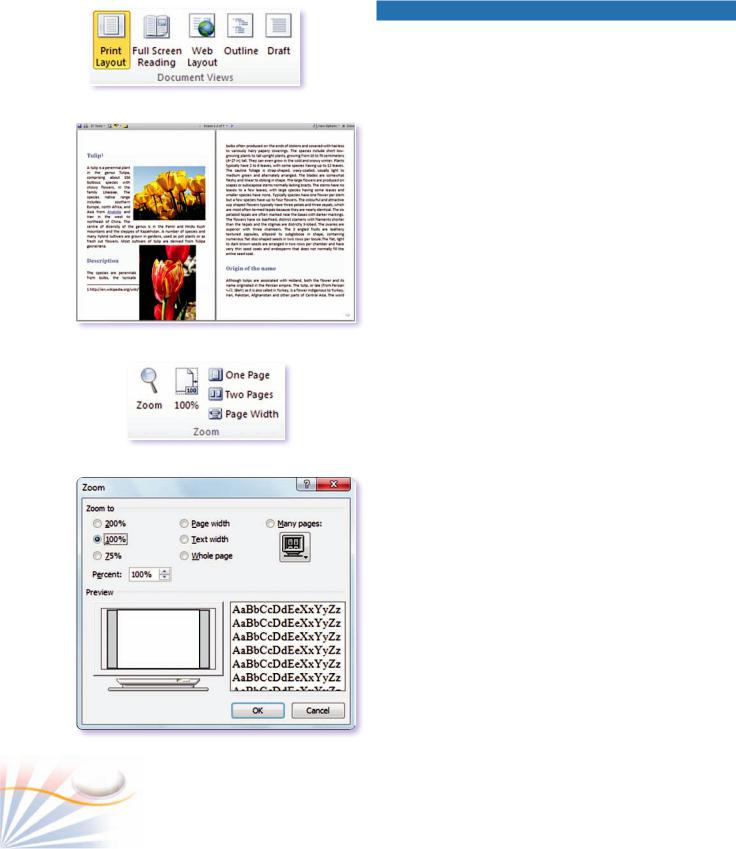
The Open dialog box displays the previously used folder of the current user.
2.Double-click on the My Letter file to open. Or select the file name and click Open.
The Open dialog box
Documents with macros or programming code
Web documents
Adobe Reader documents
Getting Acquainted with Microsoft Word |
15 |

Opening Recent Documents
Selecting a command
Customizing the Ribbon
The new group and the commands on the Ribbon and the Quick Access toolbar
You can have a quick access the documents on which you work recently .
1.Click the Recent command.
The Backstage displays recently accessed documents in Recent Documents pane.
2.Click on the document name to open it.
To pin a document to fix its place on the Recent Documents pane;
3.Click on the pin button next to the document name.
The Quick Access Toolbar
You can easily access and run a command by clicking its button on the Quick Access toolbar. The Quick Access toolbar contains most commonly used commands. By default, it has three buttons, Save, Undo, and Redo. You can customize the Quick Access toolbar to display the commands you use most often.
To customize the Quick Access toolbar;
1.Click the down arrow next to the Quick Access toolbar.
2.Click on the Open command. If you don't see a command on the menu, click the More Commands… command.
3.The Open button appears on the Quick Access toolbar. Now, you can open your documents quickly without using the File tab.
Customizing the Ribbon
If you want to have more command on the Ribbon, you can add them to the Ribbon either by creating a new tab or a group.
1.Click the File tab, and then the Options command.
The Word Options dialog box opens. Select the Customize Ribbon command.
16 |
Chapter 1 |

2.Click on the New group button and rename it. Select the new commands from the left pane. Click OK.
The new group and the buttons appear on the Ribbon.
Converting a Document
When you open a document created in a previous version of Word, the title bar displays the name of the document, followed by the words “Compatibility Mode”. Word 2010 contains some formatting features that cannot be available in previous Word versions. Converting old
documents enables you to use these new features.
1.Click the File tab.
2.The Backstage displays the Convert command whenever a document with a previous version is open.
3.Click the Convert command. The document is replaced with the converted version.
4.Save the document.
Converting documents
Closing a Document
When you have only one document open, clicking the Close button on the title bar will close both the document and the Word program.
1.On the File tab, click Close. Or press Ctrl + F4.
The Close button on the File tab closes just the document and leaves the Word program open.
When you attempt to close an unsaved document or have made any changes to an existing document,
Word asks whether you would like to save the
Save Confirmation
document.
The Exit Word button at the bottom of the File tab closes all documents and exits the Word program.
2.Click the Exit Word button to close both your document and the Word.
The Close button
Getting Acquainted with Microsoft Word |
17 |
The Document Views group
Full Screen Reading view
The Zoom group
Changing Zoom levels
Document Views
Word 2010 has five different document views, Print Layout, Full Screen Reading, Web Layout, Outline, and Draft. Each view has its own purposes and advantages.
In order to change the document view;
1.Click the View tab; choose one of the document views in the Document Views group.
Or click the Document View buttons in the status bar.
Print Layout is the default view of Word. Documents appear as it would be on a printed page. Print Layout view displays as graphics, tables, and headers, footers, and the other objects. Live preview works in the Print Layout view.
The Full Screen Reading view gives more space on the computer screen for reading documents.
The Web Layout view displays the document as it would appear in a web browser. It is used to prepare documents for digital publishing on the Internet and not suitable for printing pages.
The Outline view enables you to see the sections of a document It is ideal for working with long documents with several chapters.
The Draft view is essentially the same as the Print Layout view but it displays only the text in a document. It is useful when you quickly want to write and edit text.
The Zoom commands let you choose between zoom levels. Zooming in makes words easier to read and helps prevent eyestrain. Zooming out makes scrolling faster and helps you to see several pages at once.
In order to change zoom levels,
1.In the View tab, click the Zoom button in the Zoom group.
Or click the number next to the Zoom slider at the right bottom of the Word screen.
2.Select between predefined zoom levels or enter a new value in the Percent box.
Or use the Zoom slider to change the zoom level.
18 |
Chapter 1 |

Sending and Sharing Documents
You can share your documents by sending them in an e-mail message. You need an Internet connection to use this feature. If Microsoft Outlook is installed and configured, Word uses it as a default e-mail program.
In order to send a document by an e-mail;
1.Click the File tab.
2.Click the Share command, and then click Send As Attachment button.
The default email program opens.
3.The document is in the Attached box. Type in the e-mail address you want to send.
4.Click Send.
Getting Help
The Help feature allows you to learn to use the basic and advanced features of Word. If you have a connection to the Internet you can get up-to-date online help from Microsoft Office Online.
To get help;
1.On the Ribbon, click the button with a question mark. Or press F1.
Or if you see an information box on a button on the Ribbon, press F1.
2.In the text box at the top, type “Save a document” and then click the Search button.
3.Click on a topic to get help information.
4.Click the Back, Forward, Stop, Refresh, and Home buttons on the toolbar to move around in the Word Help.
Sending documents
The Word Help window
Getting Acquainted with Microsoft Word |
19 |

Case Study
Opening, editing, and saving a
document
Save As type box, click the drop-down arrow and select Web Page (HTML). Click Save.
Step-1 Run the Word program.
On the Windows taskbar, click the Start button at the bottom left corner of your screen.
On the Start menu, point to All Programs.
Move the mouse pointer up and point to Microsoft Office.
Move the mouse pointer over and click on Microsoft Word 2010.
Step-2 Type the text.
Type your name, surname, telephone number, and address.
Step-8 Close the document.
When the document is closed without being saved, the Word program will ask you whether you want to save the document.
Click Save on the dialog box to save the document.
Step-9 Try to repeat steps above without using the mouse.
Creating, saving, and sending a
document.
Step-3 Save the document to your flash drive using the name Case Study 1.
On the Quick Access toolbar, click the Save button. The Save dialog box opens on the screen. Type the file name in the file name box and click Save.
Step-4 Close the document.
On the File tab, click the Exit button.
Step-5 Open the document again.
Open your document from the Recent Documents pane on the File tab.
Step-6 Change the telephone number.
Change the document by adding a new telephone number or changing the old one. You can insert other text like your birth date or your e-mail.
Step-7 Re-save the document as a Web page.
On the File tab, choose Save As. The Save As dialog box opens on the screen. In the
Step-1 Create a new file.
Step-2 |
Under Office.com Templates, search for |
|
Greeting Cards. |
Step-3 |
Download a Birthday Card template. |
Step-4 |
Change the text in the template with your |
|
own. |
Step-5 |
Save the document, and then send it to your |
|
friend by e-mail as Birthday Invitation. |
20 |
Chapter 1 |