

Visual Web Developer™ 2005 Express Edition For Dummies - Alan Simpson
.pdf50 Part I: Planning a Web Site
Managing user accounts
The Manage Users link on the Security tab provides a means of finding, editing, and deleting user accounts. Okay, when you have only a few user accounts to worry about, there’s not much to “manage.” But as your Web site grows, so will the number of user accounts you manage (that’s the idea, anyway).
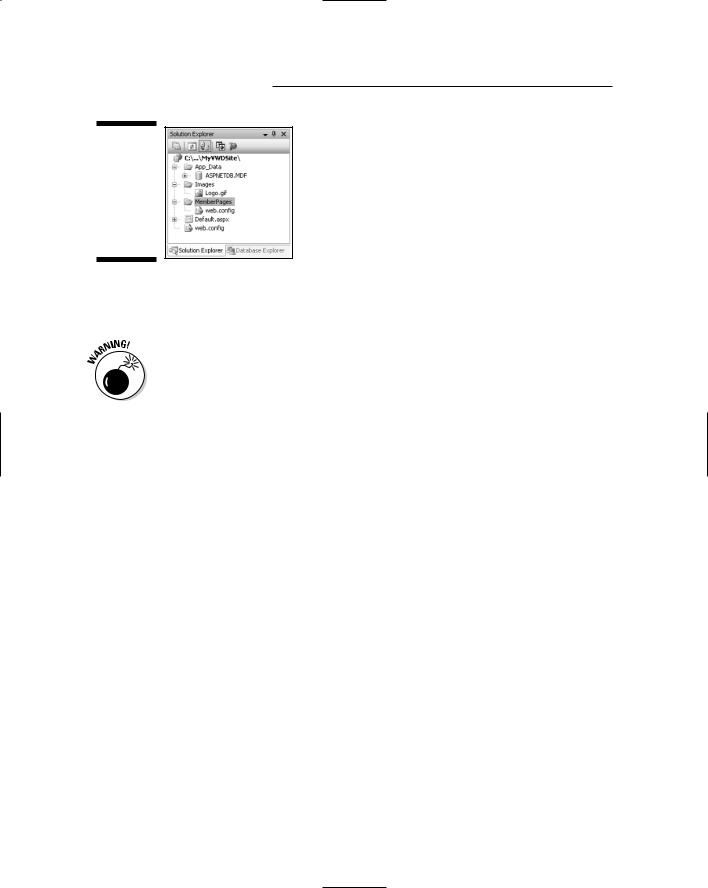
Clicking the Manage Users link on the Security tab takes you to the page shown in Figure 3-11. There you can search for — and make changes to — user accounts.
Figure 3-11:
Managing
user
accounts.
When you have lots of accounts to manage, use the options under “Search for Users” to locate any user account based on user name or e-mail address. As you’re typing your search text, you can use the ? and * wildcards as follows:
? Matches any single character
* Matches any number of characters
For example, if you choose “E-mail” from the Search By drop-down list, enter *@aol.com as the text to search for, and click Find User, you’ll see all users whose e-mail addresses end in @aol.com.
Optionally, you can jump to any part of the alphabet by clicking any underlined letter. To see all user accounts, click the All link at the end of the alphabet. For example, if you perform a search that returns no results, you can click the All link and instantly re-display all user accounts.

Chapter 3: Configuring a Membership Site |
51 |
After you find the account you want to change or delete, you can use the controls that are on the same row as the user name in the following manner:
Active check box: Choosing the check box identifies the account as Active. Clearing the check box makes the account inactive (though does not remove the account from the database).
Edit user: Clicking this link takes you to a page where you can change the account name, e-mail address, and role memberships of the user.
Delete user: Deletes the user account. Unlike marking the account inactive, this option permanently removes the account from the database.
Edit roles: Allows you to put the user into a role, or remove the user from a role.
To return to the Security tab options when you’ve finished managing user accounts, click the Back button in the lower-right corner of the page.
Closing the Web Site Administration tool
As with any other program, you can open, use, and close the Web Site Administration tool whenever you need to. Closing the Web browser that’s showing the Web Site Administration tool automatically closes the tool; you’ll be back to the Visual Web Developer program window.
What the Web Site Administration
Tool Did
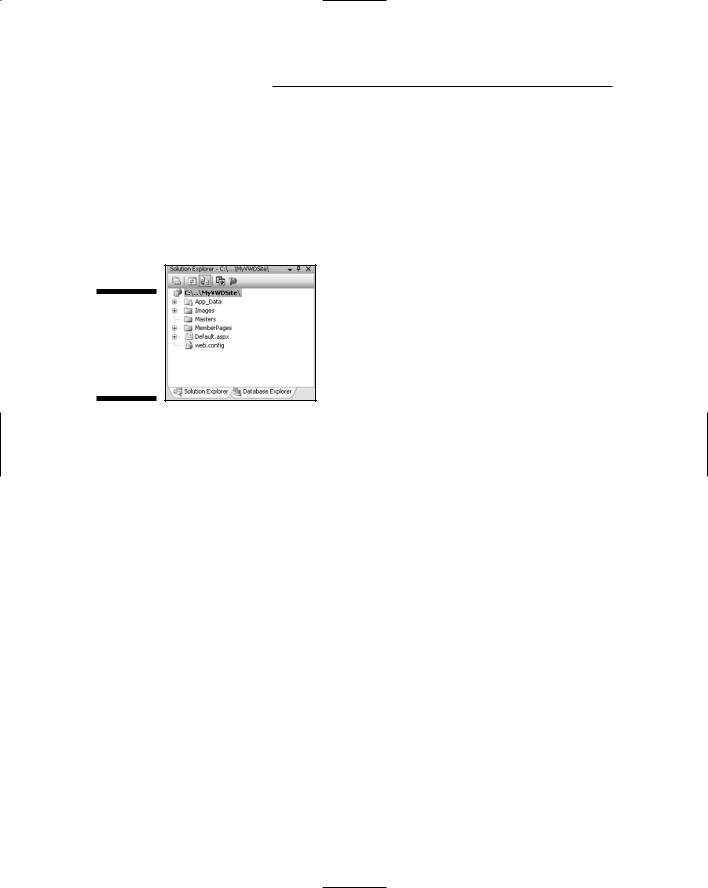
Back in Visual Web Developer’s program window, all that work you did in the Web Site Administration tool appears as three new items in Solution Explorer. One of those items is a new database named ASPNETDB.MDF. To see its icon, click the + sign next to the App_Data folder in Solution Explorer, as shown
in Figure 3-12. If you don’t see that + sign, click the Refresh button in the Solution Explorer toolbar, or choose View Refresh from the menu bar.
Down at the bottom of Solution Explorer is a new icon named Web.config. As its name implies, that file contains information about your site’s general configuration. There’s also a Web.config file in the MemberPages folder.
That Web.config file contains code that prevents anonymous users from viewing pages in the MemberPages folder.
52 Part I: Planning a Web Site
Figure 3-12:
ASPNETDB.
MDF and
Web.
config icons in Solution Explorer.
There’s no need for you to open either the ASPNETDB.MDF or Web.config files. They’re all part of the site’s infrastructure and don’t relate to anything that appears on Web pages in your site.
A good general rule of thumb here is: If you don’t know what something is, don’t delete it, don’t change it, don’t rename it, and don’t try to improve it by opening it up and hacking away at it cluelessly.
For now, we can consider the ASPNETDB.MDF and Web.config files “technical stuff” that is best left alone. The important thing to understand, though, is that the site now has all the infrastructure a site needs to support membership.
At the moment, there’s no way to test that or to prove it. The site still needs a Login page so that you can log in and try things out. You’ll create that page (Login.aspx) in Chapter 7. Furthermore, the MemberPages folder is still empty, so there’s nothing to see in that folder.
In other words, you are not finished building your Web site. Not by a long shot. There’s plenty more to be done. In Chapter 4, you’ll discover how to create another important infrastructure component: a Master Page.

Chapter 4
Creating Master Pages
In This Chapter
Giving your site a professional look and feel
Creating a Master Page
Using Master Pages
Adding Master Page content to existing pages
Aprofessional-quality Web site needs a consistent look and feel that lets users know they’re still in your site as they move from page to page.
The site must also be easy to navigate so users can get around without getting lost. Master Pages are a great way to give your site that consistent look and feel, because they allow you to define content that appears on every page in your site.
A Master Page lets you define a general format for all the pages in your site. For example, you might want a consistent header across the top of each page, to show your logo on each page. Or you might want a bar down the side of the page for displaying links and navigation controls. You might want a footer at the bottom of each page providing still more links. Or you may want a combination of header, sidebar, and footer.
Figure 4-1 shows some general examples of layouts. The gray area on each page will be the same on every page in your site. The white area will be unique to each page. This chapter uses the middle example, in which you have a header and sidebar on each page.
header |
header |
header |
|
Figure 4-1: |
|
|
|
Examples of |
|
side |
|
Master |
side |
||
|
|||
Page |
|
|
|
layouts. |
|
footer |
|
|
|
54 Part I: Planning a Web Site
Creating a Folder for Master Pages
You can put a Master Page wherever you like within your site. In the interest of staying organized, you may want to create a regular folder just for master pages. To do so, right-click the site path at the top of Solution Explorer and choose New. Then give the folder a name. I named my folder Masters, as shown in Figure 4-2.
Figure 4-2:
Adding a new folder named Masters to the site.
Creating a Master Page
Creating a new Master Page is similar to creating any other type of page in VWD. Here are the steps:
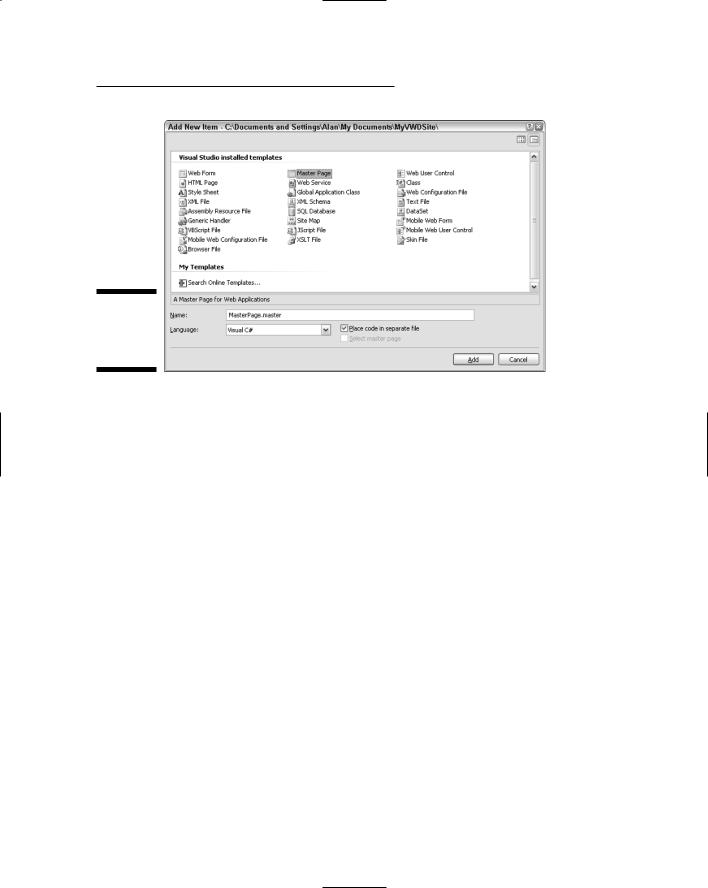
1.In Solution Explorer, right-click the folder in which you want to place the Master Page and choose Add New Item.
In my example I’d right-click my Masters folder.
2.In the Add New Item dialog box, click Master Page.
3.Enter a name for your page, or just accept the default name
MasterPage.master.
4.Choose a programming language.
I use Visual C# in my own examples.
5.Select the “Place code in separate file” check box.
Figure 4-3 shows how the Add New Item dialog box might look at this point.
6.Click the Add button.
Chapter 4: Creating Master Pages |
55 |
Figure 4-3:
Creating a
Master
Page.
A blank Master Page opens in Source view. If you click the Design button at the bottom of the Design surface, you’ll see a page with a ContentPlace Holder on it. That ContentPlaceHolder is the on-screen place where each page in your site appears.
Designing your page layout
Before you add anything to the Master Page, you want to choose your layout. Here’s how:
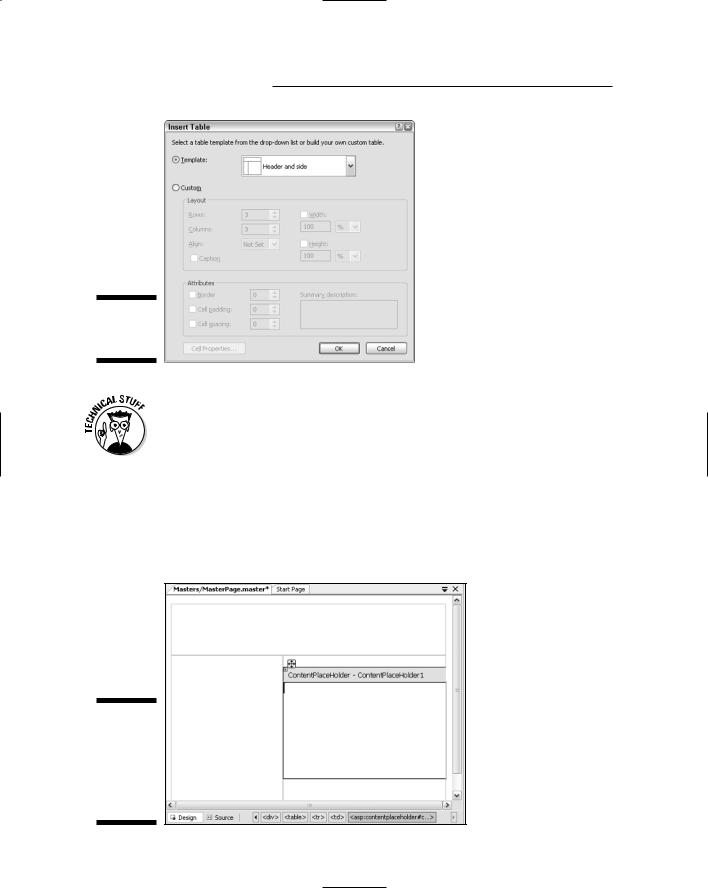
1.From the VWD menu bar, choose Layout Insert Table.
2.In the Insert Table dialog box that opens, choose Template.
3.Choose a template from the drop-down list.
For example, in Figure 4-4, I’ve chosen the Header and Side layout.
4.Click OK.
The Master Page is split into panes that reflect the options you choose. The ContentPlaceHolder will likely drop to the bottom of the page — perhaps out of view altogether until you scroll down through the page. In the design I chose, I wanted the content that’s unique to each page to appear to the right of the side pane, not under the pane. So I needed to move the ContentPlace Holder control into the appropriate cell on the page.
56 Part I: Planning a Web Site
Figure 4-4:
Choosing a page layout.
The page layout is really just an HTML table, and each “pane” is really just a table cell defined by a pair of HTML <td> and </td> tags. You can see that for yourself by clicking the Source button and viewing the HTML that defines the table.
To move an object, like the ContentPlaceHolder control, in Design view, you can either drag it, or cut and paste it. Here I just need to scroll down to, and click, the ContentPlaceHolder control to select it. Then just drag the four-headed arrow that appears into the bottom-right table cell and release the mouse button. Figure 4-5 shows what happens when you move the ContentPlaceHolder under the header pane and beside the left pane.
Figure 4-5:
Here’s the
Content
Place
Holder moved into the table.
Chapter 4: Creating Master Pages |
57 |
Styling Master Page panes
Each pane in the Master Page is actually just a table cell — a very bland table cell in that each one has a white background and gray border. Even if you don’t know exactly what you intend to put in each pane, you may want to size and color those panes and borders.
Any time you want to style something on a page, the Style Builder is your best bet. For one reason, it’s any easy way to style things. For another, it follows Cascading Style Sheets (CSS) specifications, which is a good thing from a technical standpoint; these days, the trend is to use CSS to style everything in Web pages.
CSS is an Internet standard for styling elements on Web pages. Chapter 6 discusses CSS in some detail. But for the complete lowdown, see the official specification at www.w3.org/Style/CSS/.
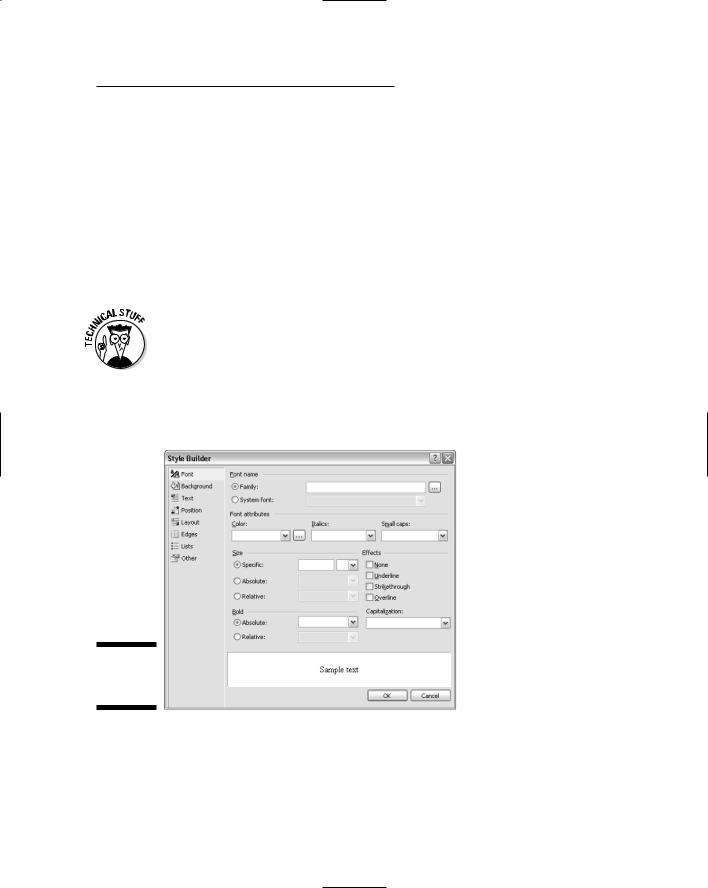
To get to the Style Builder, right-click the item you want to style and choose Style. For instance, to style the top pane of the Master Page, right-click within that pane and choose Style. The Style Builder shown in Figure 4-6 opens.
Figure 4-6:
The Style
Builder.
Choosing a background color
To choose a background color for the pane you’re styling, click Background at the left side of the Style Builder, then choose a color from the Color

58 Part I: Planning a Web Site
drop-down list. Or, click the Build button to the right of the Color drop-down list. Clicking the Build button opens the Color Picker dialog box, where you’ll have more colors to choose from. You can choose any color from any tab just by clicking the color, and then clicking the OK button in the Color Picture dialog box.
When you click OK, the Color Picker dialog box closes. The Style Builder then shows the name of the color you chose or its HTML code (like #ffffcc). The Sample box at the bottom of the Style Builder shows the selected color, as shown in Figure 4-7.
Figure 4-7:
Choosing a background color for a cell.
Setting text alignment defaults
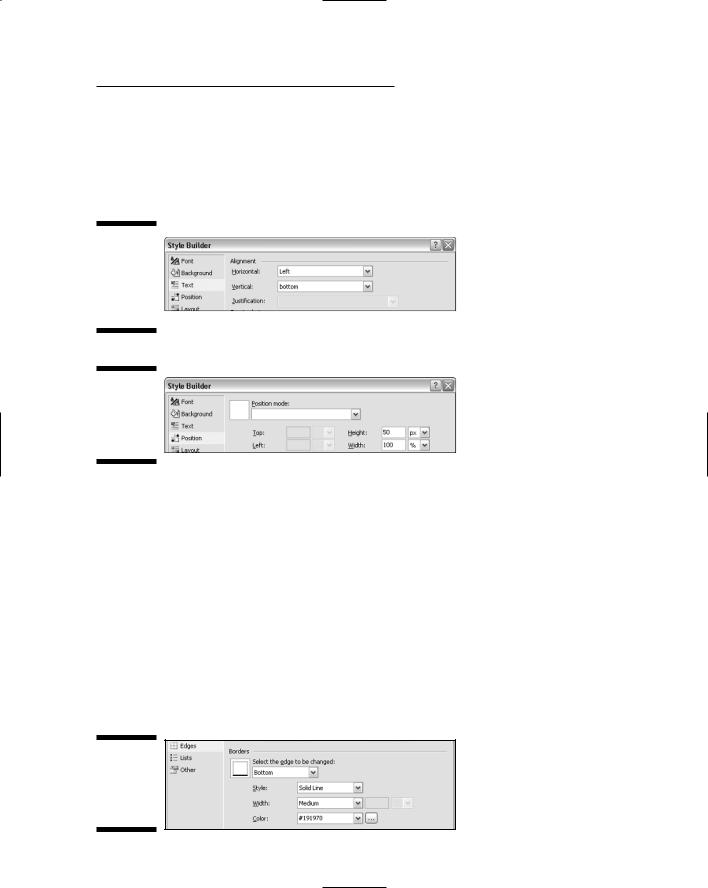
You can set a default horizontal and vertical alignment for text within the selected cell. At the left side of the Style Builder, click the Text option. Then use the Horizontal drop-down list to choose how you want text aligned within the cell.
For example, when styling the top cell you might want to choose Left as the Horizontal alignment and Bottom as the Vertical alignment as shown in Figure 4-8. Later, when you add text to the cell, that text will align to the left side of the cell and run along the bottom of the cell.
Setting cell height and width
To set the height or width of the selected cell, click Position at the left side of the Style Builder. Then you can use the Height and Width options to set the
Chapter 4: Creating Master Pages |
59 |
cell’s height and width. When you’re styling the top pane of a Master Page, you’ll likely want to set the width to 100%, because the pane needs to be as wide as the page. But you can set the width of the cell to any value you like. Figure 4-9 shows an example where I’ve set the height to 50 pixels and the width to 100%.
Figure 4-8:
Choosing text alignment options for the top cell.
Figure 4-9:
Setting a height and width for the top cell.
Styling cell borders
Every table cell has borders around it that you can color. You can style all the borders so they’re the same or you can style borders individually. To get started, first click Edges at the left side of the Style Builder. Then, under Borders, choose which borders you want to style. In this example, when styling the top pane of a Master Page, you’d likely choose Bottom to style the line along the bottom of that pane.
Next, choose a style, width, and color from the respective drop-down list options. For example, if you want the line along the bottom of the top pane to be a little thicker and a little darker than the default gray line, choose Solid Line, Medium, and some dark color of your own choosing, as shown in Figure 4-10. (The color #191970 is just a dark blue I chose for the sake of example. Feel free to choose any color you like.)
Figure 4-10:
Styling the top cell’s bottom border.