

Beginning Object-Oriented ASP.NET 2.0 with VB.NET From Novice to Professional
.pdfC H A P T E R 1 ■ A N I N T R O D U C T I O N TO . N E T A N D V I S U A L S T U D I O 2 0 0 5 |
19 |
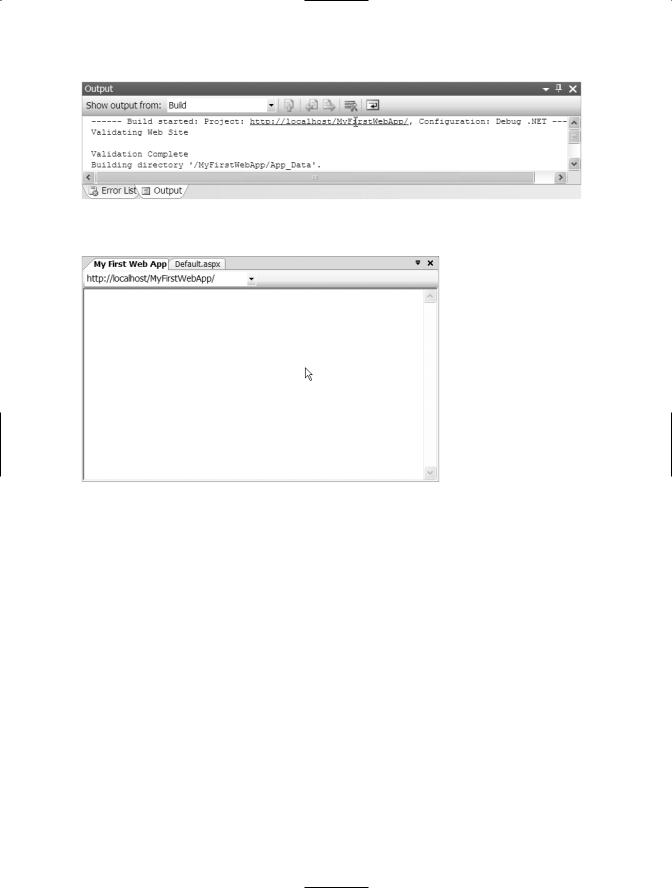
The Output window, shown in Figure 1-20, should appear at the bottom of the screen and give the build’s status (whether succeeded or failed). If the build failed, a message will appear and a list of the errors will appear for you to correct.
Figure 1-20. Build Output Window
Accessing a Web Site
After you build the web site, it’s time to test it. If you do not have Internet Information Services installed, hold down Control and press F5. This will start the application. VS will automatically use the VS web server to run the web site. You can also use the Debug menu to debug the web site (see also the "Debugging" section later in this chapter), and VS will use the VS web server if you do not have Internet Information Services installed.
■Caution Your anti-virus software may alert you to a problem when first running the web site from within the VS environment. You may need to let your Anti-Virus software know that the VS web server is allowed to process requests.
If you do have Internet Information Services installed, your web site can be accessed in several ways. One way is to open the web site within the Visual Web Developer tool. When the build is completed, an output window should appear at the bottom of the screen, or you will see at least an output tab that you can click on. You may need to scroll up within the Output window to see the link to the web site that was just built. To go to the web site that was just built, hold down the Control key and click the link to the web site in the Output window, as shown in Figure 1-21.
In the previous example, your window within the Visual Web Developer tool should look like Figure 1-22.
20 C H A P T E R 1 ■ A N I N T R O D U C T I O N TO . N E T A N D V I S U A L S T U D I O 2 0 0 5
Figure 1-21. The Web Application’s link within the Output window
Figure 1-22. My First Web App running
The second way to access the web site is to open your Web browser and type the URL. The URL will begin with http://localhost/ (or the name of the server, if you are working remotely) followed by the web site name. In the examples used so far, the URL will be http://localhost/MyFirstWebApp. Typing this URL should bring up the Default.aspx page with the title of My First Web App.
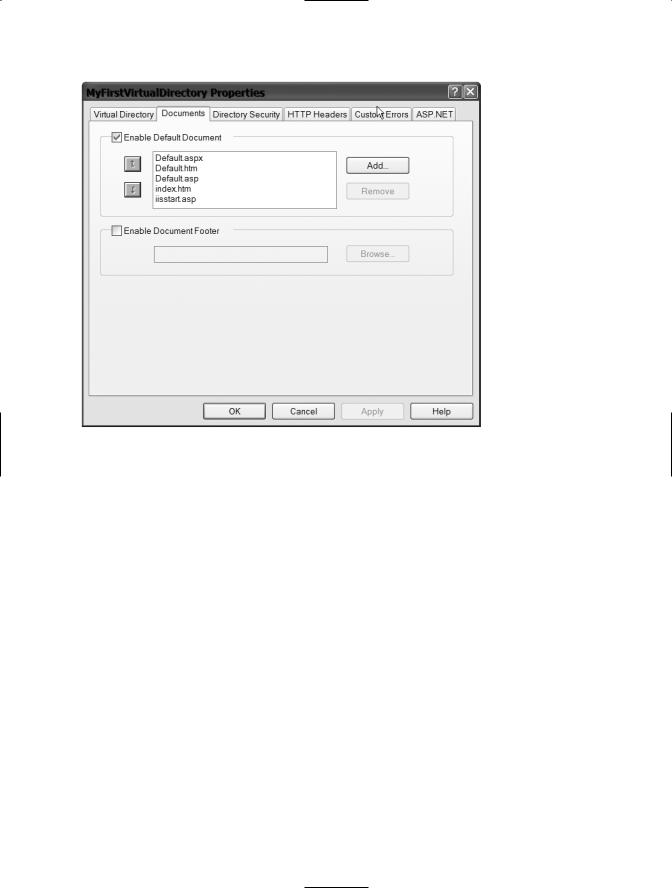
If you change the name of the first page in your web site from Default.aspx, you must change the first document the web server will look for. To do this, open Internet Information Services from the Administrative Tools. Right-click the web site you are working on.
Choose Properties to view the properties of the web site. The Documents tab will appear. The Documents tab is shown in Figure 1-23.
C H A P T E R 1 ■ A N I N T R O D U C T I O N TO . N E T A N D V I S U A L S T U D I O 2 0 0 5 |
21 |
Figure 1-23. Documents properties tab
If the name of your first web page within the web site is not in the list, add it by clicking the Add button and then typing the name of the page, including the extension (for example, .aspx). Then click OK in the pop-up window, click on the name of the file you just added, and then click the up arrow to move it to the top of the list. After moving your page to the top of the list, click OK.
Navigating the Visual Studio Environment
The VS environment can be intimidating at first. However, after you become familiar with it, you can close many of the windows to give yourself more space to work.
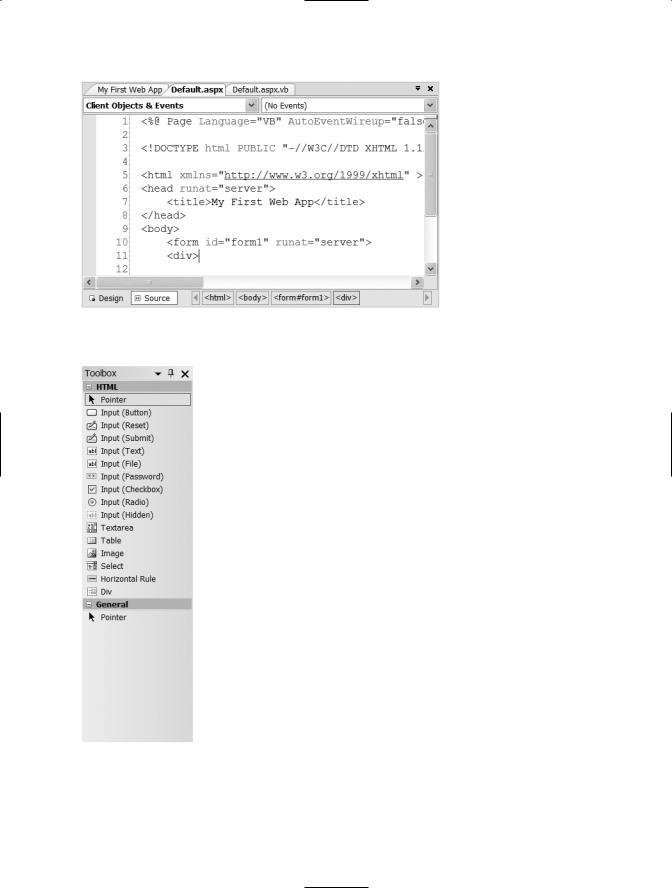
The middle section is for coding and includes the Designer Tool. The Designer Tool has two views. The first is the Design view, which is blank when a new form is created. That is where you place controls on the form. The Source view allows you to see the HTML code that makes up the form and is shown in Figure 1-24.
22 C H A P T E R 1 ■ A N I N T R O D U C T I O N TO . N E T A N D V I S U A L S T U D I O 2 0 0 5
Figure 1-24. Visual Designer Window
Figure 1-25.
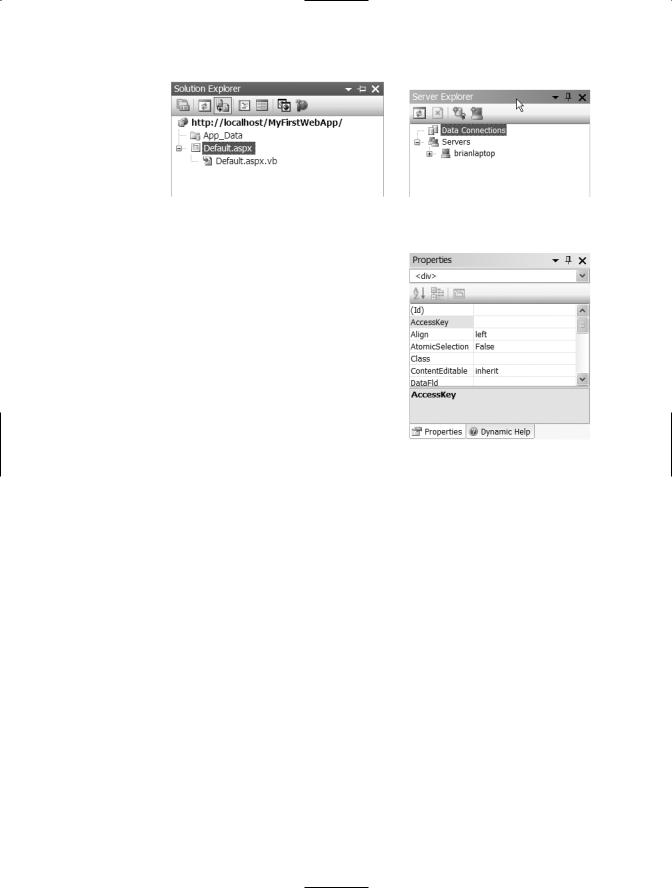
The Toolbox
The left side area is called the Toolbox, shown in Figure 1-25. This has all of the controls that can be added to a form. To add a control to a form, drag the control from the Toolbox onto the form. There will be more information about creating and working with web forms and web controls in Chapters 8 and 9.
On the right side of the screen there are two boxes; one is the Solution Explorer and the other is the Properties Window. The Solution Explorer, which shows all of the files that are part of the current web site, is shown in Figure 1-26. Use this area to move from page to page while working on the code.
The Server Explorer, shown in Figure 1-27, shows other servers that you have connections to and can be used to connect to and view SQL Server database information. To do this, click on the Data Connections button. Connecting to a database is beyond the scope of this book.
The items shown in the Properties Window, shown in Figure 1-28, will be different depending on the control selected. When you click on any control, or the form itself, information about that control or form will appear in the Properties Window. Use these properties to control all of the visual parts of the controls, such as font and size.
There are two ways you can hide any or all of the windows on the right side of the Properties Window. The first way you can hide a window is by clicking the X in the upper-right
C H A P T E R 1 ■ A N I N T R O D U C T I O N TO . N E T A N D V I S U A L S T U D I O 2 0 0 5 |
23 |
Figure 1-26. The Solution Explorer
corner of any of the boxes, closing it completely. The second way is to click the icon that looks like a pushpin in the upper-right corner of each box. If the pushpin is in a downward position, then the window will stay expanded. If the pushpin is in a sideways position, the window will collapse to the side of the screen when not in use. To toggle between the two, click the pushpin. Also, if you have clicked the pushpin to make it collapse the window, and you want to work with the window again, just move your mouse over to the title of the window on the right of the screen and the window will expand again.
Figure 1-27. The Server Explorer
Figure 1-28. Properties Window
Debugging
Debugging is an important step in the software development process. Typical industry best practices state that code should be written and then unit tested before integrated with existing code. Unit testing consists of testing the section of code just written with minimal integration into other code that may already exist. Using this strategy means that if an error occurs, there is a limited amount of code that could be responsible for the error.
To best test code and find problems, VS2005, like previous versions, has a debugger included. The debugger allows you to look at each line of code as it is executed and also see the values that a variable contains during execution. The debugger follows the line- by-line execution of the application as if it were in production. This way you know exactly which lines of code will be executed and in what order.
Before using the debugger, a breakpoint must be set. The breakpoint tells the debugger where to stop code execution and begin debugging. Without the breakpoint, the debugger will execute all of the lines of code without showing the debug process.
To see how this works, you are going to add some code to the Default.aspx.vb code file page. Open the Default.aspx.vb page from within the Solution Explorer. If you are in

24 C H A P T E R 1 ■ A N I N T R O D U C T I O N TO . N E T A N D V I S U A L S T U D I O 2 0 0 5
the source code view (meaning you can see the HTML tags), click the Design button at the bottom. Once you are in design mode, right-click and choose View Code. You can rightclick anywhere on the page. This will take you to the code page. For now ignore the partial class and inherits lines that are present. These will be covered later. Choose _Default from the top left drop-down menu and use the right drop-down box at the top of the page to choose New, as shown in Figure 1-29.
Figure 1-29. Choosing New from the right drop-down menu
Some new lines of code will be added. After the line Public Sub New() enter the following lines of code:
Dim x as integer
While x<100
X = x + 1
End While
These few lines of code will add 1 to x until x is 100. Now, click the gray area just to the left of the code While x < 100 (see Figure 1-30). This will establish the breakpoint.
Figure 1-30. Add Debugger Breakpoint
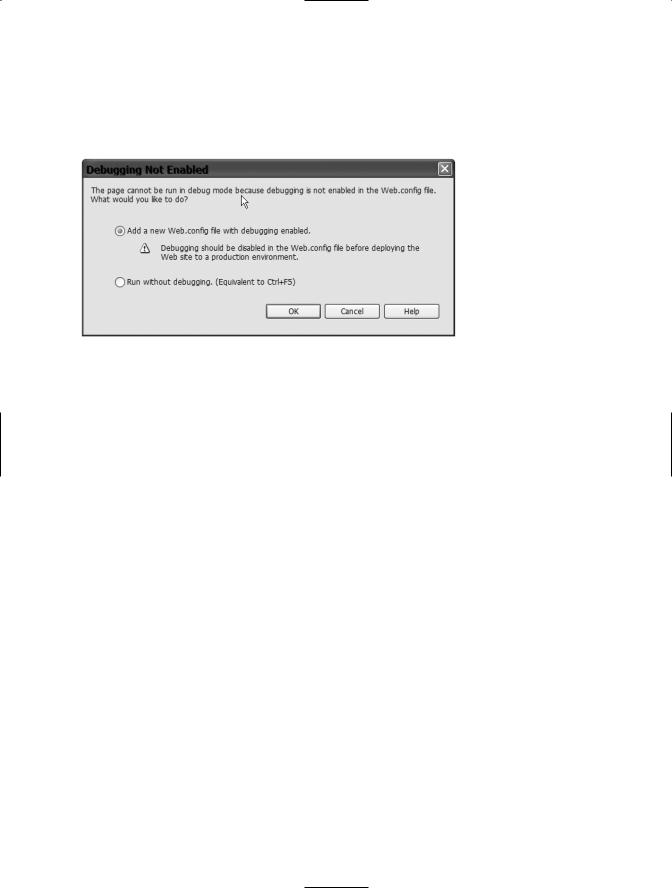
To use the debugger, click the Debug menu and then choose Start. The first time you attempt to debug a new web site you will get a message box, similar to the one shown in Figure 1-31, which will explain that debugging is not enabled for the project by default.
There is a web configuration file for each application that you can use. The configuration
C H A P T E R 1 ■ A N I N T R O D U C T I O N TO . N E T A N D V I S U A L S T U D I O 2 0 0 5 |
25 |
file can contain information about the project and how the application should behave. Working with the configuration file is outside the scope of this book. For now, click the OK button and the debugger will build the application and begin to debug.
Figure 1-31. Setting up the configuration file to allow debugging
First your web browser will open and the page will begin to load. Next, the debug window will appear with a yellow line where the breakpoint is. To move to the next line of code press the F11 key. Continue to press the F11 key to execute the current line of code and then move to the next line. After hitting the F11 key several times, place the mouse over the x in line 7 (either x will do) to get its value at that time. To stop the debugging, either click the Debug menu, then Stop Debugging, or close the web browser window, which will automatically stop the debugging session. You’ll use the debugger more in the next few chapters in order to find out what code is executing when and what that particular code is doing.
IntelliSense
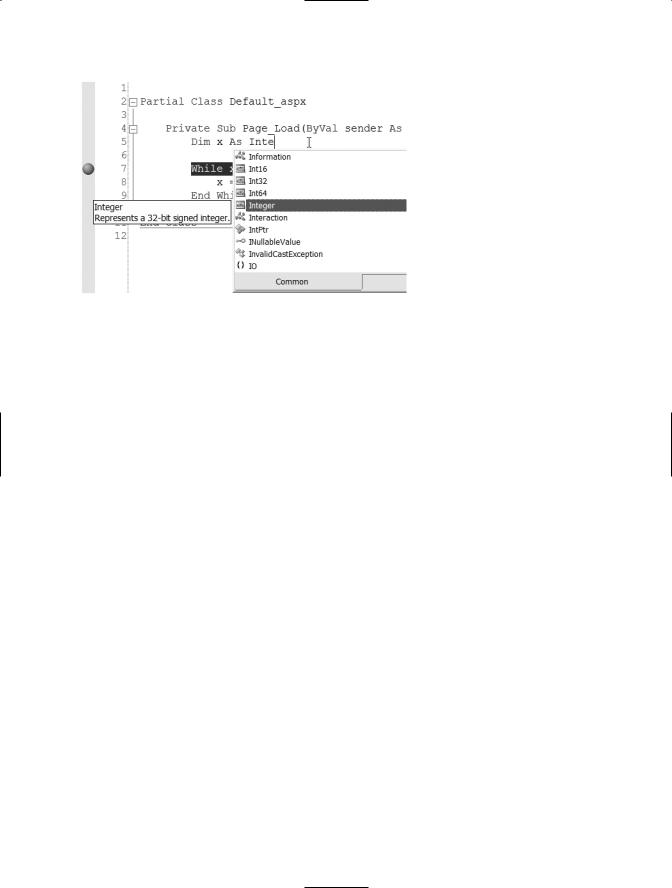
IntelliSense is a technology within VS (available for any language within VS) that helps to complete your code. I’ll show you an example next. While you still have the web site open, remove line 5 (Dim x as integer). While still on line 5 type Dim x as then hit the spacebar. What you should see is a drop-down list that appears after the space that was added after “as.” This drop-down gives you a list of all of the possible “things” that x can be created as. In this case, we are going to create x as an integer. When you type an I, the drop-down list will automatically move to the first item beginning with I. Type nte after the I so you have Inte. The drop-down list will stop on Integer, as shown in Figure 1-32. Press the spacebar, and it will finish the word for you. IntelliSense can be very important for working with classes within VB.NET. This will be covered in future chapters.
26 C H A P T E R 1 ■ A N I N T R O D U C T I O N TO . N E T A N D V I S U A L S T U D I O 2 0 0 5
Figure 1-32. IntelliSense
Conclusion
In this chapter I have provided you with an introduction to .NET and VS.NET and an explanation of what .NET and the .NET Framework are. I also explained how VS.NET is used to develop applications that work with the .NET Framework. The next chapters will introduce the concepts of object-oriented programming and show how those concepts can be used to build applications with VS.NET and the .NET Framework.

C H A P T E R 2
■ ■ ■
Object-Oriented Programming
The concepts of object-oriented programming, also known as OOP, are the basis for many of today’s programming languages. The languages supported by the .NET Framework and VS are no different. In fact, the .NET Framework is built completely around the concepts of OOP. For you to be able to develop software with VS and specifically VB, you must understand the basic concepts of OOP. In this chapter I’ll provide an introduction to OOP concepts and also present an introduction to the use of OOP concepts within VB .NET.
Introduction to OOP Concepts
The core idea within OOP is the concept of an object. An object within OOP is something that models a real world entity. An example that I often give is that of a car object. In this case, a car object could represent a real-world car. A car object within the context of OOP would have the same characteristics as a real-world car and would also have the ability to perform actions as a real-world car could. More discussion of the purpose of an object and how objects can be used will follow in the next several sections.
Most real-world objects have actions that can be taken either on the objects themselves or by them. In our car object example, starting the car would be an action. To truly model the real world, an object must have or perform actions that the corresponding real-world object would. With the car example, the car object would have an associated action called “start.” It may also have an action called “drive” and another called “stop.” Most real-world objects also have attributes that describe the object. For example, an attribute of a car might be its red color or its size. Attributes can either be changeable or static. The color of a car can be changed, hence color is a changeable attribute, but the size of the car will always remain the same, making the attribute static. Both actions and attributes will be discussed in more detail in Chapter 3.
In the real world, if we are using an object such as a car, we don’t need to know the actual inner workings of the car in order to get the benefits of allowing us to move from place to place. In the same way, a key advantage of OOP is the ability to use objects created by other people without having to know how the object actually performs the requested actions. There may be a thousand lines of code within an object that you use daily, but
27

28 C H A P T E R 2 ■ O B J E C T- O R I E N T E D P R O G R A M M I N G
you’ll never be exposed to it or need to understand how it works in the course of development. You will only need to know two things:
•Any information you might need to provide to the object
•The kinds of information you will get out of the object
This is a concept called encapsulation, and it will be discussed in greater detail in Chapter 4.
One object can also be used as a basis for another object. For example, many car manufacturers use the same frame to make many different brands of cars by just changing their outside bodies. This is a concept called inheritance and will be discussed further in Chapter 5.
Why Objects Exist
An object is not based in procedure, meaning in other words, that if you create an object, you never know when that object will be used within a given program. With a procedural programming language such as COBOL, you know that the code will be executed in order; for example, that line one will be executed before the code on line two. With OOP you do not know when an object will be called or what part of the object will be used.
A good way of explaining these ideas is to consider a web page. Say, for instance, that you have a web page with two buttons and two text boxes. At the moment, it does not matter where the buttons or the text boxes are located, but it’s important to understand that the two buttons and the two text boxes are objects for programming purposes. As a programmer, you don’t know when or even if either of the buttons will be pushed, nor do you know if the text boxes will have text placed in them or not. This illustrates the fact that objects are not procedural in nature.
Within a given object, there will be actions that will be procedural in nature. For example, going back to the car object example, one action that can be taken on the car is to start the car. Within the action of starting the car, there are certain steps that must be done sequentially. So, within an object, there may be procedural-style programming, but the use of the object itself is not procedural. If you think about it, this very closely models the real world. Just because you get into your car doesn’t mean that the car will automatically start, and just because you start the car doesn’t mean the car will go forward immediately. In contrast to the real world, with OOP, all of these actions are independent of each other. Each individual action can be taken or called when necessary. You may want to just get into the car to get something out that you forgot, and in that case, the car should not start immediately and start moving forward. You may also be parked behind another car in a parking lot. You want to be able to start the car and put it in reverse instead of drive.