


Getting Started with Groovy
See also
ff http://groovy.codehaus.org/Eclipse+Plugin
Configuring Groovy in IntelliJ IDEA
Since v8, IntelliJ IDEA, one of the most popular Java IDEs, has native support for Groovy. There is no need to install a plugin to start coding in Groovy and benefit from a number of interesting features such as code completion and refactoring. The latest iteration of IntelliJ IDEA, Version 12, has full support for Groovy 2.0.
In this recipe, we are going to show how to set up a Groovy project in IDEA and showcase some of the most interesting qualities of the integration.
Getting ready
To get started with this recipe, you need v12 of IntelliJ IDEA. The IDE comes in two versions, Community Edition and Ultimate. JetBrains, the company behind IDEA, offers the Community Edition for free, while it charges for the Ultimate version. The good news is that Groovy support is available in the free version of the IDE so you can start using it straight away. Download IntelliJ IDEA from http://www.jetbrains.com.
You also need to install Java and a Groovy distribution. Refer to the installation recipes from earlier in this chapter.
How to do it...
Let's start with the project creation:
1.Click on the Create New Project link in the main IntelliJ IDEA start page, as shown in the following screenshot:
 42
42
www.it-ebooks.info

Chapter 1
2.In the next wizard page, select Groovy Module and enter the name and location of your project, as shown in the following screenshot:
43 
www.it-ebooks.info
Getting Started with Groovy
3.The Project SDK field should be set to the version of the JDK you want to use for this project. If the Project SDK is empty and there is nothing in the list, then click on the New... button, select JDK and locate the JDK installation directory in the open folder selection dialog.
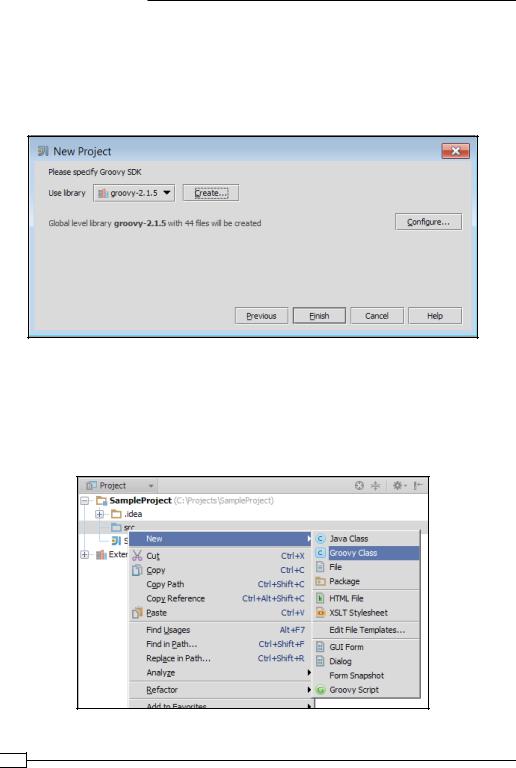
4.After JDK is selected click on the Next button to get to the Groovy SDK selection page, as shown in the following screenshot:
5.If it is a fresh installation, most likely the Use library drop-down list will be empty. Click on the Create… button and locate the Groovy installation directory. That's it, click on the Finish button.
6.Once the project is created, the IDE allows to create Groovy classes as well as Groovy scripts. Scripts can be used as scrapbooks for testing code snippets and can be later integrated into a class:
 44
44
www.it-ebooks.info
Chapter 1
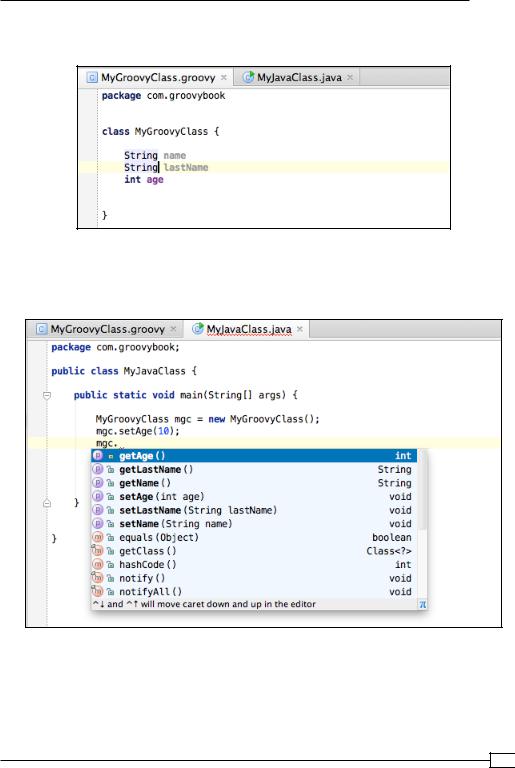
7.You can also create Java classes that call methods on Groovy classes. Let's create a simple Groovy class, named MyGroovyClass, as shown in the following screenshot:
8.The class defines three attributes and uses the concise Groovy approach, with no need for getters and setters to access the variables.
9.Now let's create a Java class, MyJavaClass, as shown in the following screenshot:
As you can see in the previous screenshot, the code autocompletion works perfectly and it's even able to propose synthetic methods that are generated by the Groovy compiler, such as getters and setters.
For a broader look at the integration between Java and Groovy, take a look at the
Using Java classes from Groovy recipe in Chapter 2, Using Groovy Ecosystem.
45 
www.it-ebooks.info
Getting Started with Groovy
There's more...
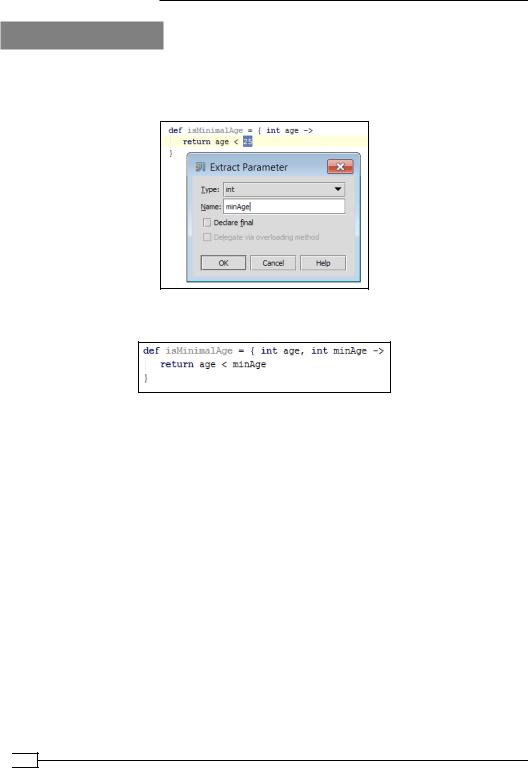
Several refactoring goodies are also available, including Extract Parameter that also works for closures (see the Defining code as data in Groovy recipe in Chapter 3, Using Groovy Language Features), as shown in the following screenshot:
The result of the refactoring will be as shown in the following screenshot:
 46
46
www.it-ebooks.info