

ASP.NET 2.0 Everyday Apps For Dummies (2006)
.pdfChapter 3: Designing Secure ASP.NET Applications |
77 |
Preventing SQL-injection attacks
The typical SQL-injection attack happens when a hacker enters data that includes a SQL command into a data-entry text box. To understand how this can pose a threat, suppose your application uses the data entered into a text box to construct a command in SQL, like this:
string cmd = “SELECT * FROM Cust WHERE CustID =’”
+ txtCustID.Text + “‘“;
Then, the program proceeds to execute the command contained in the cmd string variable. For example, if the user enters 12345 in the CustID text box, the following SQL command will be entered:
SELECT * FROM Cust WHERE CustID =’12345’
The SQL-injection attack isn’t all that hard to do: The hacker enters text that tricks the program into executing a batch of statements. This requires knowledge of both the database structure and the statement that’s supposed to be executed, but the hacker can often gain that knowledge by trial and error.
For example, suppose that instead of entering 12345, the hacker enters this:
12345’; Delete * From Customers; Select * from Cust where
CustID=’.
Then the cmd string variable will contain the following text:
SELECT * FROM Cust WHERE CustID =’12345’; Delete * From
Cust; Select * from Cust where CustID=’’
Here, three SQL commands will be executed. The first retrieves a customer, the second deletes all customers from the Cust table, and the third (again) tries to retrieve a customer. In effect, the hacker has discovered how to delete all of your customers!
Note that the only purpose of the third SQL command is to provide a matching quotation mark for the final quotation mark that’s appended by the assignment statement in the program. Without a matching quotation mark, the SQL statement would contain a syntax error — and wouldn’t execute.
The moral of the story is this: never build SQL statements using literals obtained from data-entry fields. Instead, put any data entered by the user into parameters, and write your SQL statements so they use those parameter values instead of the literals. For example, the program’s SQL statement could be written like this:
string cmd = “SELECT * FROM Cust WHERE CustID = @CustID;

78 |
Part II: Building Secure Applications |
Then, the program could create a SQL parameter named @CustID to hold the value entered by the user.
Hiding error messages
ASP.NET provides a wealth of information that’s useful while you’re testing and debugging an application. For example, when an unhandled exception is thrown, a detailed error page appears, showing the exact cause of the error — as well as several source statements immediately before and after the statement that threw the exception.
This information is useful during testing and debugging, but can lead to serious security breaches once the program is in production. For example, consider a hacker attempting to break into your application using the type of SQL-injection attack described in the previous section. His or her nefarious efforts will be much easier if the application displays error pages that include the text of the actual SQL statements being submitted to the server!
To prevent these detailed error pages from being displayed, you’ll need to provide custom error pages and configure the application’s web.config file to use them. To do that, add a <customErrors> element to the web.config file, like this:
<customErrors mode=”RemoteOnly” defaultRedirect=”ErrorDefault.aspx”> <error statusCode=”404”
redirect=”Error404.aspx” /> </customErrors>
Here, any 404 errors (Page Not Found) will be redirected to Error404.aspx, and all other errors will be redirected to ErrorDefault.aspx. You can include whatever error information you want your users to see on these pages.
The mode attribute of the <customErrors> element can have one of three settings:
Off: No custom error pages are displayed. Use this setting while you’re testing and debugging your application.
On: Custom error pages are displayed whenever an unhandled exception is thrown. This setting is useful while you’re testing and debugging the error pages themselves.
RemoteOnly: Custom error pages are shown for remote users, but not for local users. This is the ideal setting to use after the application is in production; it lets you see the default error pages so you can diagnose any problems the application encounters, but it still shows the custom error pages to the end-users.

Chapter 4
Building a User Authentication
Application
In This Chapter
Automating user authentication — without writing (much) code
Designing the login Web pages
Coding the application’s web.config files
Building the login Web pages
I’m a big fan of the TV series M*A*S*H. In one of its best episodes (“Officer of the Day”), Hawkeye reluctantly assumes the role of Officer of the Day
and must deal with local residents who come in to request medical assistance. To prove they are friendly, the residents must present identification. The first person to come in shows an identification card with the name Kim Luck. A few minutes later, a second person comes in and also presents an identification card with the name Kim Luck. Hawkeye asks, “Can you identify yourself?” and the man points to himself and says emphatically “This is me!”
Many Web applications require a similar type of identification before the user is allowed to access the Web site — user authentication: The user must provide a name as well as a password, and the name and password combination must be on file before the user is allowed to enter the application. No surprise, however, that most Web applications have more stringent security requirements than the 4077. In particular, user names must be unique (they can’t all be “Kim Luck”), and the password must be more complicated than “This is me!”
Because logging in is such a common requirement for Web applications, ASP.NET 2.0 provides a sophisticated set of login controls that can handle almost all aspects of user-account management with little, if any, programming. This chapter presents an application that uses these controls to implement
80 |
Part II: Building Secure Applications |
basic user authentication. In particular, the application requires users to log in to gain access to the application’s content pages (which don’t actually contain any content). If the user hasn’t registered, the application allows the user to create an account. And if the user forgets his or her password, a password recovery feature can send the user’s password via e-mail. The application also includes a page that lists the name of each user that’s currently logged in. And finally, the application distinguishes between ordinary users and administrators, who can access a special administrator’s page.
The Application’s User Interface
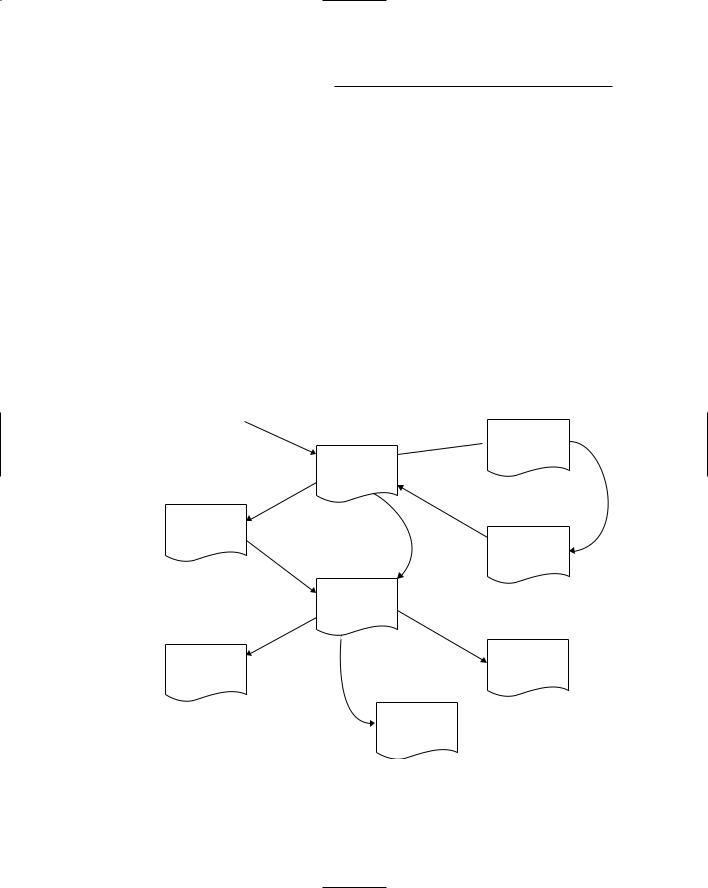
Figure 4-1 shows the user interface flow for the User Authentication Application. As you can see, the user interface consists of seven distinct pages. The diagram indicates how the user’s interaction with the interface flows from page to page.
|
|
User requests |
Forgot |
|
|
|
page |
|
|
|
|
Login.aspx |
password |
|
|
|
|
||
|
|
|
Login page |
|
|
Register.asp |
New user |
|
|
|
|
|
|
|
|
Registration |
|
Logged |
|
|
page |
|
||
|
|
|
on |
|
|
|
Logged |
Default.aspx |
|
|
|
Content |
|
|
|
|
on |
|
|
|
|
page |
|
|
|
|
|
|
|
|
Admin.aspx |
User is |
|
|
|
|
|
||
|
|
|
||
Figure 4-1: Admin page |
|
|
||
administrator |
|
|||
The user |
|
|||
|
|
|
||
interface for |
|
|
ChangePW.aspx |
|
the User |
|
|
||
Authenti- |
|
|
Change |
|
cation |
|
|
Password |
|
application. |
|
|
page |
|
|
|
|
|
|
|
|
|
|
|
Recover.aspx
Recover
 Password page
Password recovered
Recovered.aspx
Recovery Confirmation page
UserList.aspx
User List page
Chapter 4: Building a User Authentication Application |
81 |
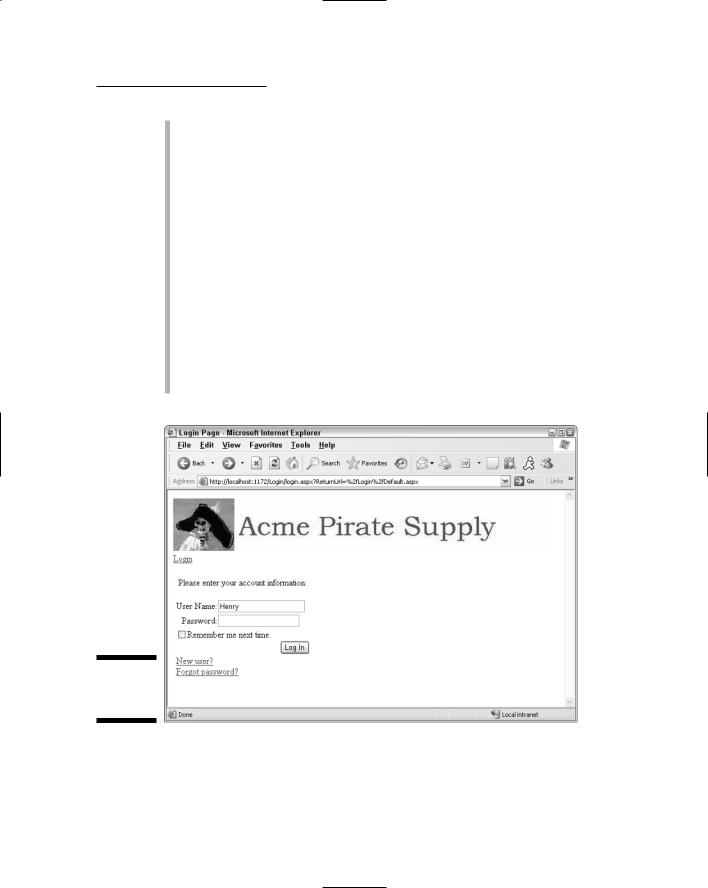
The Login page: The Login page, shown in Figure 4-2, is the first page a user sees when he or she tries to access the Content page. The Login page requires the user to enter his or her user name and password. Then, assuming the user name and password are valid, the application displays the Content page. If the user name and password aren’t valid, the Login page is redisplayed so the user has another chance to enter a correct user name and password.
This page also has links to the Register page and the Recover Password page.
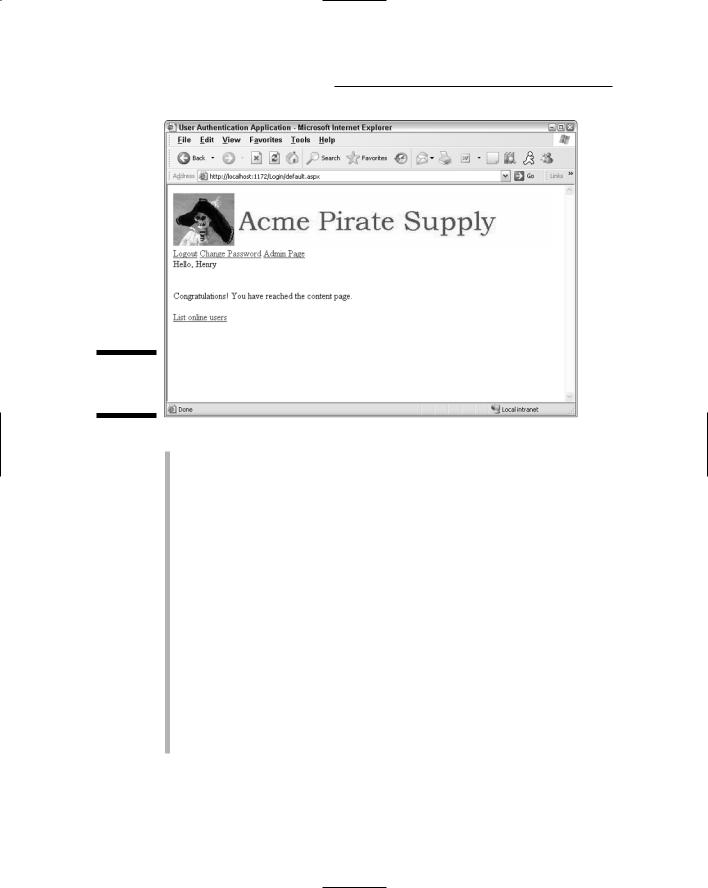
The Content page: This page, shown in Figure 4-3, is the page that the user is trying to gain access to. This page is displayed only if the user enters a valid user name and password in the Login page. For this application, the content page will be named Default.aspx and won’t actually contain any useful information. Instead, it just displays a message that says (in effect), “Congratulations, you have reached the content page.” Of course, in an actual application, this page would have to be more interesting. Otherwise why would users go to the trouble to register and log in just to see an essentially blank page?
Figure 4-2:
The Login
page.
82 |
Part II: Building Secure Applications |
Figure 4-3:
The Content
page.
If the user has logged in with an administrator account, this page will also contain a link to the Administration page. Then the user can click this link to perform administrative functions. Note that this link doesn’t appear if the user is not an administrator.
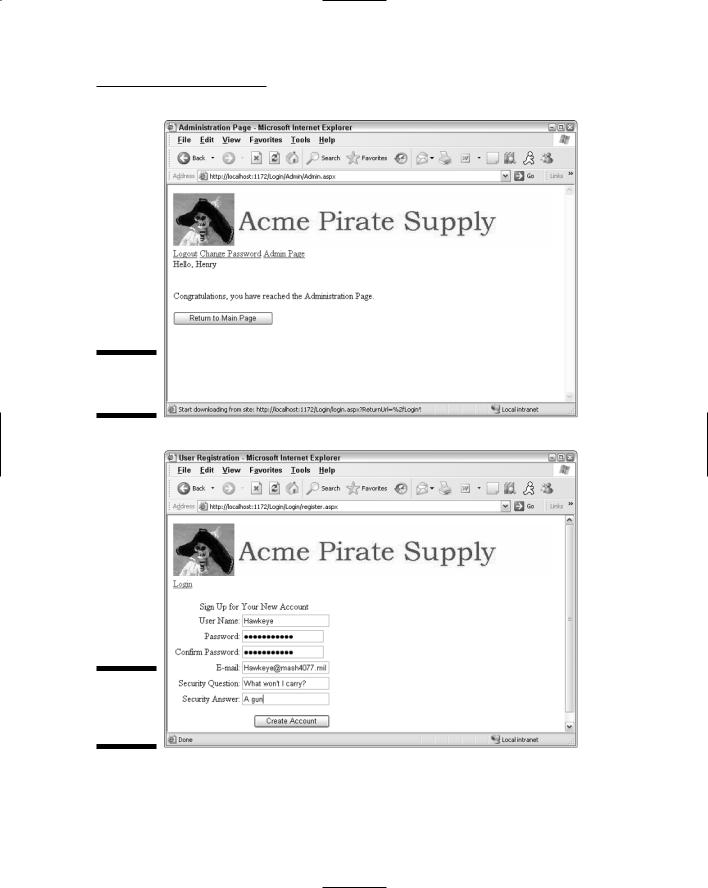
The Admin page: The Admin page, shown in Figure 4-4, can only be reached by those users who have logged in with an administrator account. For this application, the Admin page doesn’t do anything other than display a message indicating that the Admin page has been reached. In a real application, this page would contain links to administrative functions, such as updating databases or managing Web site content. (The Admin page also includes a button that leads back to the Main Content page.)
The Registration page: Figure 4-5 shows the Registration page, which lets the user create a new user account. More specifically, it lets the user enter the required account information — which includes a user name, a password (the password must be entered twice), an e-mail address, a secret question, and the answer to the secret question. Assuming the user enters correct information, the account is created, the user is automatically logged in using the new account, and the Content page is displayed.
Chapter 4: Building a User Authentication Application |
83 |
Figure 4-4:
The Admin
page.
Figure 4-5:
The
Registration
page.
84 |
Part II: Building Secure Applications |
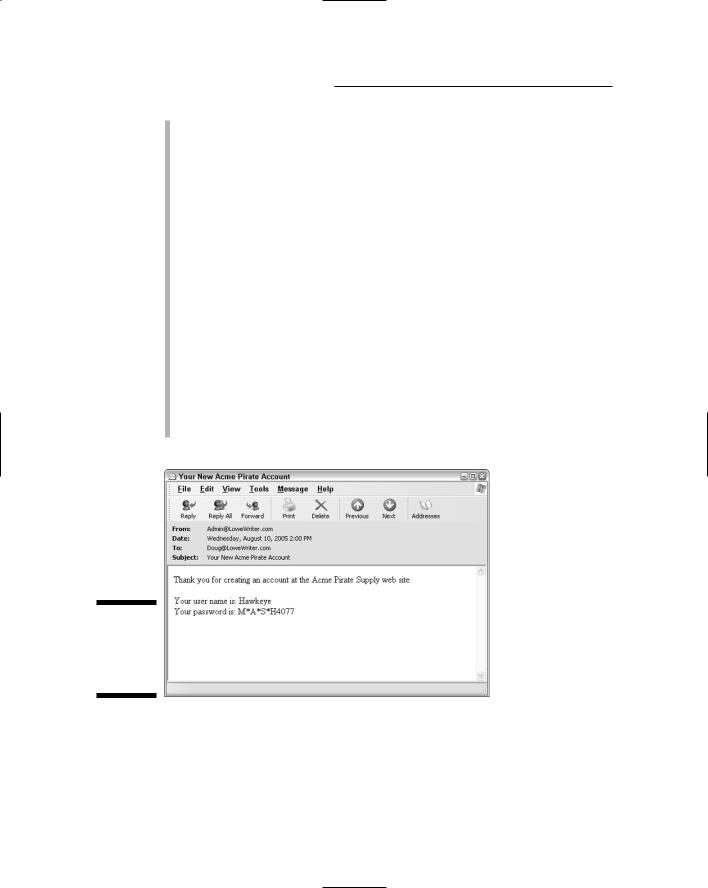
If the registration is successful, the Registration page sends an e-mail message to the address entered by the user. (Figure 4-6 gives you an idea what this kind of e-mail message looks like.)
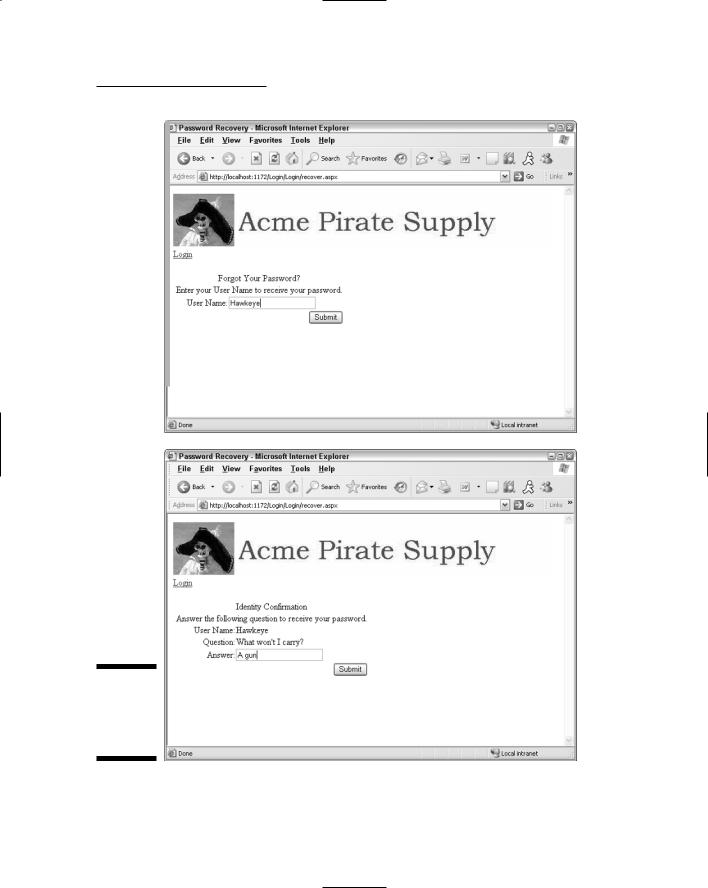
The Recover Password page: The user can use the Recover Password page, shown in Figure 4-7, to retrieve a forgotten password.
This page first asks for the user name. Then, if the user name is valid, it displays the secret question and allows the user to enter the answer. Finally, if the answer is correct, the user’s password is changed to a random value and the new password is e-mailed to the e-mail address on file for the user.
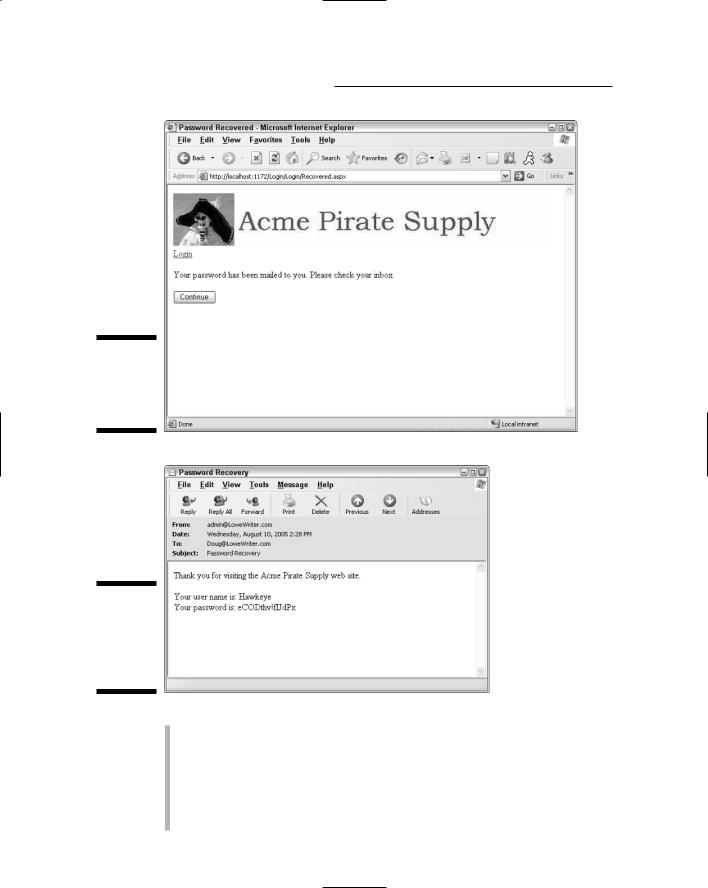
The Recovery Confirmation page: The page shown in Figure 4-8 is displayed when the Recover Password page successfully e-mails the user’s password. It displays a confirmation message indicating that the password has been e-mailed and a button the user can click to return to the Login page.
Figure 4-9 shows the e-mail message that’s sent when the password has been recovered. Note that the Recover Password page actually changes the user’s password, assigning a random combination of alphanumeric characters and symbols. The resulting password is not likely to be very friendly.
Figure 4-6:
The e-mail sent to confirm a registration.
Chapter 4: Building a User Authentication Application |
85 |
Figure 4-7:
The
Recover
Password
pages.
86 |
Part II: Building Secure Applications |
Figure 4-8:
The
Recovery
Confirmation
page.
Figure 4-9:
The e-mail sent when the password is recovered.
The Change Password page: The Change Password page, shown in Figure 4-10, lets the user change his or her password. The user can access this page from any content page once the user has logged in.
The User List page: The User List page, shown in Figure 4-11, displays the name of each user currently logged in to the system. Any registered user can access this page from the Content page. As a result, the user must be logged in to the application to view the User List page.