


LINKING PAGES TOGETHER |
56 |
This isn’t the whole story—Rails gives you lots of opportunities to override this basic workflow (and we’ll be taking advantage of these shortly). As it stands, our story illustrates convention over configuration, one of the fundamental parts of the philosophy of Rails. By providing convenient defaults and by applying certain conventions, Rails applications are typically written using little or no external configuration—things just knit themselves together in a natural way.
4.3Linking Pages Together
It’s a rare web application that has just one page. Let’s see how we can add another stunning example of web design to our Hello, World! application.
Normally, each style of page in your application will correspond to a separate view. In our case, we’ll also use a new action method to handle the page (although that isn’t always the case, as we’ll see later in the book). We’ll use the same controller for both actions. Again, this needn’t be the case, but we have no compelling reason to use a new controller right now.
We already know how to add a new view and action to a Rails application. To add the action, we define a new method in the controller. Let’s call this action goodbye. Our controller now looks like the following.
Download work/demo3/app/controllers/say_controller.rb
class SayController < ApplicationController def hello
@time = Time.now end
def goodbye end
end
Next we have to create a new template in the directory app/views/say. This time it’s called goodbye.rhtml, because by default templates are named after the associated actions.
Download work/demo3/app/views/say/goodbye.rhtml
<html>
<head>
<title>See You Later!</title> </head>
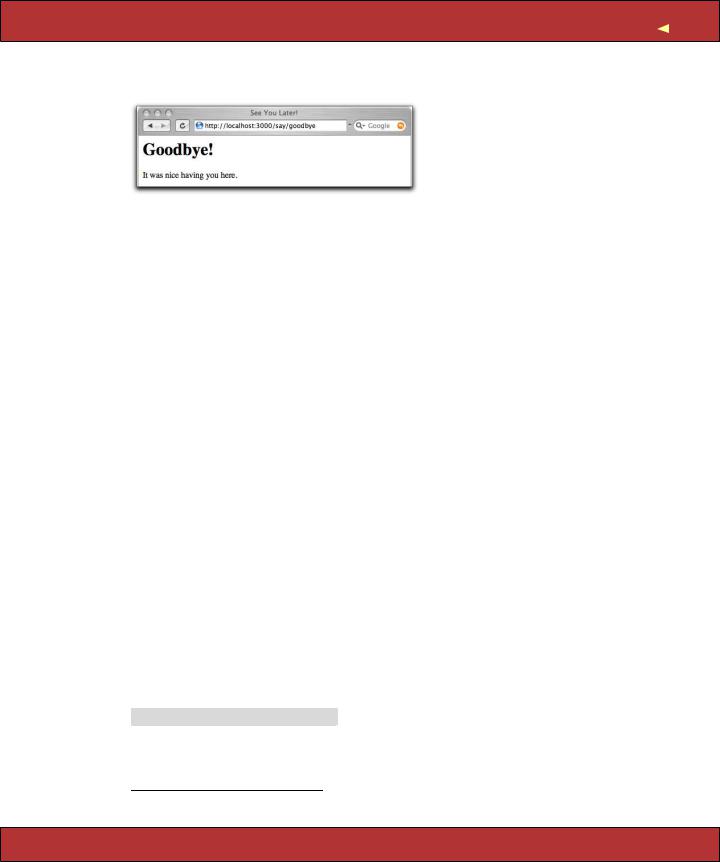
<body> <h1>Goodbye!</h1> <p>
It was nice having you here.
</p>
</body>
</html>
Report erratum
LINKING PAGES TOGETHER |
57 |
Fire up our trusty browser again, but this time point to our new view using the URL http://localhost:3000/say/goodbye. You should see something like this.
Now we need to link the two screens. We’ll put a link on the hello screen that takes us to the goodbye screen, and vice versa. In a real application we might want to make these proper buttons, but for now we’ll just use hyperlinks.
We already know that Rails uses a convention to parse the URL into a target controller and an action within that controller. So a simple approach would be to adopt this URL convention for our links. The file hello.rhtml would contain the following.
<html>
...
<p>
Say <a href="/say/goodbye">Goodbye</a>!
</p>
...
And the file goodbye.rhtml would point the other way.
<html>
...
<p>
Say <a href="/say/hello">Hello</a>!
</p>
...
This approach would certainly work, but it’s a bit fragile. If we were to move our application to a different place on the web server, the URLs would no longer be valid. It also encodes assumptions about the Rails URL format into our code; it’s possible a future version of Rails might change this.
Fortunately, these aren’t risks we have to take. Rails comes with a bunch of helper methods that can be used in view templates. Here, we’ll use the helper method link_to, which creates a hyperlink to an action.6 Using link_to, hello.rhtml becomes
Download work/demo4/app/views/say/hello.rhtml
<html>
<head>
<title>Hello, Rails!</title> </head>
6. The link_to method can do a lot more than this, but let’s take it gently for now....
Report erratum

LINKING PAGES TOGETHER |
58 |
<body>
<h1>Hello from Rails!</h1> <p>
It is now <%= @time %>.
</p>
<p>
Time to say
<%= link_to "Goodbye!", :action => "goodbye" %>
</p>
</body>
</html>
There’s a link_to call within an ERb <%=...%> sequence. This creates a link to a URL that will invoke the goodbye action. The first parameter in the call to link_to is the text to be displayed in the hyperlink, and the next parameter tells Rails to generate the link to the goodbye action. As we don’t specify a controller, the current one will be used.
Let’s stop for a minute to consider how we generated the link. We wrote
link_to "Goodbye!", :action => "goodbye"
First, link_to is a method call. (In Rails, we call methods that make it easier to write templates helpers.) If you come from a language such as Java, you might be surprised that Ruby doesn’t insist on parentheses around method parameters. You can always add them if you like.
The :action part is a Ruby symbol. You can think of the colon as meaning the thing named..., so :action means the thing named action.7 The => "goodbye" associates the string goodbye with the name action. In effect, this gives us keyword parameters for methods. Rails makes extensive use of this facility— whenever a method takes a number of parameters and some of those parameters are optional, you can use this keyword parameter facility to give those parameters values.
OK. Back to the application. If we point our browser at our hello page, it will now contain the link to the goodbye page, as shown here.
7. Symbols probably cause more confusion than any other language feature when folks first come to Ruby. We’ve tried many different explanations—no single explanation works for everyone. For now, you can just think of a Ruby symbol as being like a constant string but one without all the string methods. It’s the name tag, not the person.
Report erratum

WHAT WE JUST DID |
59 |
We can make the corresponding change in goodbye.rhtml, linking it back to the initial hello page.
Download work/demo4/app/views/say/goodbye.rhtml
<html>
<head>
<title>See You Later!</title> </head>
<body> <h1>Goodbye!</h1> <p>
It was nice having you here.
</p>
<p>
Say <%= link_to "Hello", :action => "hello" %> again.
</p>
</body>
</html>
4.4What We Just Did
In this chapter we constructed a toy application. Doing so showed us
•how to create a new Rails application and how to create a new controller in that application,
•how Rails maps incoming requests into calls on your code,
•how to create dynamic content in the controller and display it via the view template, and
•how to link pages together.
This is a great foundation. Now let’s start building real applications.
Playtime
Here’s some stuff to try on your own.
•Write a page for the say application that illustrates the looping you can do in ERb.
•Experiment with adding and removing the minus sign at the end of the ERb <%= %> sequence (i.e., changing %> into -%>, and vice versa. Use your browser’s View → Source option to see the difference.
•A call to the following Ruby method returns a list of all the files in the current directory.
@files = Dir.glob('*')
Report erratum
WHAT WE JUST DID |
60 |
Use it to set an instance variable in a controller action, and then write the corresponding template that displays the filenames in a list on the browser.
Hint: in the ERb examples, we saw how to iterate n times. You can iterate over a collection using something like
<% for file in @files %> file name is: <%= file %>
<% end %>
You might want to use a <ul> for the list.
(You’ll find hints at http://wiki.pragprog.com/cgi-bin/wiki.cgi/RailsPlayTime)
Cleaning Up
Maybe you’ve been following along, writing the code in this chapter. If so, the chances are that the application is still running on your computer. When we start coding our next application in 10 pages or so, we’ll get a conflict the first time we run it, because it will also try to use your computer’s port 3000 to talk with the browser. Now would be a good time to stop the current application by pressing control-C in the window you used to start it.
Report erratum