


In this chapter, we’ll see
•writing our own views
•using layouts to decorate pages
•integrating CSS
•using helpers
•linking pages to actions
Chapter 7
Task B: Catalog Display
All in all, it has been a successful day so far. We gathered the initial requirements from our customer, documented a basic flow, worked out a first pass at the data we’ll need, and put together the maintenance page for the Depot application’s products. We even managed to cap off the morning with a decent lunch.
Thus fortified, it’s on to our second task. We chatted through priorities with our customer, and she said she’d like to start seeing what the application looks like from the buyer’s point of view. Our next task is to create a simple catalog display.
This also makes a lot of sense from our point of view. Once we have the products safely tucked into the database, it should be fairly simple to display them. It also gives us a basis from which to develop the shopping cart portion of the code later.
We should also be able to draw on the work we did in the product maintenance task—the catalog display is really just a glorified product listing. So, let’s get started.
7.1Iteration B1: Create the Catalog Listing
Back on page 78, we said that we’d be using two controller classes for this application. We’ve already created the Admin controller, used by the seller to administer the Depot application. Now it’s time to create the second controller, the one that interacts with the paying customers. Let’s call it Store.
depot> ruby script/generate controller store index exists app/controllers/
exists app/helpers/ create app/views/store exists test/functional/
create app/controllers/store_controller.rb
ITERATION B1: CREATE THE CATALOG LISTING |
95 |
create test/functional/store_controller_test.rb create app/helpers/store_helper.rb
create app/views/store/index.rhtml
Just as in the previous chapter, where we used the generate utility to create a controller to administer the products, here we’ve asked it to create a new controller (class StoreController in the file store_controller.rb) containing a single action method, index.
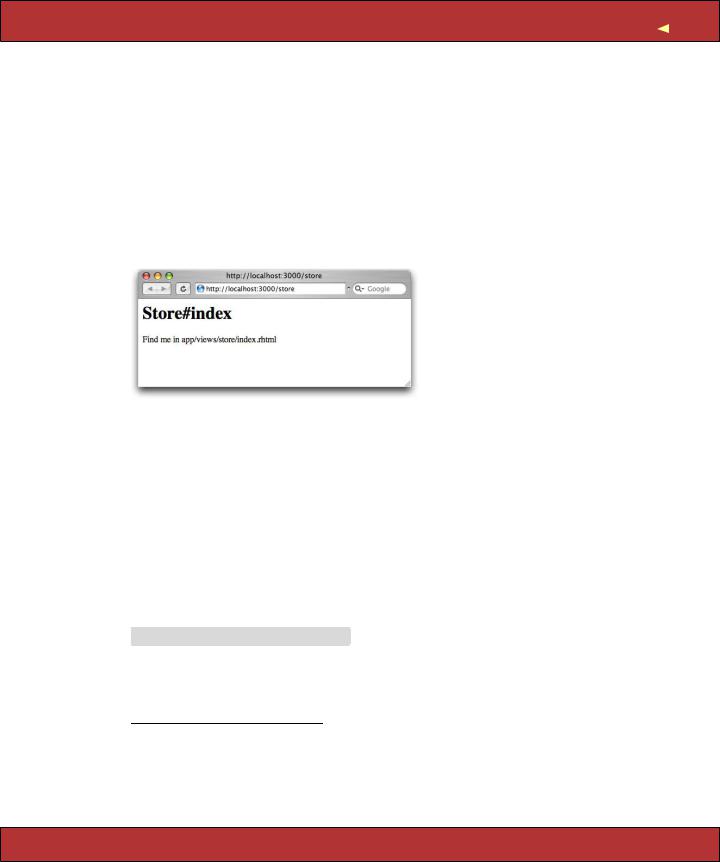
So why did we choose to call our first method index? Well, just like most web servers, if you invoke a Rails controller and don’t specify an explicit action, Rails automatically invokes the index action. In fact, let’s try it. Point a browser at http://localhost:3000/store, and up pops our web page.1
It might not make us rich, but at least we know everything is wired together correctly. The page even tells us where to find the template file that draws this page.
Let’s start by displaying a simple list of all the products in our database. We know that eventually we’ll have to be more sophisticated, breaking them into categories, but this will get us going.
We need to get the list of products out of the database and make it available to the code in the view that will display the table. This means we have to change the index method in store_controller.rb. We want to program at a decent level of abstraction, so let’s just assume we can ask the model for a list of the products we can sell.
Download depot_d/app/controllers/store_controller.rb
class StoreController < ApplicationController def index
@products = Product.find_products_for_sale end
end
1. If you instead see a message saying “no route found to match...” you may need to stop and restart your application at this point. Press control-C in the console window in which you ran script/server, and then rerun the command.
Report erratum
ITERATION B1: CREATE THE CATALOG LISTING |
96 |
Obviously, this code won’t run as it stands. We need to define the method find_products_for_sale in the product.rb model. The code that follows uses the Rails find method. The :all parameter tells Rails that we want all rows that match the given condition. We asked our customer whether she had a preference regarding the order things should be listed, and we jointly decided to see what happened if we displayed the products in alphabetical order, so the code does a sort on title.
Download depot_d/app/models/product.rb
class Product < ActiveRecord::Base
def self.find_products_for_sale find(:all, :order => "title")
end
# validation stuff...
end
The find method returns an array containing a Product object for each row returned from the database. We use its optional :order parameter to have these rows sorted by their title. The find_products_for_sale method simply passes this array back to the controller. Note that we made find_products_for_sale a class method by putting self. in front of its name in the definition. We did this because we want to call it on the class as a whole, not on any particular instance—we’ll use it by saying Product.find_products_for_sale.
Now we need to write our view template. To do this, edit the file index.rhtml in app/views/store. (Remember that the path name to the view is built from the name of the controller [store] and the name of the action [index]. The .rhtml part signifies an ERb template.)
Download depot_d/app/views/store/index.rhtml
<h1>Your Pragmatic Catalog</h1>
<% for product in @products -%> <div class="entry" >
<img src="<%= product.image_url %>"/>
<h3><%= h(product.title) %></h3> <%= product.description %>
<span class="price"><%= product.price %></span> </div>
<% end %>
This time, we used the h(string) method to escape any HTML element in the product title but did not use it to escape the description. This allows us to add HTML stylings to make the descriptions more interesting for our customers.2
2. This decision opens a potential security hole, but because product descriptions are created by people who work for our company, we think that the risk is minimal. See Section 26.5, Protecting Your Application from XSS, on page 606 for details.
def self.xxx
֒→ page 634
Report erratum
ITERATION B1: CREATE THE CATALOG LISTING |
97 |
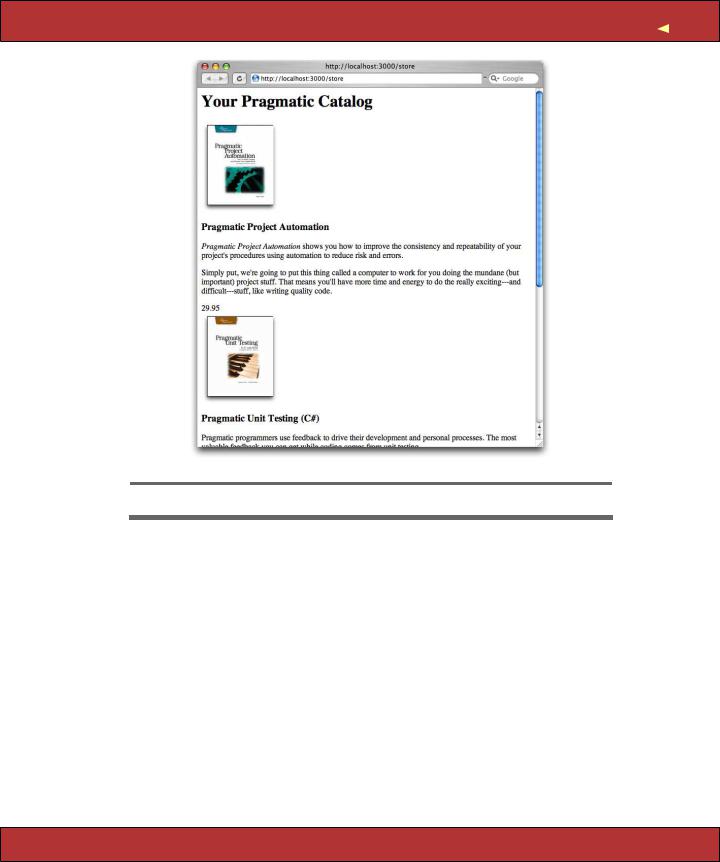
Figure 7.1: Our First (Ugly) Catalog Page
In general, try to get into the habit of typing <%= h(...) %> in templates and then removing the h when you’ve convinced yourself it’s safe to do so.
Hitting Refresh brings up the display in Figure 7.1. It’s pretty ugly, because we haven’t yet included the CSS stylesheet. The customer happens to be walking by as we ponder this, and she points out that she’d also like to see a decentlooking title and sidebar on public-facing pages.
At this point in the real world we’d probably want to call in the design folks— we’ve all seen too many programmer-designed web sites to feel comfortable inflicting another on the world. But the Pragmatic Web Designer is off getting inspiration on a beach somewhere and won’t be back until later in the year, so let’s put a placeholder in for now. It’s time for an iteration.
Report erratum
ITERATION B2: ADD A PAGE LAYOUT |
98 |
7.2Iteration B2: Add a Page Layout
|
The pages in a typical web site often share a similar layout—the designer will |
|
have created a standard template that is used when placing content. Our job |
|
is to add this page decoration to each of the store pages. |
|
Fortunately, in Rails we can define layouts. A layout is a template into which |
|
we can flow additional content. In our case, we can define a single layout for |
|
all the store pages and insert the catalog page into that layout. Later we can |
|
do the same with the shopping cart and checkout pages. Because there’s only |
|
one layout, we can change the look and feel of this entire section of our site |
|
by editing just one file. This makes us feel better about putting a placeholder |
|
in for now; we can update it when the designer eventually returns from the |
|
islands. |
|
There are many ways of specifying and using layouts in Rails. We’ll choose the |
|
simplest for now. If you create a template file in the app/views/layouts directory |
|
with the same name as a controller, all views rendered by that controller will |
|
use that layout by default. So let’s create one now. Our controller is called |
|
store, so we’ll name the layout store.rhtml. |
|
Download depot_e/app/views/layouts/store.rhtml |
Line 1 |
<!DOCTYPE html PUBLIC "-//W3C//DTD XHTML 1.0 Transitional//EN" |
- |
"http://www.w3.org/TR/xhtml1/DTD/xhtml1-transitional.dtd" > |
-<html>
-<head>
5<title>Pragprog Books Online Store</title>
-<%= stylesheet_link_tag "depot", :media => "all" %>
-</head>
-<body id="store">
-<div id="banner">
10 <img src="/images/logo.png" />
-<%= @page_title || "Pragmatic Bookshelf" %>
-</div>
-<div id="columns">
-<div id="side">
15 |
<a href="http://www....">Home</a><br /> |
-<a href="http://www..../faq">Questions</a><br />
-<a href="http://www..../news" >News</a><br />
-<a href="http://www..../contact">Contact</a><br />
-</div>
20 <div id="main">
-<%= yield :layout %>
-</div>
-</div>
-</body>
25 </html>
Apart from the usual HTML gubbins, this layout has three Rails-specific items. Line 6 uses a Rails helper method to generate a <link> tag to our depot.css
Report erratum
ITERATION B2: ADD A PAGE LAYOUT |
99 |
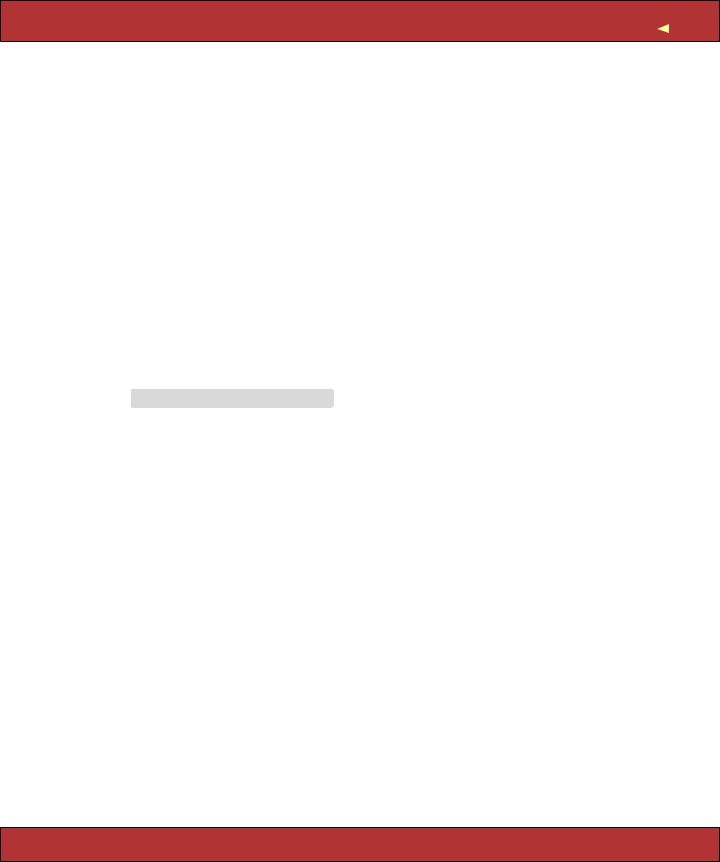
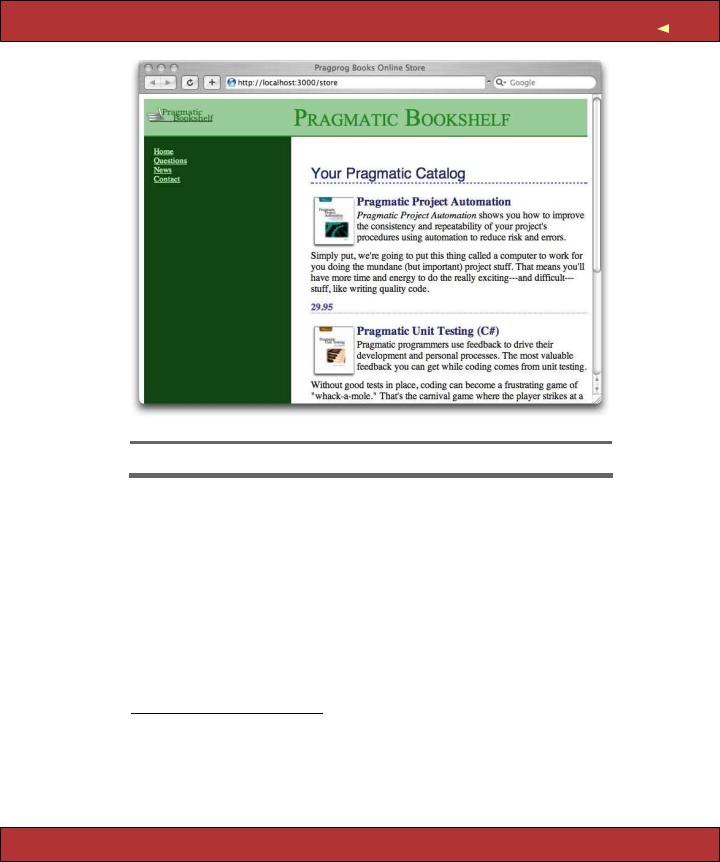
Figure 7.2: Catalog with Layout Added
stylesheet. On line 11 we set the page heading to the value in the instance variable @page_title. The real magic, however, takes place on line 21. When we invoke yield, passing it the name :layout, Rails automatically substitutes in the page-specific content—the stuff generated by the view invoked by this request. In our case, this will be the catalog page generated by index.rhtml.3
To make this all work, we need to add to our depot.css stylesheet. It’s starting to get a bit long, so rather than include it inline, we show the full listing starting on page 678. Hit Refresh, and the browser window looks something like Figure 7.2. It won’t win any design awards, but it’ll show our customer roughly what the final page will look like.
3. Rails also sets the variable @content_for_layout to the results of rendering the action, so you can also substitute this value into the layout in place of the yield. This was the original way of doing it (and I personally find it more readable). Using yield is considered sexier.
Report erratum