


308 Part V: Mixing, Mastering, and Sharing Your Music
\\Output Level: Rotate the output level knob to adjust the overall output
level.
\\Softknee: Click the Softknee button to soften the compression curve as
the signal reaches the threshold.
Using other dynamics tools
Logic Pro comes with many dynamics tools that can make your time mixing easier. Dynamics tools can help you solve problems and be creative at the same time. As a beginner, it’s a good idea to use the presets that come with these plug-ins. The preset names are educational, and you’ll often find a preset that describes exactly what you want to do. Following are other dynamics tools you can use:
\\De-esser: Remove hiss from vocal sibilance. This frequency-dependent
compressor can lower specific frequency ranges, such as those that cluster around sibilant sounds.
\\Expander: Expand the dynamic range. For example, you can use an
expander to reduce the amount of hi-hat leakage in a snare track by expanding the distance between the main snare sound and the background hi-hat.
\\Noise gate: Lower the level of sounds below the threshold. The noise
gate enables you to remove unwanted room noise, such as amp hump.
\\Enveloper: Adjust the attack and release of a sound’s transients. An
enveloper is a tone-shaping tool that works well with instruments having sharp transients, such as drums, picked and plucked sounds, and pianos.
Taking Track Notes
As you mix your project, you make countless changes to each track and its parameters. Mixes can go from stable to unstable quickly, without a clear path back to stability. Keeping project and track notes can help you catalog your big milestones and store important reference material. Choose
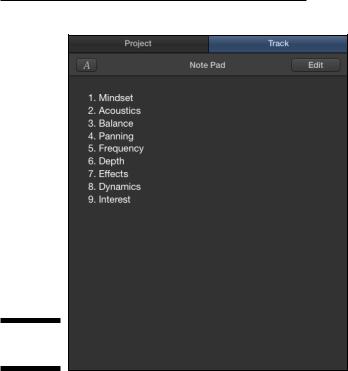
View Show Note Pads or press Option- -P to display the note pad, shown in Figure 16-16.
Chapter 16: Mixing Your Project 309
Figure 16-16:
Track notes.
\\
Project notes are a good place to store information about the song arrangement and overall project direction. Track notes are excellent for EQ settings, plug-in settings, and preset names. You can also show track notes at the bottom of every channel strip in the mixer. Control-click a channel strip in the mixer and choose Channel Strip Components Track Notes. The project and track notes are great scratch pads.
Adding effects and buses to tracks creates auxiliary tracks in the mixer. You can add those auxiliary tracks to the track list in the tracks area for organization and track automation. (For details, see Chapter 17.) Select the channel strips and choose Options Create Tracks for Selected Channel Strips, or Control-click the channel strips and choose Create Track (Control-T). The selected tracks are added to the tracks area where you can edit them.

310 Part V: Mixing, Mastering, and Sharing Your Music

Chapter 17
Automating Your Mix
In This Chapter
\Planning your automation \Adding and editing automation \Automating MIDI events \Recording live automation
Imagine The Beatles standing around a mixing board with Sir George Martin, each lending a hand to pull faders up and down without stop-
ping, hoping to get the perfect mix take. That’s how mixing was done before mechanical faders brought hardware automation to modern mixing boards.
With software automation, you have even greater and more flexible control over your mix. Automation can help you first stabilize your mix and then design an exciting mix. In this chapter, you find out how to add interest to your mix and automate your own mix blueprint.
\ |
|
To get all that you can from this chapter, you must have Show Advanced Tools |
|
|
selected in Advanced Preferences. Choose Logic Pro X Preferences Advanced |
|
|
Tools and select all the available options. |
|
|
Turning Your Mix Into a Performance with Automation
Every track, channel strip, and plug-in is capable of being automated. Automation is best to add after the mix is stable. If you’re still arranging or editing your project, having automation on a track can get in the way of your workflow because you have more things to focus on as you edit. And if your mix isn’t stable, the mixing you do affects the automation as well. For these reasons, it’s a good idea to use project and track notes to jot down any automation ideas you may want to try later.