

This material is copyright and is licensed for the sole use by Kliwon Klimis on 28th October 2008 425 cilce, , frood, grradt, 525254
Chapter 2
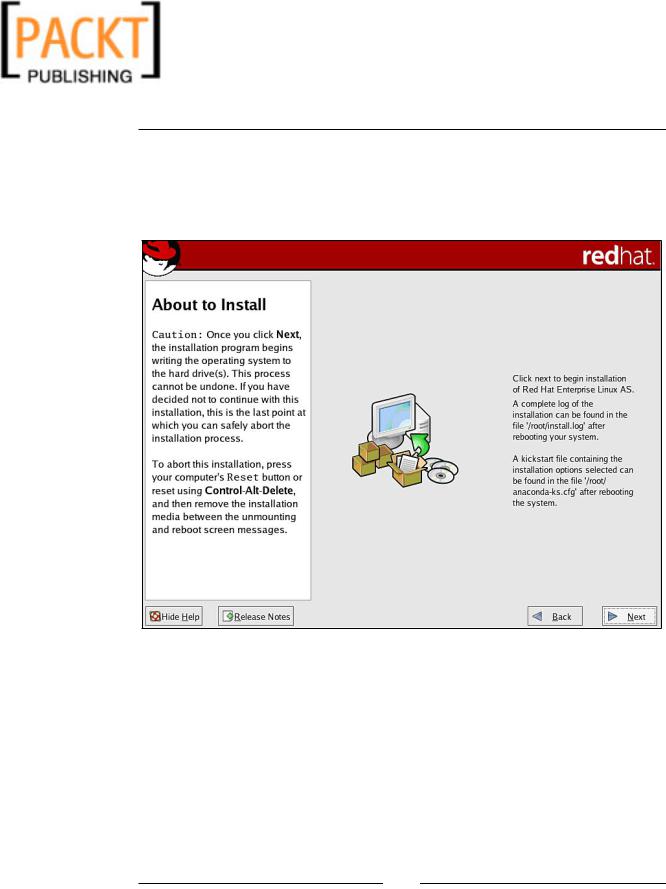
12.The final screen of the install gives you a chance to make any changes to the install configuration before any changes are made to the server. By clicking
Next on this screen, the installation will begin. The entire installation process will take anywhere from 10 to 30+ minutes, depending on the speed and hardware configuration of the server.
13.Once the install is complete, the system will reboot and a post-installation screen will present the user with an opportunity to join the Red Hat Network and also to configure the screen resolution of your monitor. Once you have completed these screens, the main login screen will be displayed, and our server is ready to be installed.
Installing Zimbra Collaboration Suite
1.After the server has been installed, and prior to installing Zimbra, you must follow the instructions defined earlier for modifying the /etc/hosts file, configuring DNS, and disabling sendmail.
[ 35 ]

This material is copyright and is licensed for the sole use by Kliwon Klimis on 28th October 2008 425 cilce, , frood, grradt, 525254
Installing Zimbra
2.As mentioned at the beginning of this chapter, by now you should have downloaded the Zimbra Collaboration Suite and also registered for a free trial license. So we will continue assuming that the ZCS installation file has been downloaded to our server. Please note from now on, make sure you are logged in as root or have switched to the root user by entering:
su –
3.To install ZCS, we will need to unzip the download package. The best way to handle this would be to create a temporary directory to unpack the installation files by logging in as root and then from a terminal typing the following command:
mkdir /temp
4.Once the temp directory is created, copy the zipped installation file to the temp directory. I have downloaded the file to my Desktop, so I will copy the file from my Desktop to the /temp directory using the following command:
cp /home/mresnick/Desktop/zcs-NETWORK-4.5.6_GA_1044.RHEL4.tgz /temp
5. Now we will change our directory into the /temp directory: cd /temp
If you have not downloaded the file yet, you can do it now, using the wget command line tool:
wget http://files2.zimbra.com/downloads/4.5.6_GA/ zcs-NETWORK-4.5.6_GA_1044.RHEL4.tgz
6.In the same directory, put the License file you received by email:
ZCSLicense.xml
7.In the /temp directory, we could now unpack the installation files:
tar xvzf zcs-NETWORK-4.5.6_GA_1044.RHEL4.tgz
8.Unpacking the file will create a zcs directory within /temp that we will need to change directory into, to install our server:
cd zcs
9.From within the /temp/zcs directory there is a file called install.sh. This is the file that will launch the installer for Zimbra.
./install.sh
[ 36 ]
This material is copyright and is licensed for the sole use by Kliwon Klimis on 28th October 2008 425 cilce, , frood, grradt, 525254
Chapter 2
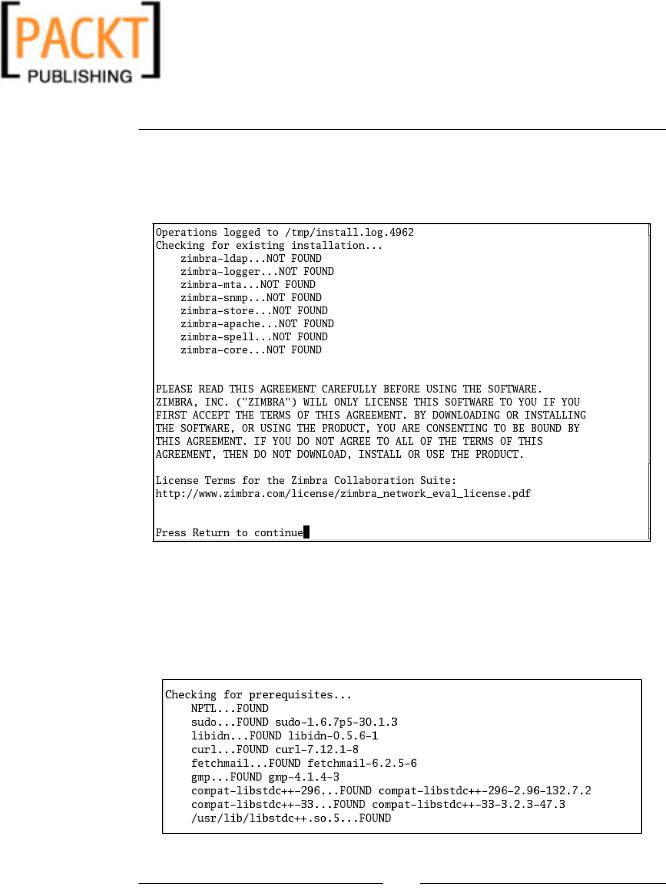
10.The first thing the installation program will do is check and make sure there are no other installs of the Zimbra Collaboration Suite. Since this is a fresh install, no previously installed Zimbra components are found and we could hit Return to continue.
11.The second step of the install process is to check and make sure that all prerequisites and requirements have been met, prior to continuing with the installation. If you followed every step in this chapter, then during the install the check should be successful. If not, the installer will let you know what needs to be installed or configured prior to proceeding with the installation.
Assuming all is OK, hit RETURN to continue.
[ 37 ]

This material is copyright and is licensed for the sole use by Kliwon Klimis on 28th October 2008 425 cilce, , frood, grradt, 525254
Installing Zimbra
12.Now we will be prompted which components we would like to install. As the installer cycles through the installable packages, you could just hit the ENTER key as the Y is the default to install the package. If you would like to exclude a package, type N and then hit ENTER on that package as it is prompted. In our case, we will install everything. After selecting the desired packages, the installer will prompt the user with a summary of packages to be installed. If all looks well, type Y and hit ENTER to continue. The default here is N, to not continue.
13.After all of the packages are installed, we are prompted with an opportunity to change any of the default settings. At this time, the only change we will make is to change the administrator password for administering the
Zimbra server. First enter 6 at the Address unconfigured items prompt and press ENTER.
[ 38 ]

This material is copyright and is licensed for the sole use by Kliwon Klimis on 28th October 2008 425 cilce, , frood, grradt, 525254
Chapter 2
14.Next, you will be presented with a list of options that could be changed. Type 4 for the admin password at the Select prompt and hit ENTER.
15.Type in the new password at the prompt noting that the password must be a minimum of 6 characters. Also note that the password is case-sensitive.
16.After entering the password hit ENTER and then you will be returned to the
Store Configuration screen.
17.Now type 12 then ENTER to change the web server mode and activate http and https.
18.Type both in order to have both http and https working, then hit ENTER.
19.Now type 20 then ENTER, in order to enter the path of the license file.
20.Type /temp/ZCSLicense.xml, then hit ENTER.
21.Type r and then hit ENTER to return to the main menu.
22.Once all changes have been made, you'll see CONFIGURATION COMPLETE at the bottom of the Main menu. Type a to apply the new configuration. At this time, we are also prompted to save the configuration file, and then we are prompted to make sure we are ready to modify the system. Be careful and notice that the default here is No, so before hitting ENTER too fast, type Yes at the continue prompt.
[ 39 ]