

This material is copyright and is licensed for the sole use by Kliwon Klimis on 28th October 2008 425 cilce, , frood, grradt, 525254
Administrating Zimbra
12.We will allow executives to have additional features. Place check marks next to Zimbra Mobile, External POP3 access, and Allow the user to specify a forwarding address and leave everything else the same.
13.Lastly, we need to take away any quota from the executives, as the last thing we need is for an Executive to not be able to send and receive email. On the
Advanced tab, change the Account Quota to "0" so there is no quota set for the executives. Be sure you have enough disk space available to allow this.
14.Once completed, press the Save button and our Classes of Service are now set up and ready to use by our users.
We now have configured our server and created Classes of Service for our users, so the next step will be to create our users.
User Management
Creating users in Zimbra is very straight forward and takes very little time. Right now, we will create one user in the employees group and one in the Executives group. We will also set up a distribution list that includes both of those users, as well as, an alias for the executive.
Creating User Accounts
To create our first user account, we will need to use the Addresses section in the
Navigation Pane of the Administration Console. By single-clicking the Accounts menu item, a list of users that are already configured will be listed. At this point, we could click on the New button in the upper-left-hand corner of the Content pane and create our first user.
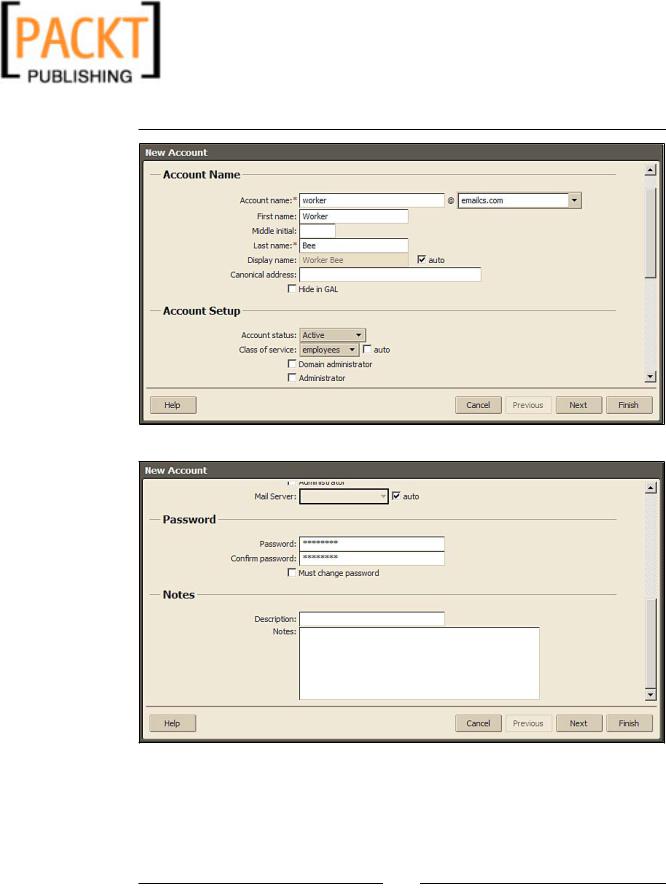
1.The first screen that appears when creating an account is really the only screen we will usually need. This screen allows us to create an account name, which will be the first part of their email address, and assign a domain
for email. Since we set emailcs.com as the default earlier, it is showing as the default email address for our user. Please go ahead and fill out the information as shown. Be sure to uncheck auto and select employees for
Class of Service and click Next.
[ 74 ]
This material is copyright and is licensed for the sole use by Kliwon Klimis on 28th October 2008 425 cilce, , frood, grradt, 525254
Chapter 3
[ 75 ]
This material is copyright and is licensed for the sole use by Kliwon Klimis on 28th October 2008 425 cilce, , frood, grradt, 525254
Administrating Zimbra
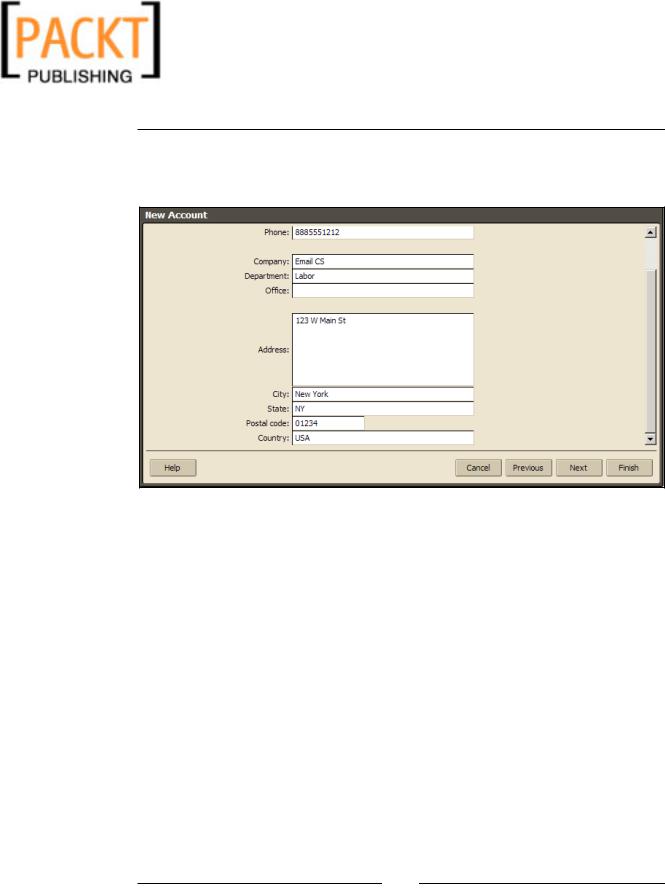
2.The next screen allows us to enter contact information that will show up in the Address Book for the user. For now, you may enter any information you choose, or use the information I entered below and click Next.
3.We are prompted to create an alias for this account. We will go through how to manually do this later, so leave this blank and click Next.
4.The next screen asks if you would like to override the setting we defined in the Employees Class of Service and allow the user to specify a forwarding address. Leave everything blank on this screen and click Next.
5.Next, the Features screen appears. As we already defined all of these on the
Class of Service, we could simply click Next here.
6.Just as with Features, we also set the Preferences, so please simply click Next here.
7.Themes is next screen, just like Features and Preferences, click Next.
8.Then we have the Zimlets screen, just click Next once more.
9.Lastly, we could override any advanced settings (for example, quota) for this user, but we are going to stick to our guns and use our Class of Service settings. Clicking Finish here will create our user.
10.Now let's go ahead and create our executive user, but we will make it a little simpler. As you have seen, we have already completed most of the work by creating a Class of Service. So to create our executive, we just need a couple of steps.
[ 76 ]

This material is copyright and is licensed for the sole use by Kliwon Klimis on 28th October 2008 425 cilce, , frood, grradt, 525254
Chapter 3
11.Click New in the upper-left-hand corner of the content pane, and the New Account Wizard will open up.
12.On the first screen, we will call this account CEO. Also make sure you select executives from the Class of Service drop-down box.
13.By clicking Next, you have the option of entering address information for our CEO, or you could simply click Finish here and your account is all set with all of the settings from the executive's Class of Service.
Creating an Alias
With a couple of users set up, we could look at creating an alias for our CEO, so that employees could reach him by emailing ceo@emailcs.com or by his first name bill@ emailcs.com.
1.Single-click on the Accounts menu item of the Addresses section in the Navigation Pane. You could also use the Aliases menu item, but essentially you would create a new account as well.
2.Highlight the ceo@emailcs.com user and click on Edit.
3.Click on the Aliases tab and type "bill" in the text box.
4.Click Save in the upper-left-hand corner of the Content Pane.
5.To make sure the alias was created, click on the Aliases menu item in the
Addresses section of the Navigation Pane.
6.bill@emailcs.com should now be listed.
[ 77 ]