


This material is copyright and is licensed for the sole use by Kliwon Klimis on 28th October 2008 425 cilce, , frood, grradt, 525254
Chapter 9
Just as the Date Zimlet is very simple and straightforward, so is the Yahoo! Maps one. They require no configuration on the user end and are completely integrated into the Zimbra Web Client. Although, Zimlets come built into the client, it does not mean administrators need to allow all users to have all of them. In fact, I would recommend administrators only deploy Zimlets that are necessary for their users. There are several reasons for this, but the main one is that the more Zimlets that are enabled for a user, the longer it takes for the client to load up in a browser.
Managing Zimlets
In this section, we are going to look at how the Systems Administrator could manage and deploy the Zimlets. They are two ways to manage Zimlets. First, beginning in Zimbra 4.5 Zimlets could now be managed and deployed through the Administrator
Console. Second, we will look at using some command line tools to manage and deploy Zimlets.
Managing Zimlets through the Administrator Console
Zimlets could be assigned to specific users or to a Class of Service (COS). Keep in mind that specific user settings always override COS settings. The first step in assigning Zimlets to specific users is to make sure the Zimlets are enabled and installed on the server. This could be done through the Administration Console.
[ 173 ]
This material is copyright and is licensed for the sole use by Kliwon Klimis on 28th October 2008 425 cilce, , frood, grradt, 525254
The World of Zimlets
Zimlets can be managed and assigned at the Class of Service (COS) or the user level.
In this section, we will look at how to use the Administration Console to view which
Zimlets are currently available on the server.
1.Login to the Administration Console by typing https://zimbra.emailcs. com:7071, in the address bar of your web browser.
2.In the Navigation Pane, under the Configuration section select Zimlets.
[ 174 ]
This material is copyright and is licensed for the sole use by Kliwon Klimis on 28th October 2008 425 cilce, , frood, grradt, 525254
Chapter 9
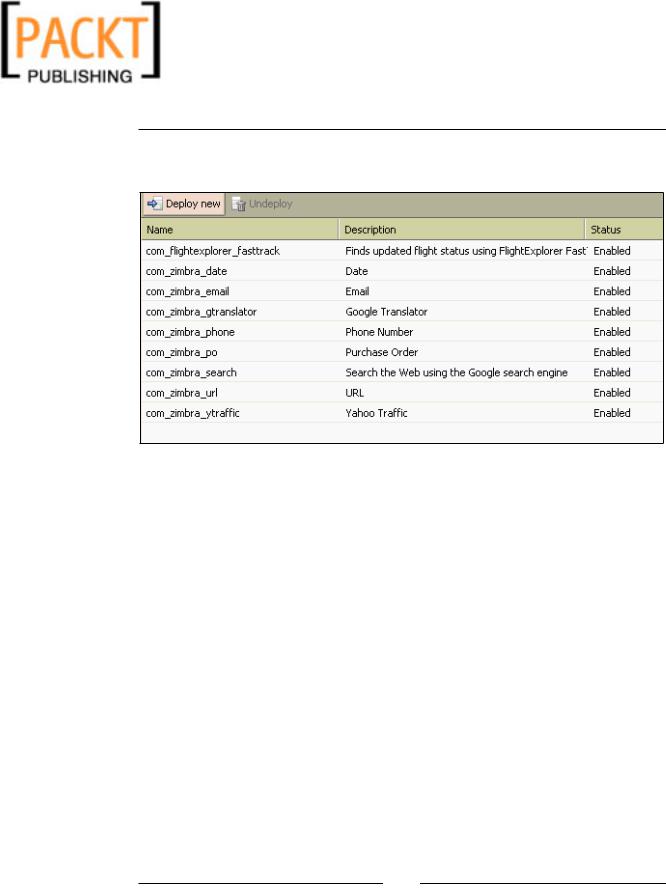
3.In the Results Pane, you will see a list of Zimlets currently deployed to the server and their status Enabled/Disabled.
4.To uninstall a Zimlet, select the Zimlet and click on Undeploy. This will disable the Zimlet for the entire server.
5.To install a new Zimlet, after you have downloaded the Zimlet.zip file from a third-party vendor or developer, you would use Deploy new. This will enable a Zimlet for the entire server.
Once the Zimlets are deployed/enabled to the server, we can now manage the access to Zimlets either through Class of Service (COS) or the user level.
[ 175 ]
This material is copyright and is licensed for the sole use by Kliwon Klimis on 28th October 2008 425 cilce, , frood, grradt, 525254
The World of Zimlets
Assigning Zimlets to a COS
In this example, we will be assigning access to Zimlets to users on the Class of Service level using the "employees" Class of Service we created when we first configured our system.
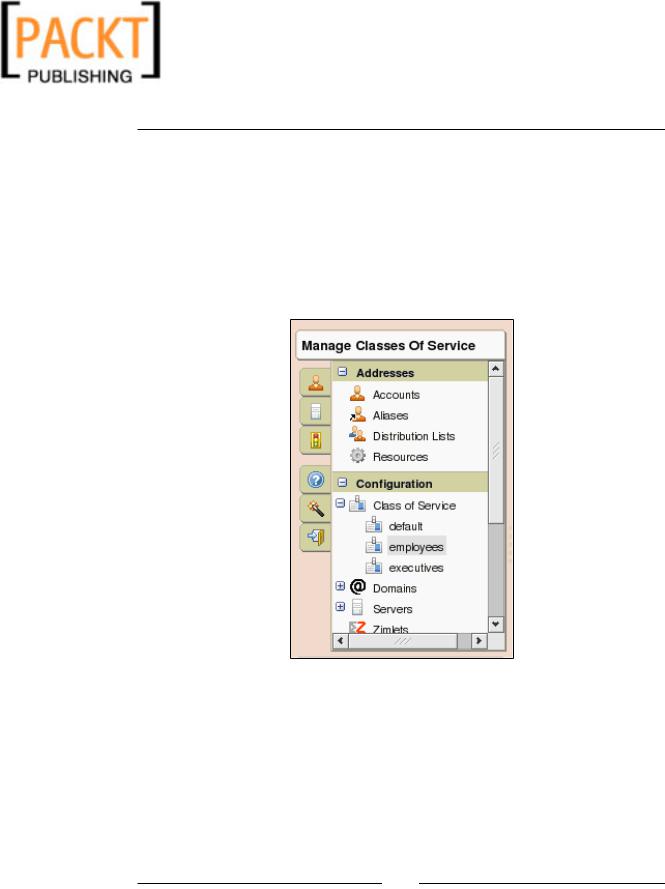
1.With the Administration Console still open, in the Configuration section, click on the plus sign next to Class of Service.
2.This will expand the list of COS. Select employees from the list and double-click it.
3.In the Content Pane, you will see tabs that control various aspects of the Class of Service features and functionality.
[ 176 ]