


This material is copyright and is licensed for the sole use by Kliwon Klimis on 28th October 2008 425 cilce, , frood, grradt, 525254
Chapter 3
•Distribution Lists are used to create email addresses that will forward mail to multiple accounts. An example of this would be if you would like to create a sales@emailcs.com address that forwards copies of each piece of email to everyone in the Sales department.
F.Shortcuts
On the right-hand side of the Navigation Pane are a vertical row of icons that could be used as shortcuts to Navigate to various parts of the Administration Console. From top to bottom, they are:
•Manage Accounts
•Manage Configuration
•Monitor Servers
•Help
•Downloads
•Log Out
G.Tools
This set of icons show the administrator's tools.
•Mail Queues used to view mail queue information in real-time, as well as, manage messages that may require hold, releasing, and re-queuing.
•Backup will show the existing backups and will allow the administrator to restore some data.
With knowledge of how to navigate around the Administration Console, we can now begin setting up our server. Before creating users and creating email boxes, we will need to configure some Global and Domain level settings and defaults.
Server Management
Recall that when we installed our server, we used zimbra.emailcs.com as the domain name. This was fine for creating a test environment, however, as it stands right now, our user's email address will be username@zimbra.emailcs.com and that seems a little lengthy. So the first thing we will do here is set up the additional domain. There is a reason I am choosing to create the Domain Settings first and not the
Global Settings, which I will explain as we proceed through this example.
[ 65 ]
This material is copyright and is licensed for the sole use by Kliwon Klimis on 28th October 2008 425 cilce, , frood, grradt, 525254
Administrating Zimbra
Creating a New Domain
If you do not already have the Administration Console open, please open up your favourite web browser, type in the URL for the console (https://zimbra.
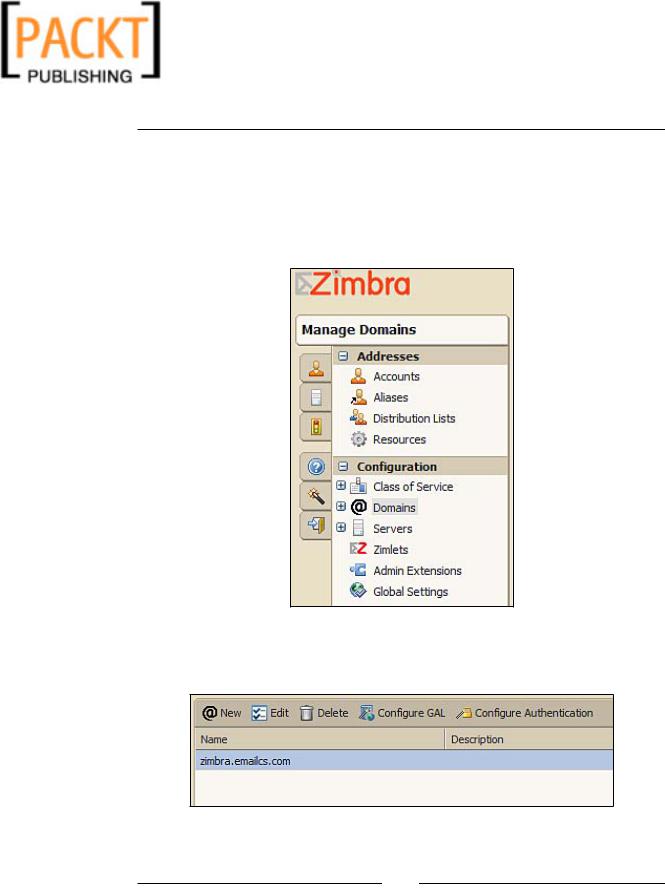
emailcs.com:7071) and log in as admin@zimbra.emailcs.com and the password you configured when we installed the system. Once logged into the system, please click on Domains under the Configuration section of the Navigation Pane.
Initially, we only see our zimbra.emailcs.com domain listed. At this point, we could choose to edit the configurations of that domain, or we could choose to create a new domain by clicking New.
[ 66 ]
This material is copyright and is licensed for the sole use by Kliwon Klimis on 28th October 2008 425 cilce, , frood, grradt, 525254
Chapter 3
What we are doing at this point, is informing Zimbra that it will be handling email from multiple domains and how to handle the email for that domain in particular. In our case, the domain will be called emailcs.com. Clicking on the New button opens up a wizard that walks us through the domain creation and makes sure we have
at least the minimum configuration completed before attempting to use our new domain. At this point, we will walk through the wizard and make sure we have all of the information needed to proceed.
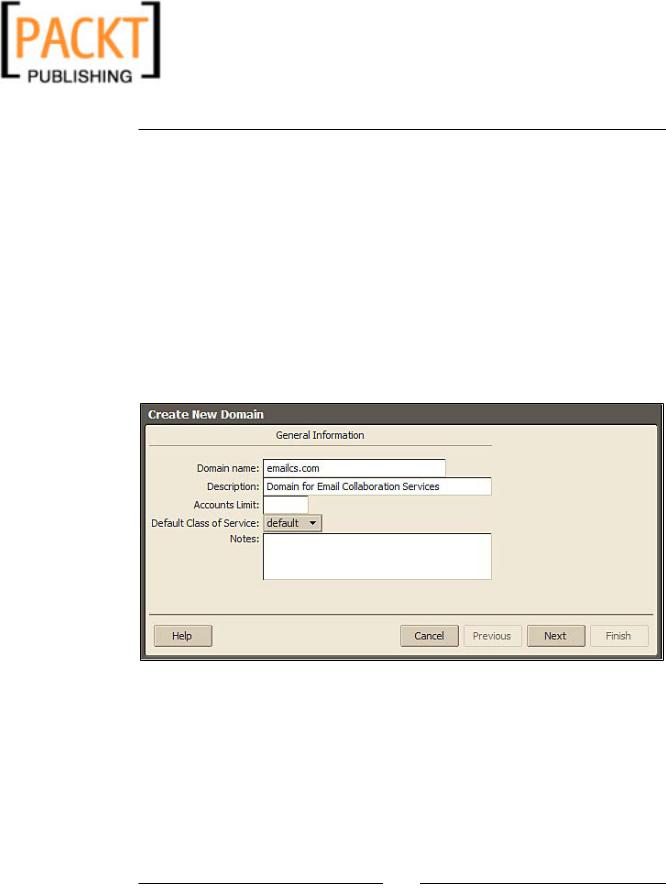
1.The first step of the wizard asks us to name the new domain, enter an optional description, and assign the domain to a policy. At this point, the only policy we have configured is the default policy, and that will work fine for now. We won't set any account limit either (this can be used for managed hosting, if you want to allow some users to be the administrator of a specific domain and allow him to create only a defined number of accounts in
that domain).
2.After clicking Next, we must configure the settings for the Global Address List. We will be using the defaults of "Internal" for GAL mode and "100" for amount of results returned by a GAL search. Make sure those are the values entered and click Next.
[ 67 ]
This material is copyright and is licensed for the sole use by Kliwon Klimis on 28th October 2008 425 cilce, , frood, grradt, 525254
Administrating Zimbra
3.Again, we will use the default "Internal" for Authentication Mode. Make sure that value is chosen and click Next. Other choices for Authentication include LDAP and Active Directory. By choosing Internal, that means we will be creating usernames and passwords separate from any centralized domain authentication server.
4.Virtual Hosts will be left empty for now. This is useful if a user would like to have a default domain name appended to their name automatically when logging in. For example, instead of typing marty@emailcs.com at login, I would simply type marty and the emailcs.com would be assumed.
Click Next.
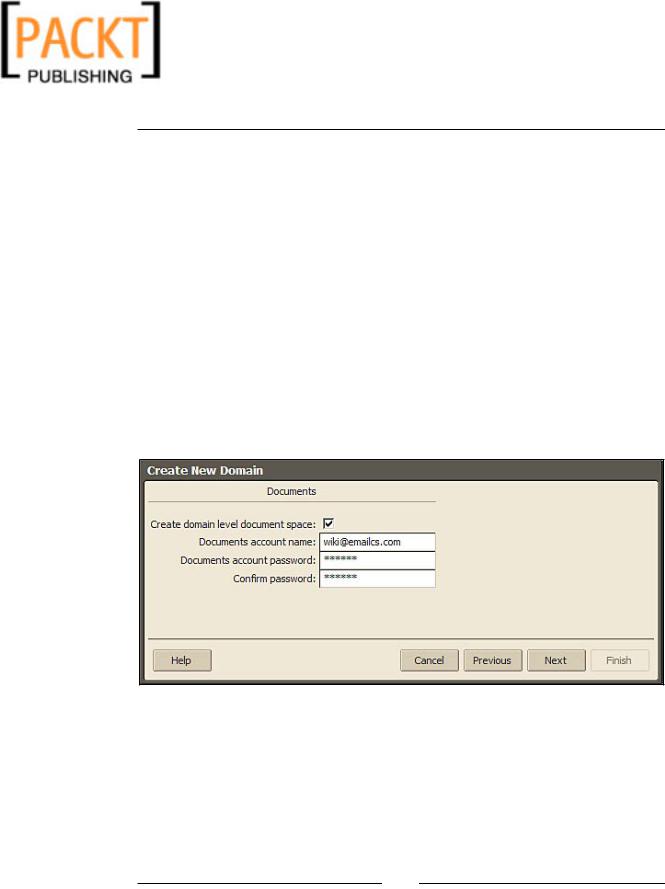
5.Zimbra has the ability of creating Document Spaces for each Email Domain. These are better known as a "wiki". This is one way to set up sharing of documents within an organization or between users. At this point, we will go ahead and create the domain level document space. Leave the default user of wiki@emailcs.com, and create any password you would like. When completed click Next.
This is currently a beta feature.
[ 68 ]
This material is copyright and is licensed for the sole use by Kliwon Klimis on 28th October 2008 425 cilce, , frood, grradt, 525254
Chapter 3
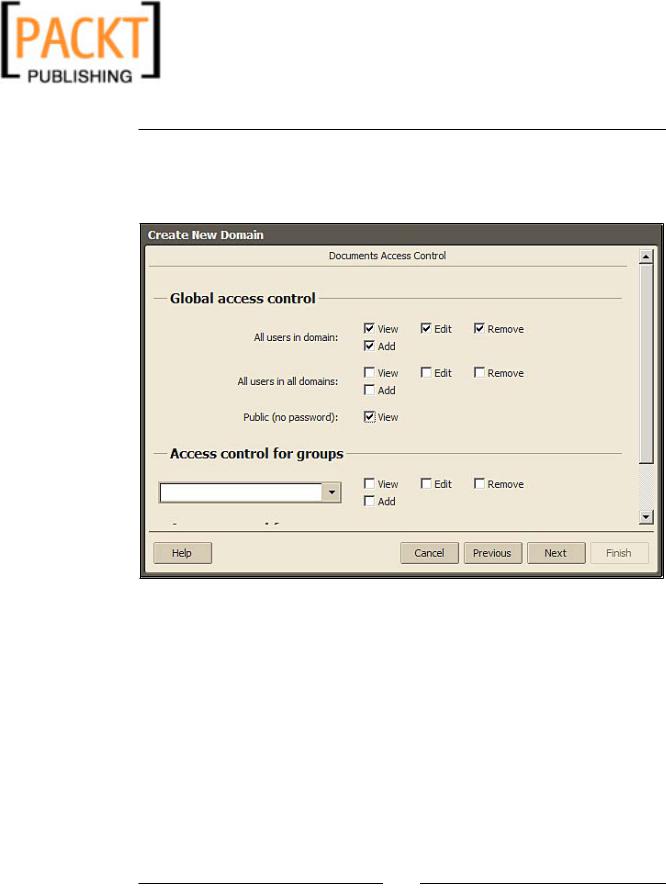
6.Since we created the document space, we need to set up some basic permissions for users in our domain to access the wiki. Leave the defaults here of all users in our domain having View, Edit, Remove, and Add. Also, go ahead and check Public and click Next.
7.That should do it for our domain. When prompted by the system, click Finish and our new domain is ready to go.
With our new domain ready to go, we should now make some changes to our Global Settings so that emailcs.com is treated as our default domain and also to make sure all of the other settings are correct for our organization.
[ 69 ]