- •Table of Contents
- •Preface
- •More than Just Email
- •Introducing Zimbra
- •What's in a Name?
- •Building Better Collaboration
- •Front-End
- •Back-End
- •The Benefits of Zimbra
- •Summary
- •Before the Installation
- •Hardware
- •Software
- •Editing the HOSTS File
- •Configuring DNS
- •Turning Off Sendmail
- •Installing on Red Hat Enterprise Linux 4
- •Installing the Red Hat Operating System
- •Installing Zimbra Collaboration Suite
- •Installing on SUSE ES 9
- •Preparing SUSE ES 9 for Zimbra
- •Installing on MAC OS X
- •Preparing MAC OS X Server for Zimbra
- •Installing the Zimbra Collaboration Suite
- •Post-Installation Steps
- •Configuring the Firewall
- •Uninstalling Zimbra
- •Summary
- •An Overview of the Administration Console
- •A. Content Pane
- •B. Search Bar
- •C. Monitoring
- •Server Management
- •Creating a New Domain
- •Configuring Global Settings
- •Class of Service
- •User Management
- •Creating User Accounts
- •Creating an Alias
- •Creating a Distribution List
- •Administering Zimbra from the Command Line
- •Managing Services with zmcontrol
- •Creating Accounts with zmprov
- •Summary
- •The Web Client System Requirements
- •A Bird's Eye View of the Web Client
- •Working with Email
- •Checking Email
- •Composing Email
- •Tags
- •Conversations
- •Managing Contacts
- •Sharing Address Books
- •Managing Schedules
- •Adding Appointments
- •Creating Multiple Calendars
- •Sharing Calendars
- •The Zimbra Documents
- •Creating Documents Pages
- •Sharing Documents
- •Saving Time with the Zimbra Assistant
- •Saving Even More Time with Keyboard Shortcuts
- •Sending an Email with Shortcuts
- •Summary
- •Built-In Security
- •Web Client Security
- •Mail Transfer Agent
- •Anti-Spam
- •Anti-Virus
- •Securing the Operating System
- •Host-Based Firewall
- •Services
- •Updates and Patching
- •Securing the Network
- •Firewalls
- •Virtual Private Networks
- •Summary
- •Exploring User Options
- •General Options
- •Mail Options
- •Mail Filters
- •Address Book
- •Calendar
- •Shortcuts
- •Configuring POP Accounts
- •Configuring Mail Identities
- •Building Searches
- •Building Our Search
- •Using a Saved Search
- •Summary
- •The PST Import Wizard
- •The Zimbra Connector for Outlook
- •A Look at Zimbra Integration
- •Contacts
- •Appointments
- •Sharing Outlook Folders
- •Summary
- •Preparing the Zimbra Server for Zimbra Mobile
- •Configuring Windows Mobile to Sync with Zimbra
- •Configuring Palm OS to Sync with Zimbra
- •Summary
- •An Overview of Zimlets
- •Mouse-Over Zimlet Example
- •The Date Zimlet
- •The Yahoo! Maps Zimlet
- •Managing Zimlets
- •Managing Zimlets through the Administrator Console
- •Assigning Zimlets to a COS
- •Assigning Zimlets to an Account
- •A Look at Configuring the RSS Zimlet
- •The RSS Zimlet in Action
- •Allowing RSS Feeds for Additional Sites
- •Managing Backups
- •Restoring Mailboxes
- •Using the Command Line for Backups
- •Summary
- •The Need for Monitoring
- •Availability
- •Scalability
- •Security
- •Working with Mail Queues
- •Monitoring Log Files
- •Summary
- •Index
This material is copyright and is licensed for the sole use by Kliwon Klimis on 28th October 2008 425 cilce, , frood, grradt, 525254
Chapter 2
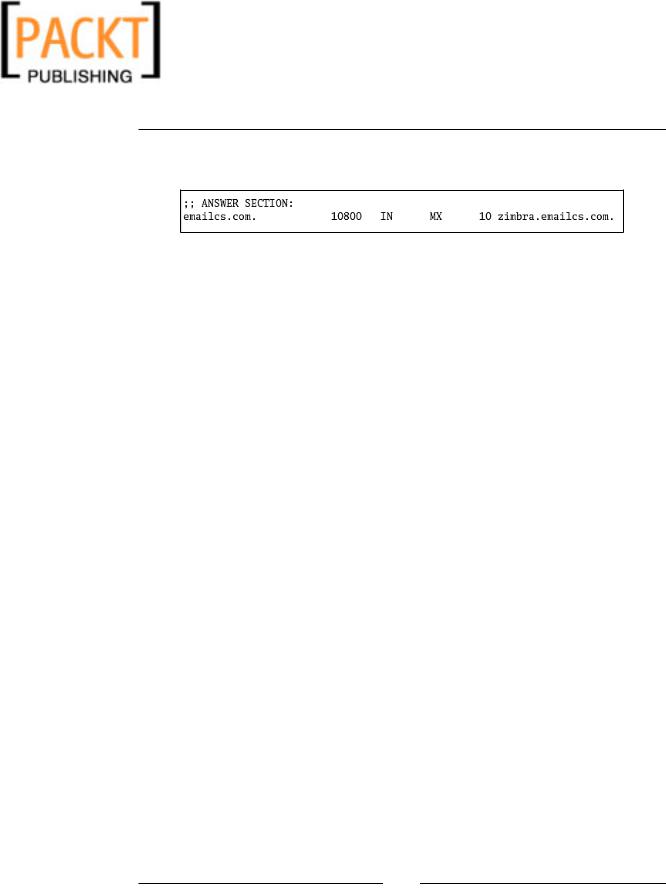
A successful result will return an ANSWER SECTION listing the MX record as displayed below:
Turning Off Sendmail
Sendmail is a popular open source mail transfer agent (MTA) that is installed by default in most Unix or Linux based distributions. Since it is an MTA, we must disable the service so it does not conflict with the Zimbra MTA. Each operating system may be a little different in how to disable a service, but we are going to walk through how to disable the service in Red Hat. There are two steps to this process. First, we want to stop the sendmail service, if it is running. Secondly, we need to disable the service so it does not start up again after a reboot.
1. To stop the sendmail service, type the following command as root: service sendmail stop
2.Now to disable the service from starting up again, we will use the chkconfig command (for RHEL, check your OS documentation to find the equivalent command). Again this must be run as root:
chkconfig sendmail off
So if we had a running server and configured the HOSTS file, DNS, and turned sendmail off, we would be ready to install our Zimbra Collaboration Suite. However, in an ideal world we would be able to further prepare our server by running through an install of the operating system that will even further optimize our Zimbra install.
The following section will walk through an entire installation of the operating system. We will start with Red Hat and then once the server is up and running, we will install Zimbra on the Red Hat server. We will then look at installing the Zimbra Collaboration Suite on both Suse 9 and MAC OS X server. Because there are subtle differences between configuring the servers prior to the Zimbra install, we will not be going into an indepth installation of Suse and MAC. Therefore, I would highly recommend that if you are going to use one of those two operating systems, you still read through the Red Hat walk-through as there are some key points that are transferable to the other systems.
[ 25 ]