

This material is copyright and is licensed for the sole use by Kliwon Klimis on 28th October 2008 425 cilce, , frood, grradt, 525254
Chapter 4
This feature is currently beta.
Creating Documents Pages
To create a documents page:
1.Login to the Zimbra Web Client as the CEO user and click on the Documents
[beta] tab.
2.The Content Pane will now change to Documents specific functions.
3.Click on New and then select Page from the drop-down menu.
4.Call this page "The Boss's Notes".
5.The text box in the content pane could be used to type text, add pictures, and add attachments. It is basically a WYSIWYG editor. For this exercise, we will just add a line of text that says "These are my important notes:", then
hit Enter.
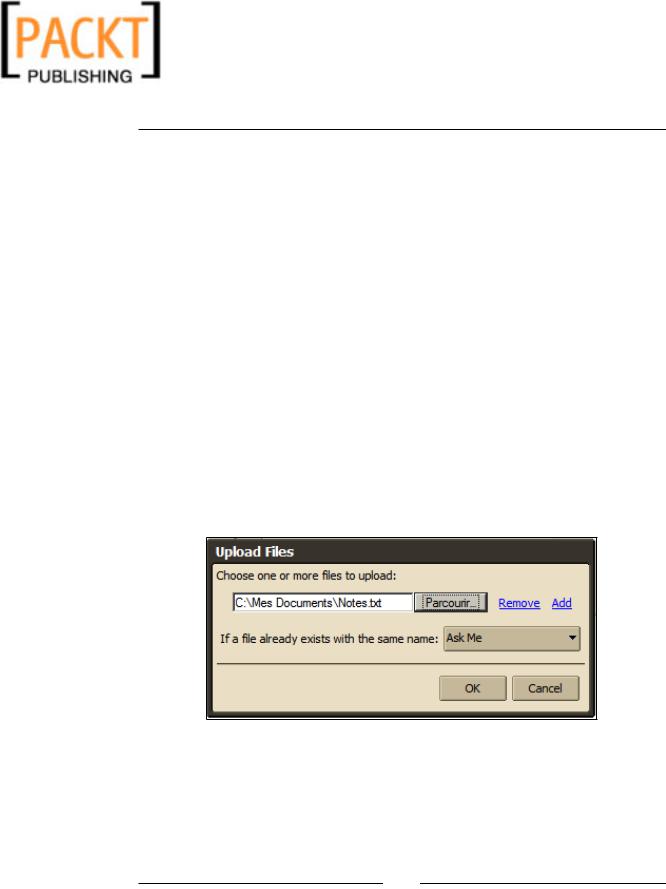
6.Click on the paperclip icon on the toolbar which will open up an add attachment dialog box. Browse to any file on your computer and then click OK. Please note: you will have the option to either overwrite a file with the same file name that is on the server, or rename the file. In general I prefer to keep it on Ask Me so that I do not accidentally overwrite a file. Other options are Replace With My File or Keep Existing File.
[ 113 ]
This material is copyright and is licensed for the sole use by Kliwon Klimis on 28th October 2008 425 cilce, , frood, grradt, 525254
The Zimbra Web Client
7.The Notebook page will now show a hyperlink for the location of the file and should look like in the following screenshot.
8.When complete, click Save and then Close, and you will be returned to the main Notebook page with a link to this new page.
Sharing Documents
Like Address Book and Calendars, Notebooks can be shared the exact same way with just a few easy steps.
1.Right-click on the notebook and select Share Notebook from the drop-down menu.
2.Type worker@emailcs.com as the intended person to share the notebook with and select Manager as the role.
3.Click OK when complete.
4.Log In as the Worker in the Zimbra Web Client and open the Share
Created email.
4.Click Accept Share.
5.In the dialog box, keep the name as The Boss's Notebook and change the color to Red. Click Yes.
6.Click on the Documents [beta] tab and you should now see a link to The Boss's Notebook in the Navigation Pane.
[ 114 ]