


This material is copyright and is licensed for the sole use by Kliwon Klimis on 28th October 2008 425 cilce, , frood, grradt, 525254
Chapter 2
However, be sure to download the correct ZCS archive from Zimbra's website there's a different archive for each supported operating system.
Installing on MAC OS X
The MAC OS X server does not include these Zimbra features:
•Searching and indexing attachments
•Viewing attachments as HTML
•Clustering
However, if you choose to use MAC OS X server (it should be version 10.4.7) as your operating system of choice, there are a few configurations you will want to have completed before attempting to install the suite.
Preparing MAC OS X Server for Zimbra
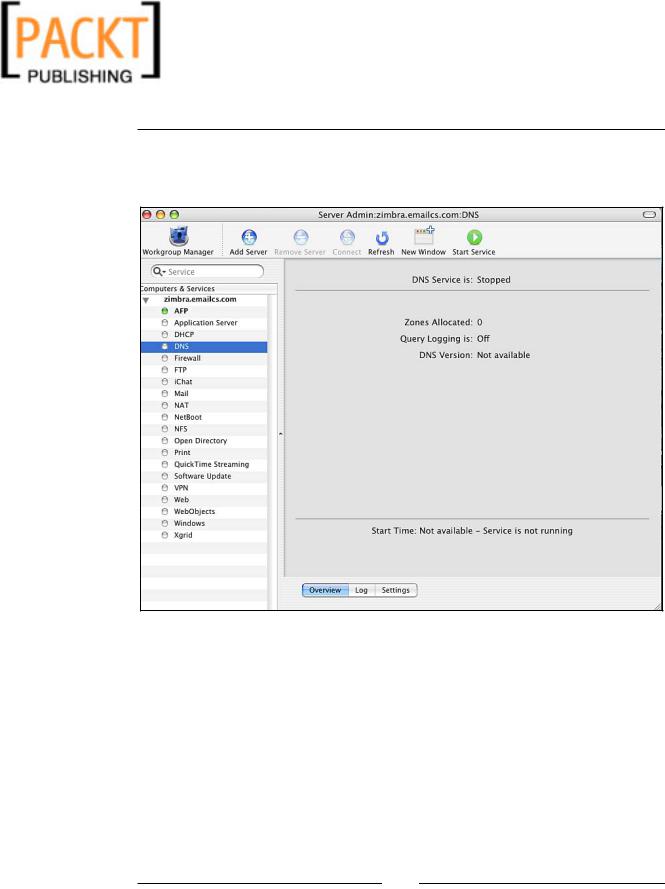
When installing MAC OS X server, the default install should work fine and install all of the necessary prerequisites for Zimbra. However, it is important that you configure a static IP address and hostname (zimbra.emailcs.com) during the install, or at least prior to attempting the install of Zimbra. Also, you may follow the instructions above to manually configure DNS on the server. On MAC OS X, the files that need to be configured are /etc/named.conf and /var/named/emailcs.com. Once DNS is configured, you will need to start the DNS service as follows:
1.Open up Server Admin by clicking on Go | Applications | Server | Server Admin.
[ 49 ]
This material is copyright and is licensed for the sole use by Kliwon Klimis on 28th October 2008 425 cilce, , frood, grradt, 525254
Installing Zimbra
2.With the Server Admin application open, find DNS in the list and make sure to start the service in the upper-right-hand corner of the screen, as displayed in the following screenshot:
Java 1.5 is required to be installed and configured on the server prior to installing Zimbra as well. Java package could be installed with the Software update application. Once it is installed, you need to follow these steps to configure Java 1.5 as the default Java Virtual machine on the server.
3. Open up a terminal and change directory to the following:
cd /System/Library/Frameworks/JavaVM.Framework/Versions
4. Remove the CurrentJDK symbolically linked file
sudo rm CurrentJDK
5. Create a new symbolic link to the 1.5 version of Java sudo ln –s 1.5.0 CurrentJDK
[ 50 ]
This material is copyright and is licensed for the sole use by Kliwon Klimis on 28th October 2008 425 cilce, , frood, grradt, 525254
Chapter 2
Once this process is completed, we can go ahead and install Zimbra.
Installing the Zimbra Collaboration Suite
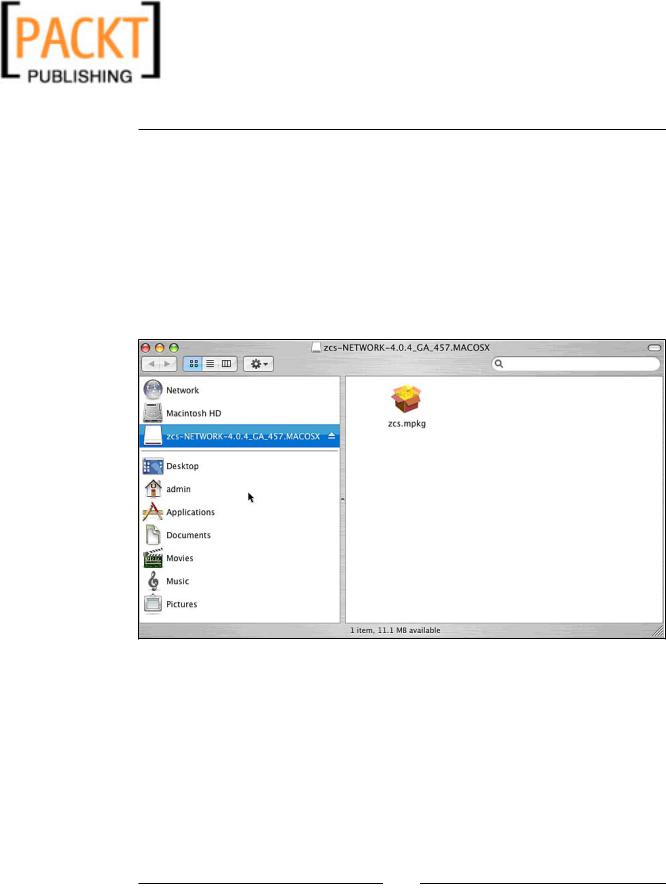
When downloading the Zimbra Collaboration Suite from zimbra.com, you are actually downloading a Disk Image (dmg) package, and therefore the process for installing Zimbra on MAC starts out completely different than the linux servers discussed earlier. To begin the installation:
1.Double click on the zcs.dmg file and a window will open up displaying the zcs.mpkg file. Double-clicking this file will start the installation.
[ 51 ]
This material is copyright and is licensed for the sole use by Kliwon Klimis on 28th October 2008 425 cilce, , frood, grradt, 525254
Installing Zimbra
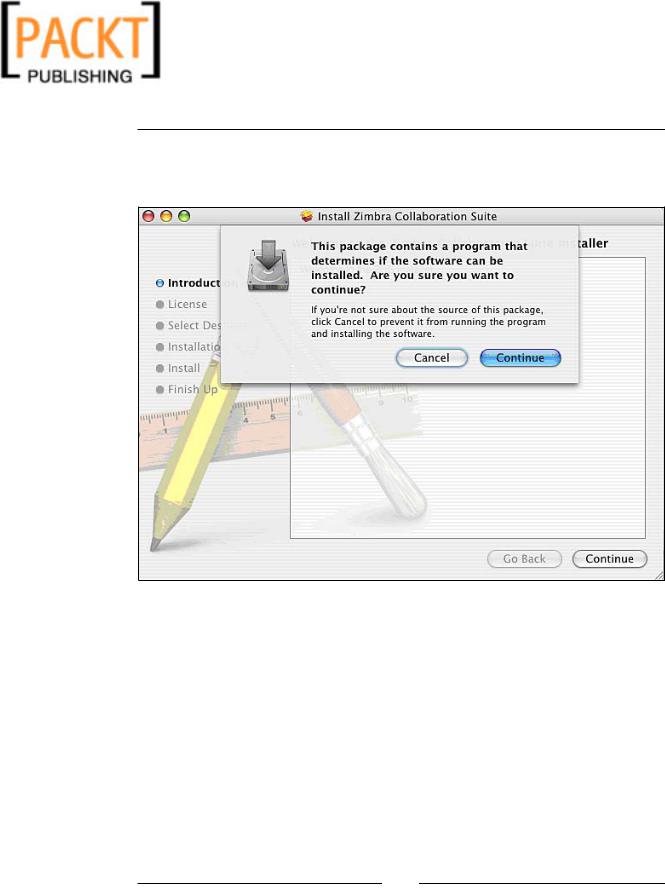
2.Next the package will check to make sure the software is compatible with the server you will be installing it on. Simply click on Continue to proceed with the installation.
[ 52 ]
This material is copyright and is licensed for the sole use by Kliwon Klimis on 28th October 2008 425 cilce, , frood, grradt, 525254
Chapter 2
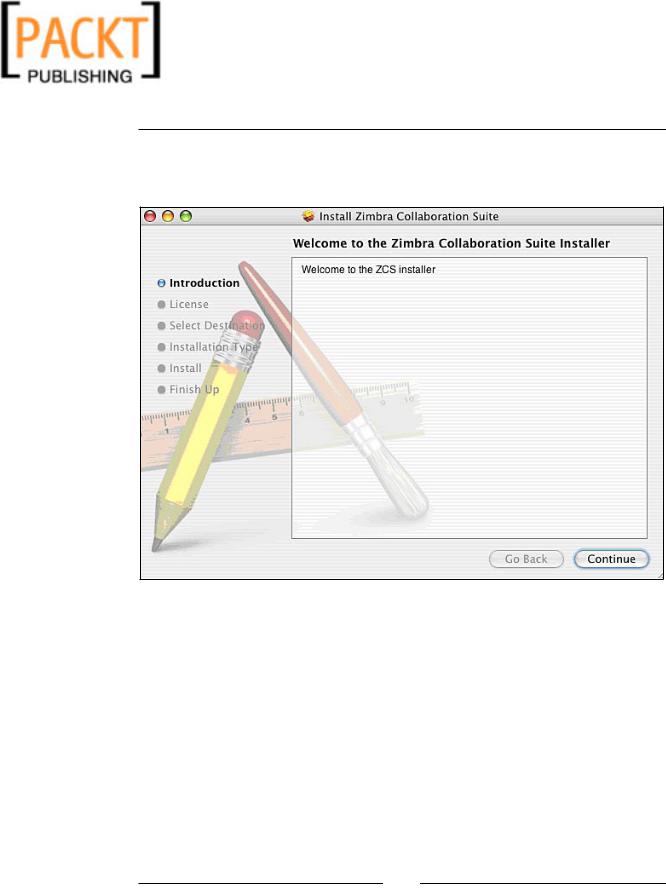
3.When the server check is complete, the Welcome to the Zimbra Collaboration Suite Installer screen will appear. Again, simply click on Continue.
[ 53 ]
This material is copyright and is licensed for the sole use by Kliwon Klimis on 28th October 2008 425 cilce, , frood, grradt, 525254
Installing Zimbra
4.No software installer would be complete without a Software License Agreement screen, which of course appears next, along with an opportunity to select the language you would like to use. Click Continue and then Agree to continue with the installation.
[ 54 ]
This material is copyright and is licensed for the sole use by Kliwon Klimis on 28th October 2008 425 cilce, , frood, grradt, 525254
Chapter 2
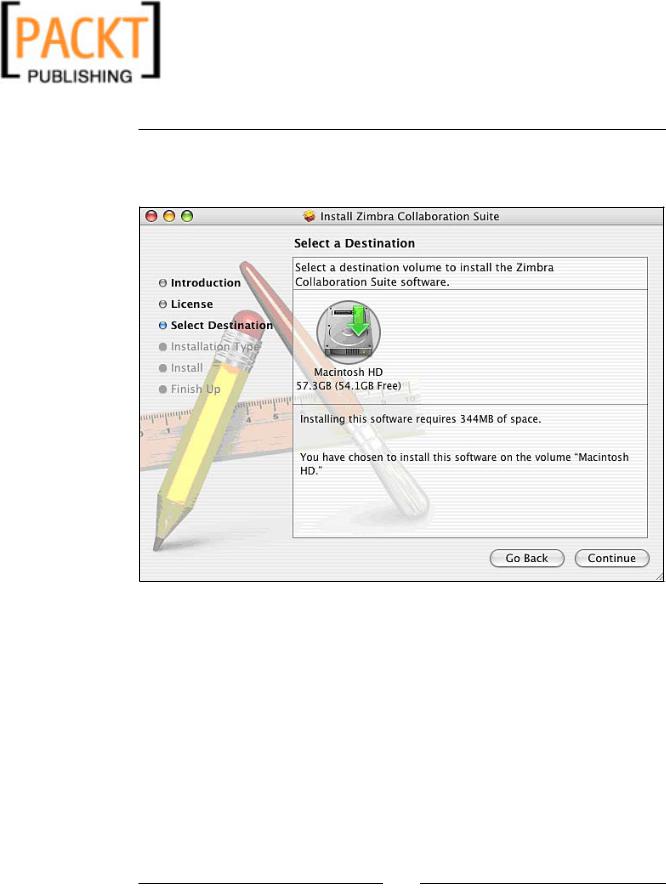
5.Next we must select a destination for the installer to place the Zimbra files.
In our case, we only have one hard drive, so we will select the drive and click
Continue.
[ 55 ]
This material is copyright and is licensed for the sole use by Kliwon Klimis on 28th October 2008 425 cilce, , frood, grradt, 525254
Installing Zimbra
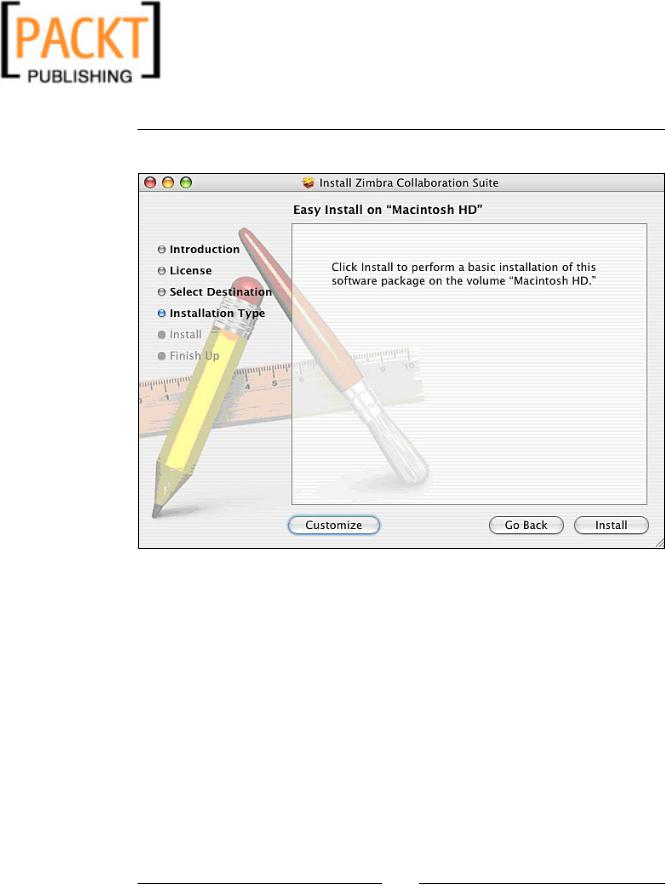
6. Finally, when all is done, the installer is ready to go by clicking Install.
[ 56 ]
This material is copyright and is licensed for the sole use by Kliwon Klimis on 28th October 2008 425 cilce, , frood, grradt, 525254
Chapter 2
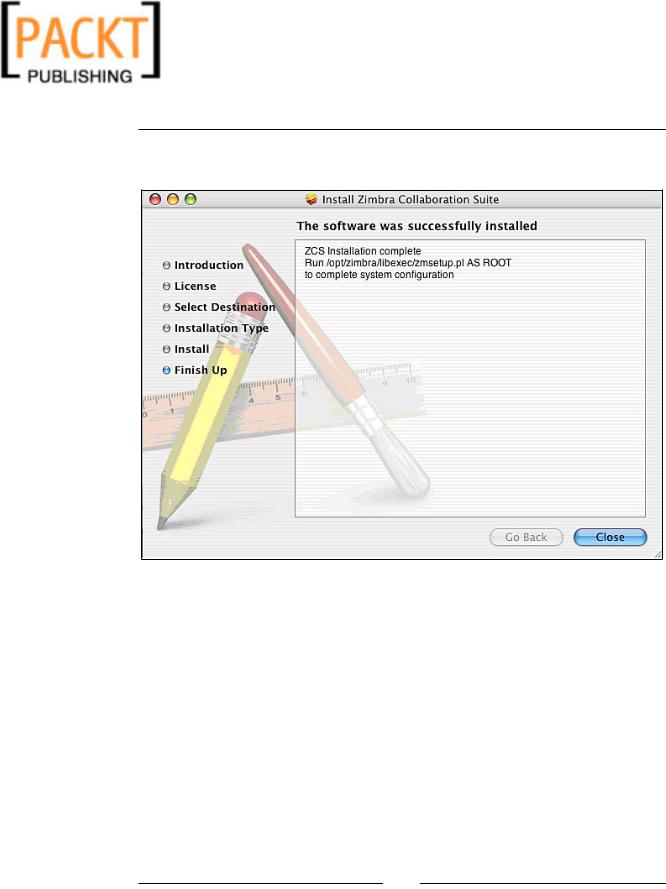
7.Once the installer is completed, we will be given instructions to run a perl script to complete the setup of the suite.
8.To complete the install, we must run the zmsetup.pl script by opening a terminal and entering the following command:
sudo /opt/zimbra/libexec/zmsetup.pl
9.The zmsetup.pl script behaves similarly to the install.sh script we ran on our Linux servers. So at this time you could just follow steps 9 to 17 in the
Installing Zimbra Server earlier in this section.
10.You should now have Zimbra Collaboration Suite successfully installed on MAC OS X Server.
[ 57 ]