

This material is copyright and is licensed for the sole use by Kliwon Klimis on 28th October 2008 425 cilce, , frood, grradt, 525254
Chapter 4
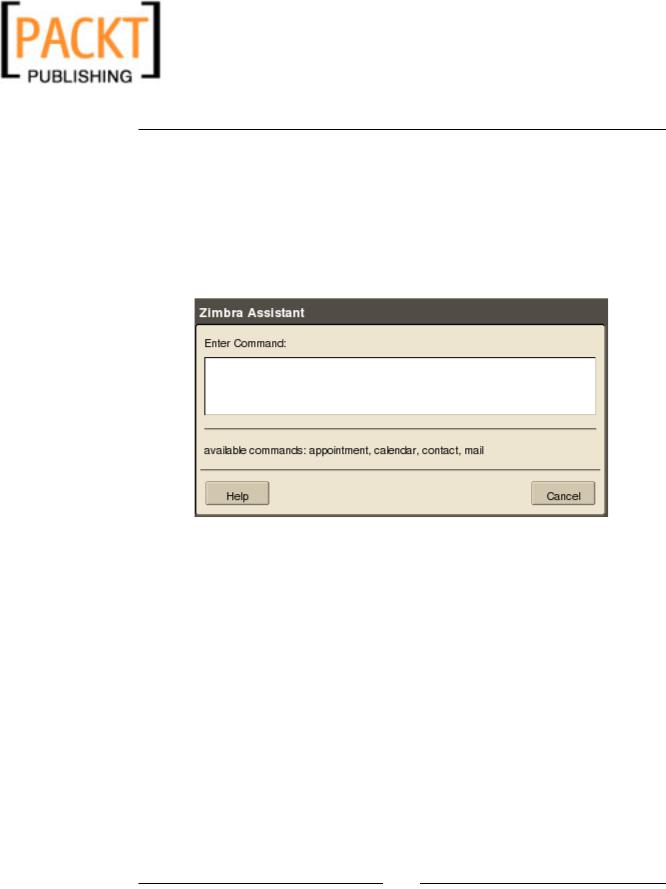
Saving Time with the Zimbra Assistant
The best part of learning a new product or technology is discovering all of the shortcuts that make your life easier. Zimbra has its own fair share of shortcuts that help users accomplish tasks with as few keystrokes and mouse clicks as possible. The first of these shortcut tools is the Zimbra Assistant.
To open up the Zimbra Assistant type Shift ~ on your keyboard. The Zimbra
Assistant will appear waiting for your command.
The Zimbra Assistant could be used to send an email message, add an appointment, or even add a contact without having to go through the application itself. For example, if I wanted to add a quick appointment to my calendar, I could use the
Zimbra Assistant as follows:
1.Log in to the Zimbra Web Client as Worker.
2.Open the Zimbra Assistant by typing Shift ~ .
3.In the text box type appointment.
4.In quotes add the subject line "pick up boss's dry cleaning".
5.Type in the day, date, and time for the appointment as follows: Thursday January 4, 2007 8:00am – 9:00am.
6.Add some notes in parentheses (two shirts) on the next line.
7.Provide the location in brackets [Cleaners].
8.Click OK to add to the Calendar.
[ 115 ]