

This material is copyright and is licensed for the sole use by Kliwon Klimis on 28th October 2008 425 cilce, , frood, grradt, 525254
Administrating Zimbra
Configuring Global Settings
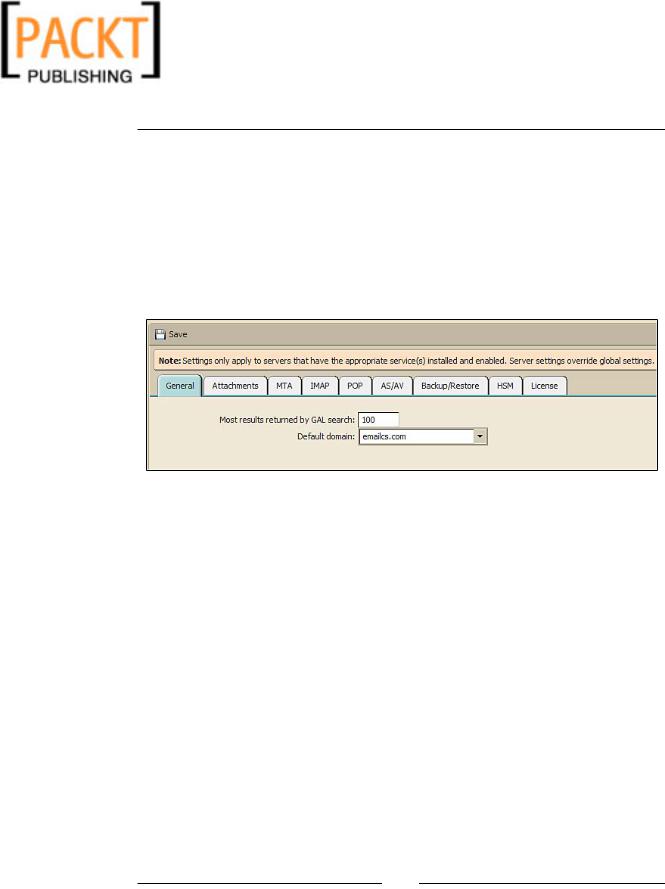
In the same Configuration area of the Navigation Pane, towards the bottom, you will see Global Settings. Single-click Global Settings and the Content Pane will now show information about our server with the General tab displaying the first piece of information regarding our setup.
1.Due to the fact, this server will primarily be used for emailcs.com email accounts, we should go ahead and make emailcs.com the Default domain on our server as displayed below.
2.The default for the GAL search is fine at 100. So the next tab we will work with is the Attachments tab by clicking on the tab towards the top of
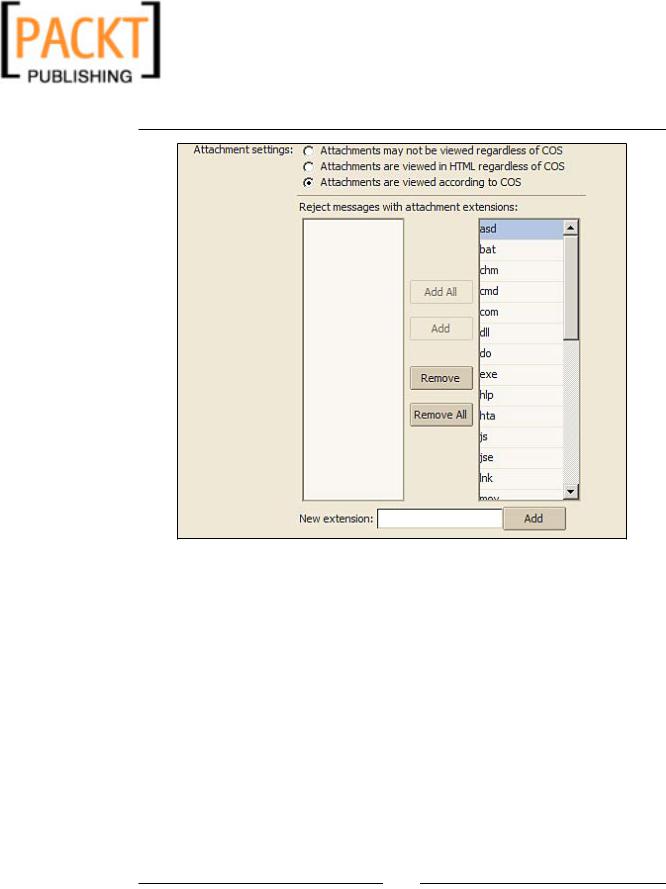
the Content Pane. This is where we could inform Zimbra how to handle attachments. Our choices are Attachments may not be viewed regardless of Class of Service, Attachments are viewed in HTML regardless of Class of Service, and Attachments are viewed according to Class of Service.
This is always a sticky area for an email administrator, as the easiest thing to do would be to create a global rule about attachments regardless of email user. However, in the "real world" that may not work, as there are always exceptions to every rule. In my experience, using Class of Service to determine the handling of attachments is always the best way to go.
However, the one global setting that Zimbra uses is rejecting particular attachment extensions. For example, in a Windows environment you would never want your users to open up any extension with a .bat or .vbs extension. Zimbra comes preconfigured with about 30 extensions that could be rejected. I would recommend using them all, and find another means of
having your users send files back and forth to each other, like FTP. So on this screen, we will go ahead and make sure the radio button for Attachments are viewed according to COS is marked and that all 30 extensions are added to the Reject messages in the following extensions area.
[ 70 ]
This material is copyright and is licensed for the sole use by Kliwon Klimis on 28th October 2008 425 cilce, , frood, grradt, 525254
Chapter 3
3.The MTA (Mail Transport Agent) tab is used to configure global settings for
SMTP. For example, does SMTP require authentication before it will allow a sender to send mail through the server and also the restrictions for email size and upload size for documents and files. There are only a few changes we are going to make on this screen. The Web mail hostname we will change from localhost to zimbra.emailcs.com.
4.The next two tabs are IMAP and POP. As we will be using this email in a corporate environment, and we will primarily be encouraging users to use Outlook or the web-based client, we will disable both of these services by unchecking the Enable IMAP and POP3 service boxes.
[ 71 ]
This material is copyright and is licensed for the sole use by Kliwon Klimis on 28th October 2008 425 cilce, , frood, grradt, 525254
Administrating Zimbra
5.The AS/AV tab is for enabling the built-in anti-spam and anti-virus solutions within Zimbra. It is always a good idea to enable these, even if you are using a third party software package to handle this on another server (this will allow Zimbra to catch some spam/virii not caught by your other solution and to learn from your users' classification). The default settings for Kill and Tag percent should work fine, as well as the default Anti-Virus settings.
6.The Backup/Restore tab allows you to set up the target directory for the backup and the notification email informations. The default is fine.
7.The HSM tab is used for secondary storage for archived messages. The
30-day default works fine for this.
8.The License tab displays your current license information. At this point, most likely, the license type should say trial. When clicking on the top of this screen, you could upload a new license.
9.Once all of the settings have been changed. Make sure to click Save in the upper-left-hand corner of the content pane. At this point, it may not be a bad idea to scroll through each tab and make sure all of your changes are currently showing.
The final step in getting our server operational and ready to add users, will be to look at setting up a Class of Service for our users.
Class of Service
Email Collaboration Services will have two classes of service for their users: one for employees and the other for the Executive team. First, we will set up the Class of Service for the employees.
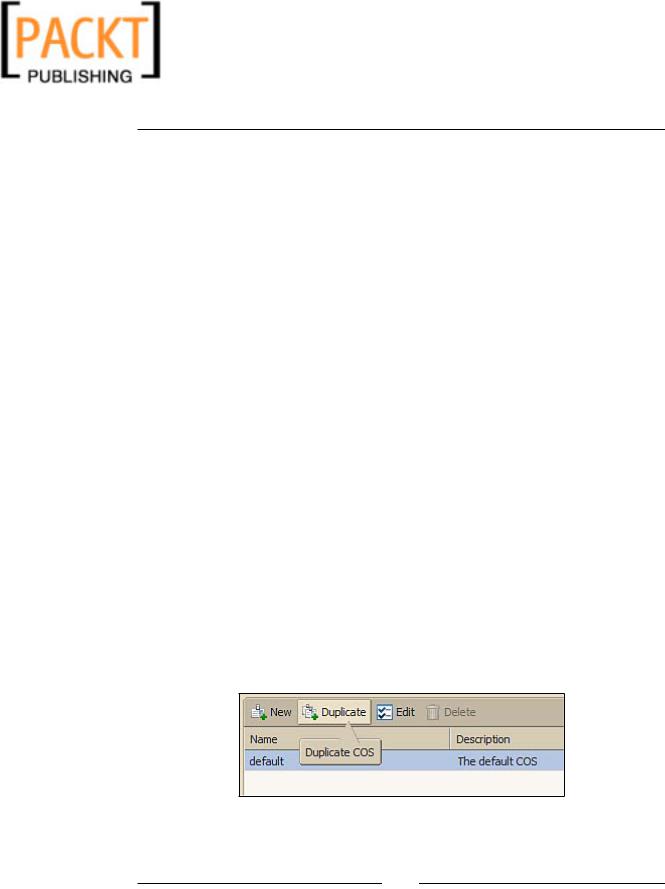
1.The easiest way to set up a Class of Service is to use the default COS as a template and duplicate it. To do this, click on the Class of Service item in the
Configuration section of the Navigation Pane and highlight default. With default highlighted, click on the Duplicate button to get us started.
[ 72 ]

This material is copyright and is licensed for the sole use by Kliwon Klimis on 28th October 2008 425 cilce, , frood, grradt, 525254
Chapter 3
2.Five tabs will now appear with the first one being General Information. This is where we will name our class of service and add a description and any notes we see fit. We will call this class of service "Employees" with a description of "COS for Employees". Once that information is entered, go ahead and click on the Features tab.
3.The Features tab lists all features that users in this Class of Service are entitled to use and/or have access to. Our users will not have access to the following, so please make sure the following boxes are not checked:
°Change Password
°IMAP Access
°POP Access
°External POP3 access
°Allow users to specify a forwarding address
°Zimbra Mobile
4.The Preferences tab will be used to set up default settings for the Users and how Zimbra handles their email. For example, we could set how many items are displayed per page, or how mail should be composed or read. These settings really only apply to the Zimbra web-based user interface and we will go through customizing these preferences later at the user level.
5.Themes allows you to authorize the users to change the look and feel of the web interface (and specify which themes are allowed). We'll leave the default.
6.Zimlets is like Themes but for the Zimlets. Once again, default is OK.
7.Server Pool does not apply to us, as we are only using one server for Zimbra.
So we could skip this tab.
8.The Advanced tab will be where we set quotas and password handling for each user. We will be giving every user 500MB of disk space to start and require a Minimum Password length of 8 characters. Everything else we could leave default here.
9.Once completed with the changes, be sure to Save the Class of Service.
10.For the "Executives" Class Of Service, there are only a few changes that will be different from the the "Employees" so at this point, from the list of COS we could highlight "Employees" and click Duplicate.
11.We will call this Class of Service "Executives" with a description of "COS for Executives". When complete click the Features tab.
[ 73 ]