


CHAPTER 2: Appeasing the Tiki Gods |
39 |
playing, save the file and select Run again. The changes you made should show up in your application, once again without writing any code.
NOTE: Don’t worry too much about what all of the fields in the object attributes inspector mean,
or fret if you can’t get one of your changes to show up. As you make your way through the book,
you’ll learn a lot about the object attributes inspector and what each of the fields does.
By letting you design your interface graphically, Interface Builder frees you to spend time writing the code that is specific to your application, instead of writing tedious code to construct your user interface.
Most modern application development environments have some tool that lets you build your user interface graphically. One distinction between Interface Builder and many of these other tools is that Interface Builder does not generate any code that must be maintained. Instead, Interface Builder creates Objective-C objects, just as you would do in your own code, and then serializes those objects into the nib file so that they can be loaded directly into memory at runtime. This avoids many of the problems associated with code generation and is, overall, a more powerful approach.
Some iPhone Polish—Finishing Touches
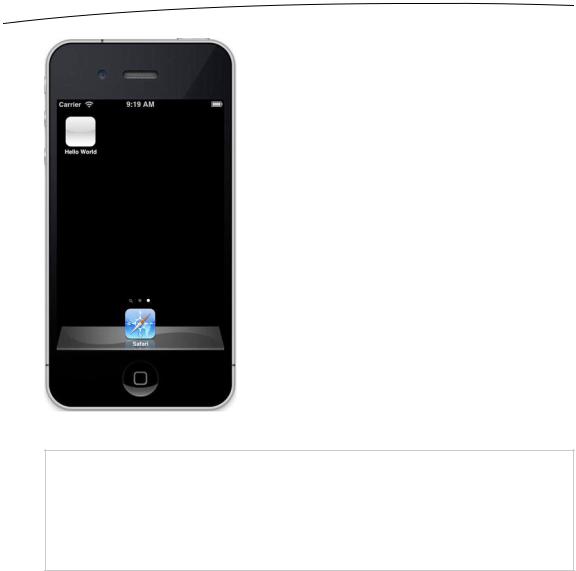
Now let’s put a last bit of spit and polish on our application to make it feel a little more like an authentic iPhone application. First, run your project. When the simulator window appears, click the iPhone’s home button (the black button with the white square at the very bottom of the window). That will bring you back to the iPhone home screen, as shown in Figure 2–20. Notice anything a bit, well, boring?
Take a look at the Hello World icon at the top of the screen. Yeah, that icon will never do, will it? To fix it, you need to create an icon and save it as a portable network graphic (.png) file. Actually, you should create two icons. One needs to be 114 × 114 pixels in size, and the other needs to be 57 × 57 pixels. Why two icons? Well, the iPhone 4 introduced the Retina display, which was exactly double the resolution of earlier iPhone models. The smaller icon will be used on non-Retina devices, and the larger one will be used on devices with a Retina display.
Do not try to match the style of the buttons that are already on the phone when you create the icons; your iPhone will automatically round the edges and give it that nice, glassy appearance. Just create normal flat, square images. We have provided two icon images in the project archive 02 - Hello World folder, called icon.png and icon@2x.png, which you can use if you don’t want to create your own. The @2x in the name of the larger file is a special naming convention that identifies the file as the Retina version of the same file with the same name minus the @2x.
www.it-ebooks.info
40 |
CHAPTER 2: Appeasing the Tiki Gods |
Figure 2–20. Our Hello, World icon is just plain boring. It needs a real icon!
NOTE: For your application’s icon, you must use .png images, but you should actually use that format for all images in your iOS projects. Xcode automatically optimizes .png images at build time, which makes them the fastest and most efficient image type for use in iOS apps. Even though most common image formats will display correctly, you should use .png files unless you
have a compelling reason to use another format.
After you’ve designed your app icon, press 1 to open the project navigator, and then click the topmost row in the navigator—the one with the blue icon and the name Hello World. Now, turn your attention to the editing pane.
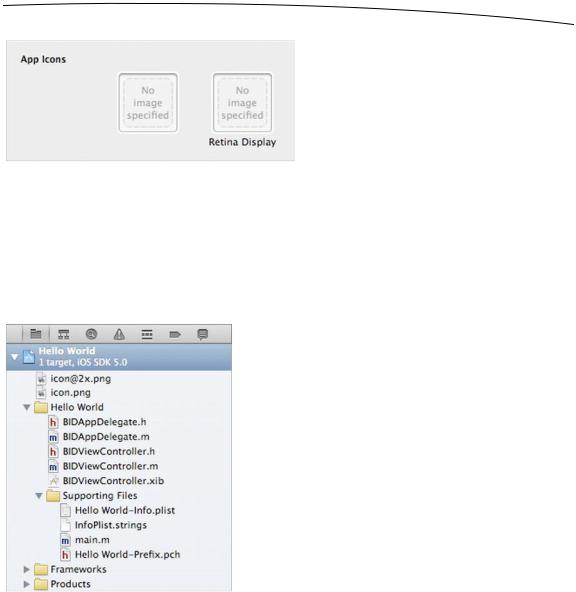
On the left side of the editing pane, you’ll see a white column with list entries labeled PROJECT and TARGETS. Make sure that the Hello World target is selected. To the right of that column, you’ll see a big, gray settings pane. At the top of that pane is a series of five tabs. Select the Summary tab. In the Summary tab, scroll down, looking for a section labeled App Icons (see Figure 2–21). This is where we’ll drag our newly added icons.
www.it-ebooks.info
CHAPTER 2: Appeasing the Tiki Gods |
41 |
Figure 2–21. The App Icon boxes on your project’s Summary tab. This is where you can set your application’s icon.
From the Finder, drag icon.png to the left rectangle. This will copy icon.png into your project and set it as your application’s icon. Next, drag icon@2x.png from the Finder to the right rectangle, which will set that as you application’s Retina display icon.
If you look back in the project navigator, you’ll notice that the two images were added to your project, but not inside a folder (see Figure 2–22). To keep our project organized, select icon.png and icon@2x.png, and drag them to the Supporting Files group.
Figure 2–22. When the icons are added to your project, they’re not placed in a subfolder. If you want to keep your project organized, you’ll need to move them yourself.
Let’s take a look at what Xcode did with those icons, behind the scenes. In Xcode’s project navigator, look in the Supporting Files folder again, and then single-click the Hello_World-Info.plist file. This is a property list file that contains some general information about our application, including specifics on our project icon files.
When you select Hello_World-Info.plist, the property list will appear in the editor pane. Within the property list, find a row with the label Icon files in the left column. The corresponding right column in that same row should say (2 items). This row holds an array, which means it can hold multiple values. In this case, there’s one row for each
www.it-ebooks.info
42 |
CHAPTER 2: Appeasing the Tiki Gods |
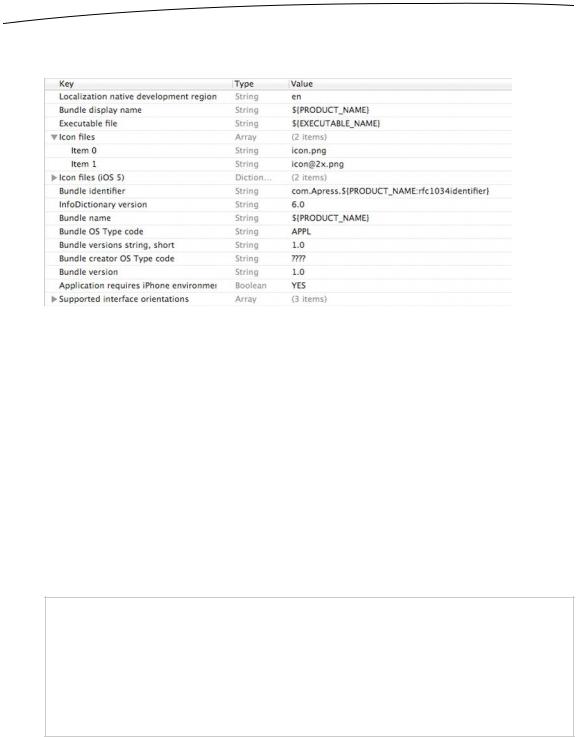
icon that was specified. Single-click the disclosure triangle immediately to the left of the name Icon Files, and you’ll see the two items in the array, as shown in Figure 2–23.
Figure 2–23. Expanding the disclosure triangle shows the contents of the Icon Files array. Inside the array, you’ll find a row for each of our two icon files.
Looking at the plist contents in Figure 2–23, you might notice another row with the key Icon Files (iOS 5). If you click the disclosure triangle next to that entry, you’ll see that it contains two named entries: one called Primary Icon and another called Newsstand Icon. If you expand Primary Icon, you’ll see the same thing you saw under Icon Files. Don’t be too concerned about this. If you set your icons using Xcode the way we just did, Xcode will always configure the property list correctly.
The reason that the same icon information is represented twice is that prior to iOS 5, there was only one icon for an app, so a single array (Icon Files) was sufficient for holding the information about the icons. With iOS 5, Apple introduced a way to specify other types of icons for your application, including one to be used within Apple’s Newsstand app. We won’t be covering Newsstand in this book, so you don’t need to worry about when or why you would specify an icon for that. Just be aware that iOS 5 introduced a new way to specify icons, and for the time being, apps will be supporting both the old and new methods.
NOTE: If you were to just copy the two icon image files into your Xcode project and do nothing else, your icon would actually show up anyway. Huh? Why’s that? By default, if no icon file name
is provided, the SDK looks for a resource named icon.png and uses that. You also don’t need to tell it about the @2x version of the icon. iOS knows to look for that on a device with a Retina display. To be safe, however, you should future-proof your app and always specify your
application’s icons in the info property list.
Now, take a look at the other rows in Hello_World-Info.plist. While most of these settings are fine as they are, one in particular deserves a moment of our attention: Bundle
www.it-ebooks.info
CHAPTER 2: Appeasing the Tiki Gods |
43 |
identifier. This is that unique identifier we entered when we created our project. This value should always be set. The standard naming convention for bundle identifiers is to use one of the top-level Internet domains, such as com or org followed by a period, then the name of your company or organization followed by another period, and finally, the name of your application.
When we created this project, we were prompted for a bundle identifier, and we entered com.apress. The value at the end of the string is a special code that will be replaced with your application’s name when your application is built. This allows you to tie your application’s bundle identifier to its name. If you need to change your application’s unique identifier after creating the project, this is where you would do it.
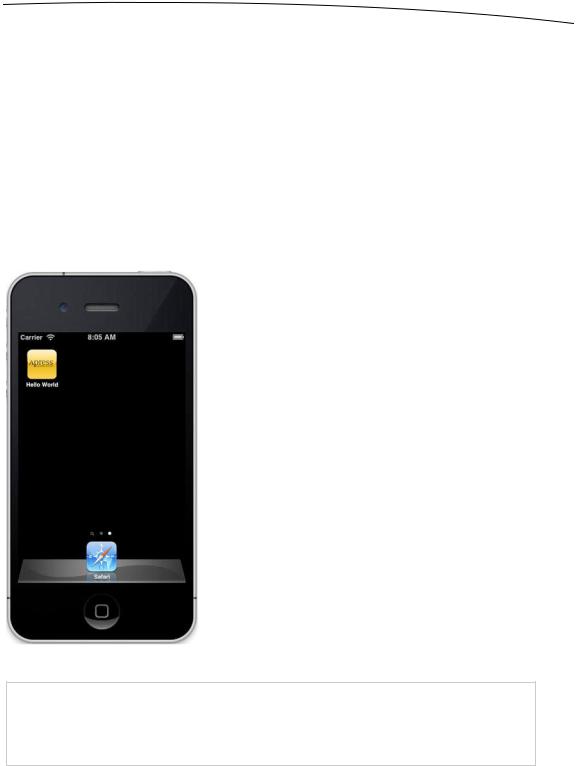
Now compile and run your app. When the simulator has finished launching, press the button with the white square to go home, and check out your snazzy new icon. Ours is shown in Figure 2–24.
Figure 2–24. Your application now has a snazzy icon!
NOTE: If you want to clear out old applications from the iPhone simulator’s home screen, you can choose iPhone Simulator Reset Content and Settings…. from the iPhone simulator’s
application menu.
www.it-ebooks.info