

146 |
CHAPTER 6: Multiview Applications |
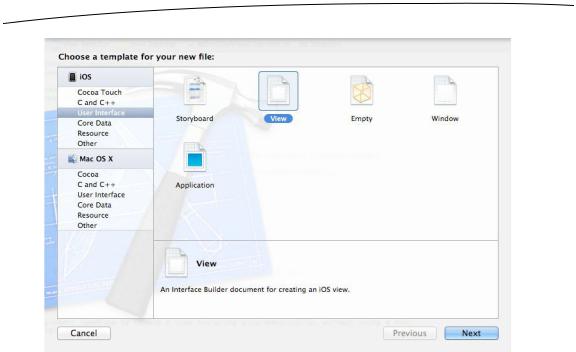
Figure 6–11. We’re creating a new nib file, using the View template in the User Interface section.
When prompted for a file name, type SwitchView.xib. Just as you did earlier, you should choose the View Switcher folder as the save location. With View Switcher selected, ensure that View Switcher is selected from the Group popup menu and that the View Switcher target is checked, and then click Save. You’ll know you succeeded when the file SwitchView.xib appears in the View Switcher group in the project navigator.
Now repeat the steps to create a second nib file called BlueView.xib, and once more to create YellowView.xib. After you’ve done that, you have all the files you need. It’s time to start hooking everything together.
Modifying the App Delegate
Our first stop on the multiview express is the application delegate. Single-click the file BIDAppDelegate.h in the project navigator (make sure it’s the app delegate and not SwitchViewController.h), and make the following changes to that file:
#import <UIKit/UIKit.h>
@class BIDSwitchViewController;
@interface BIDAppDelegate : UIResponder <UIApplicationDelegate>
@property (strong, nonatomic) UIWindow *window;
@property (strong, nonatomic) BIDSwitchViewController *switchViewController;
@end
The BIDSwitchViewController declaration you just added is a property that will point to our application’s root controller. We need this because we are about to write code that
www.it-ebooks.info

CHAPTER 6: Multiview Applications |
147 |
will add the root controller’s view to our application’s main window when the application launches.
Now, we need to add the root controller’s view to our application’s main window. Click BIDAppDelegate.m, and add the following code:
#import "BIDAppDelegate.h"
#import "BIDSwitchViewController.h"
@implementation BIDAppDelegate
@synthesize window = _window;
@synthesize switchViewController;
- (BOOL)application:(UIApplication *)application didFinishLaunchingWithOptions:(NSDictionary *)launchOptions
{
self.window = [[UIWindow alloc] initWithFrame:[[UIScreen mainScreen] bounds]]; // Override point for customization after application launch self.switchViewController = [[BIDSwitchViewController alloc]
initWithNibName:@"SwitchView" bundle:nil]; UIView *switchView = self.switchViewController.view; CGRect switchViewFrame = switchView.frame; switchViewFrame.origin.y += [UIApplication
sharedApplication].statusBarFrame.size.height; switchView.frame = switchViewFrame;
[self.window addSubview:switchView]; self.window.backgroundColor = [UIColor whiteColor]; [self.window makeKeyAndVisible];
return YES;
}
.
.
.
@end
Besides synthesizing the switchViewController property, we also create an instance of it and load its corresponding view from SwitchView.xib. Next, we change the view’s geometry so it does not get hidden behind the status bar. If we were working with a nib that contained a view inside a window, we wouldn’t need to make this change, but since we’re creating this entire view hierarchy from scratch, we must manually adjust the view’s frame so it snugs up against the bottom of the status bar.
After adjusting that view, we add it to the window, effectively making our switchViewController the root controller. Remember that the window is the only gateway to the user, so anything that needs to be displayed to the user must be added as a subview of the application’s window.
If you go back to Chapter 5’s Swap project and examine the code in SwapAppDelegate.m, you’ll see that the template added the view controller’s view to the application window for you. Since we’re using a much simpler template for this project, we need to take care of that wiring together business ourselves.
www.it-ebooks.info
148 |
CHAPTER 6: Multiview Applications |
Modifying BIDSwitchViewController.h
Because we’re going to be setting up an instance of BIDSwitchViewController in SwitchView.xib, now is the time to add any needed outlets or actions to the
BIDSwitchViewController.h header file.
We’ll need one action method to toggle between the blue and yellow views. We won’t create any outlets, but we will need two other pointers: one to each of the view controllers that we’ll be swapping in and out. These don’t need to be outlets, because we’re going to create them in code rather than in a nib. Add the following code to
BIDSwitchViewController.h:
#import <UIKit/UIKit.h>
@class BIDYellowViewController; @class BIDBlueViewController;
@interface BIDSwitchViewController : UIViewController
@property (strong, nonatomic) BIDYellowViewController *yellowViewController; @property (strong, nonatomic) BIDBlueViewController *blueViewController;
- (IBAction)switchViews:(id)sender;
@end
Now that we’ve declared the action we need, we can set this controller up in
SwitchView.xib.
Adding a View Controller
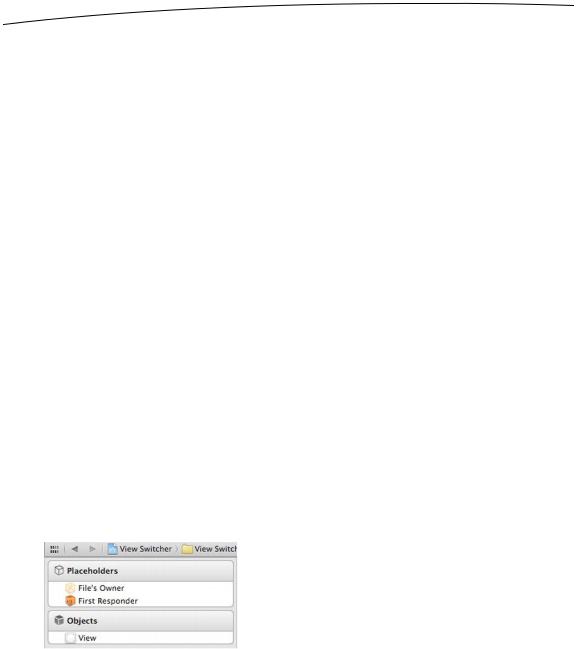
Save your source code, and click SwitchView.xib to edit the central GUI for this app. Three icons appear in the nib’s dock: File’s Owner, First Responder, and View (see Figure 6–12).
Figure 6–12. SwitchView.xib, showing three default icons in the dock, representing File’s Owner, First Responder, and View
By default, the File’s Owner is configured to be an instance of NSObject. We’ll need to change that to BIDSwitchViewController so that Interface Builder allows us to build connections to the BIDSwitchViewController outlets and actions. Single-click the File’s Owner icon in the nib’s dock, and press 3 to open the identity inspector (see Figure 6–13).
www.it-ebooks.info
CHAPTER 6: Multiview Applications |
149 |
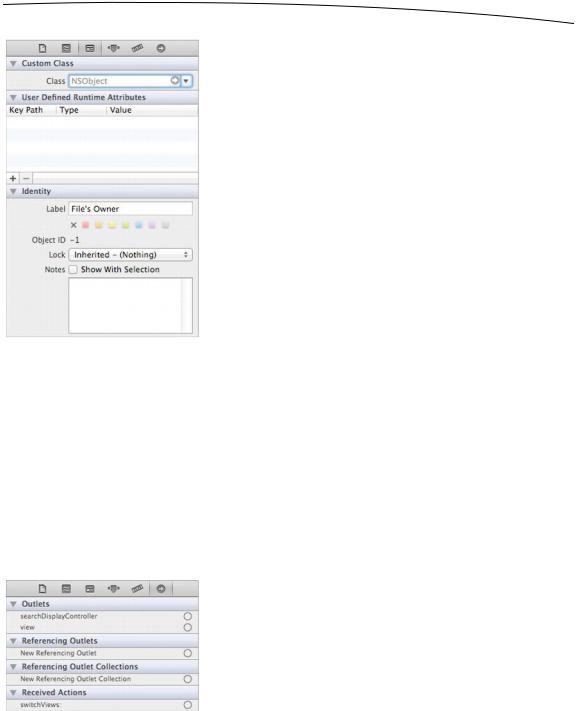
Figure 6–13. Notice that the File’s Owner Class field is currently set to NSObject in the identity inspector. We’re about to change that to BIDSwitchViewController.
The identity inspector allows you to specify the class of the currently selected object. Our File’s Owner is currently specified as an NSObject, and it has no actions defined. Click inside the combo box labeled Class, which is at the top of the inspector and currently reads NSObject. Change the Class to BIDSwitchViewController.
Once you make that change, press 6 to switch to the connections inspector, where you will see that the switchViews: action method now appears in the section labeled Received Actions (see Figure 6–14). The connection inspector’s Received Actions section shows all the actions defined for the current class. When we changed our File’s Owner to a BIDSwitchViewController, the BIDSwitchViewController action switchViews: became available for connection. You'll see how we make use of this action in the next section.
Figure 6–14. The connections inspector showing that the switchViews: action has been added to the Received Actions section
www.it-ebooks.info