

Chapter QS Quick Start: Animating a Monster Truck at the Beach |
9 |
Dressing the Scene
Once you have all the models positioned within the scene, you can add realism by adding materials to objects. Materials are created and applied using the Material Editor. Open this separate dialog box with the Rendering Material Editor menu command (or by pressing the M shortcut).
Another detail that helps the scene is adding a background image. To do this, use the Environment & Effects dialog box opened with the Rendering Environment menu command (or by pressing the 8 shortcut).
Tutorial: Applying materials
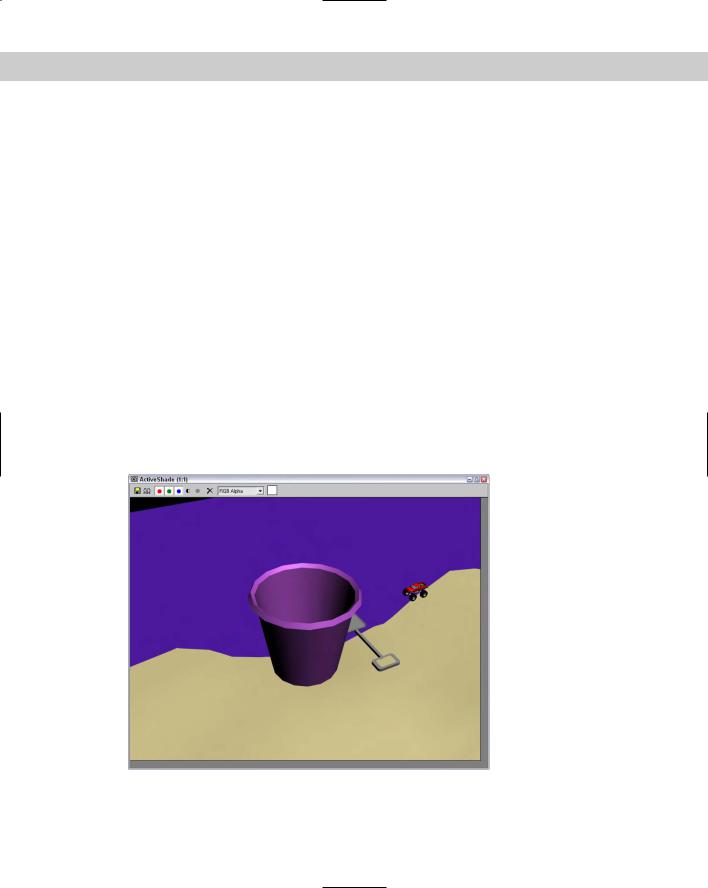
Try a quick smooth rendering in the ActiveShade window by selecting the Perspective viewport and choosing Rendering ActiveShade Floater to open the ActiveShade Floater window. Rendering the scene computes the effects of the lights, material, and environment into a single image. This process could take some time, depending on the complexity of the scene, but the ActiveShade window is a quick rendering window that lets you see the results of materials and lights. The results of the ActiveShade rendering, shown in Figure QS-4, show us a couple of things. First, the objects are positioned in the water; second, we need to apply materials to liven up the dull object colors. Well, don’t worry; you’re just getting started. You can close the ActiveShade window by clicking the close icon in the upper-right corner of the window.
The next step is to use the Material Editor to apply some materials to the objects in the scene, except for the monster truck, which came with its own materials.
Figure QS-4: The ActiveShade Floater window gives us some feedback on the progress of the scene.
10 |
Part I Learning the Max Interface |
To apply materials to the scene objects, follow these steps:
1.To assign materials, you must open the Material Editor. You can do this by choosing the Rendering Material Editor menu command, or by pressing the M key.
The Material Editor shows six sphere objects. These are called sample slots and can be used to hold materials used in the scene.
2.With the first sample slot in the Material Editor selected, click the color swatch to the right of the Diffuse label in the Blinn Basic Parameters rollout. This opens the Color Selector dialog box. Select a bright yellow color, and click the Close button. Scroll down in the command panel, and set the Specular Level value to 95 and the Glossiness value to 50. Click in the drop-down list where it says “01–Default” and type Yellow plastic as the name of this material.
3.Drag the yellow sphere from the first sample slot in the Material Editor, and drop it on the sample slot directly below it. This copies the material into another sample slot. With this lower sample slot selected, click again on the Diffuse color swatch and change its color to bright red. Then name the material Red plastic.
4.Select another empty sample slot, change its Diffuse color to a light brown color, and name the material Sand.
5.Select another empty sample slot, and name the material Sea. Then click the small square button to the right of the Diffuse color swatch. This is a shortcut button for applying a texture map to the Diffuse color and opens the Material/Map Browser dialog box. Double-click the Waves map type to select it and load it within the material. In the Waves Parameters rollout, change Color #1 to a light blue color and Color #2 to a dark blue color. Then set the Num Wave Sets value to 50.
The Material Editor should now look like Figure QS-5.
Figure QS-5: The Material Editor now includes four materials that you can use in the scene.

Chapter QS Quick Start: Animating a Monster Truck at the Beach |
11 |
6.To apply the materials to the scene, just drag each respective material to the object in the viewport that it goes with.
This tutorial is saved as Scene with materials.max. You may want to try another test render to see how the materials look.
Tutorial: Loading a background image
Although the one test render that we’ve looked at so far has looked down at the ground and we haven’t needed a background image, as we pan out of the environment, we
see the background. Some nice clouds in the background will help it feel more like a beach.
You can use two separate commands for dealing with background images:
Views Viewport Background (Alt+B): Displays an image as a viewport background. Be aware that you mainly use this background image just for aligning the objects to the background, and it is not included as part of the rendered image.
Rendering Environment (8): Assigns a rendered background image called an environment map.
To add a background image to the scene, follow these steps:
1.Open the Environment & Effects dialog box by choosing Rendering Environment (or press the 8 key). Enable the Use Map check box, and click the Environment Map button labeled “None.”
The Material/Map Browser dialog box appears.
2.In the right pane of the Material/Map Browser is a list of materials and maps. Doubleclick the Bitmap item.
The Select Bitmap Image File dialog box opens.
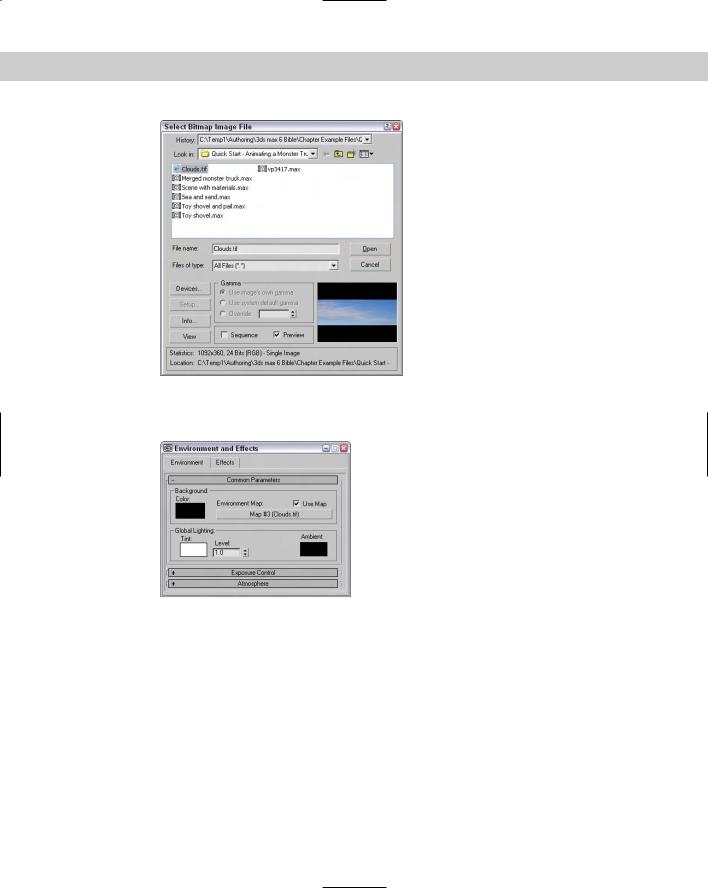
3.Locate the background image named Clouds.tif in the Quick Start directory on the CD-ROM, and click it to select it.
When selected, the image appears in the Preview pane, as shown in Figure QS-6.
4.Click Open to load the background image. When loaded, the image’s filename appears on the button in the Environment panel, as shown in Figure QS-7. Click the close icon in the upper-right corner of the Environment dialog box to close it.
5.To see the background image in a test render, you need to rotate the view. With the Alt key held down, click and drag with the middle scroll wheel button to rotate the view.
12 |
Part I Learning the Max Interface |
Figure QS-6: The Select Bitmap Image File dialog box includes a preview pane to view images before opening them.
Figure QS-7: Use the Environment dialog box to set environment properties, such as a background image.
This tutorial is saved as Background clouds.max. Figure QS-8 shows another test render in the ActiveShade Floater window.